Ticket Management
Submitting Tickets
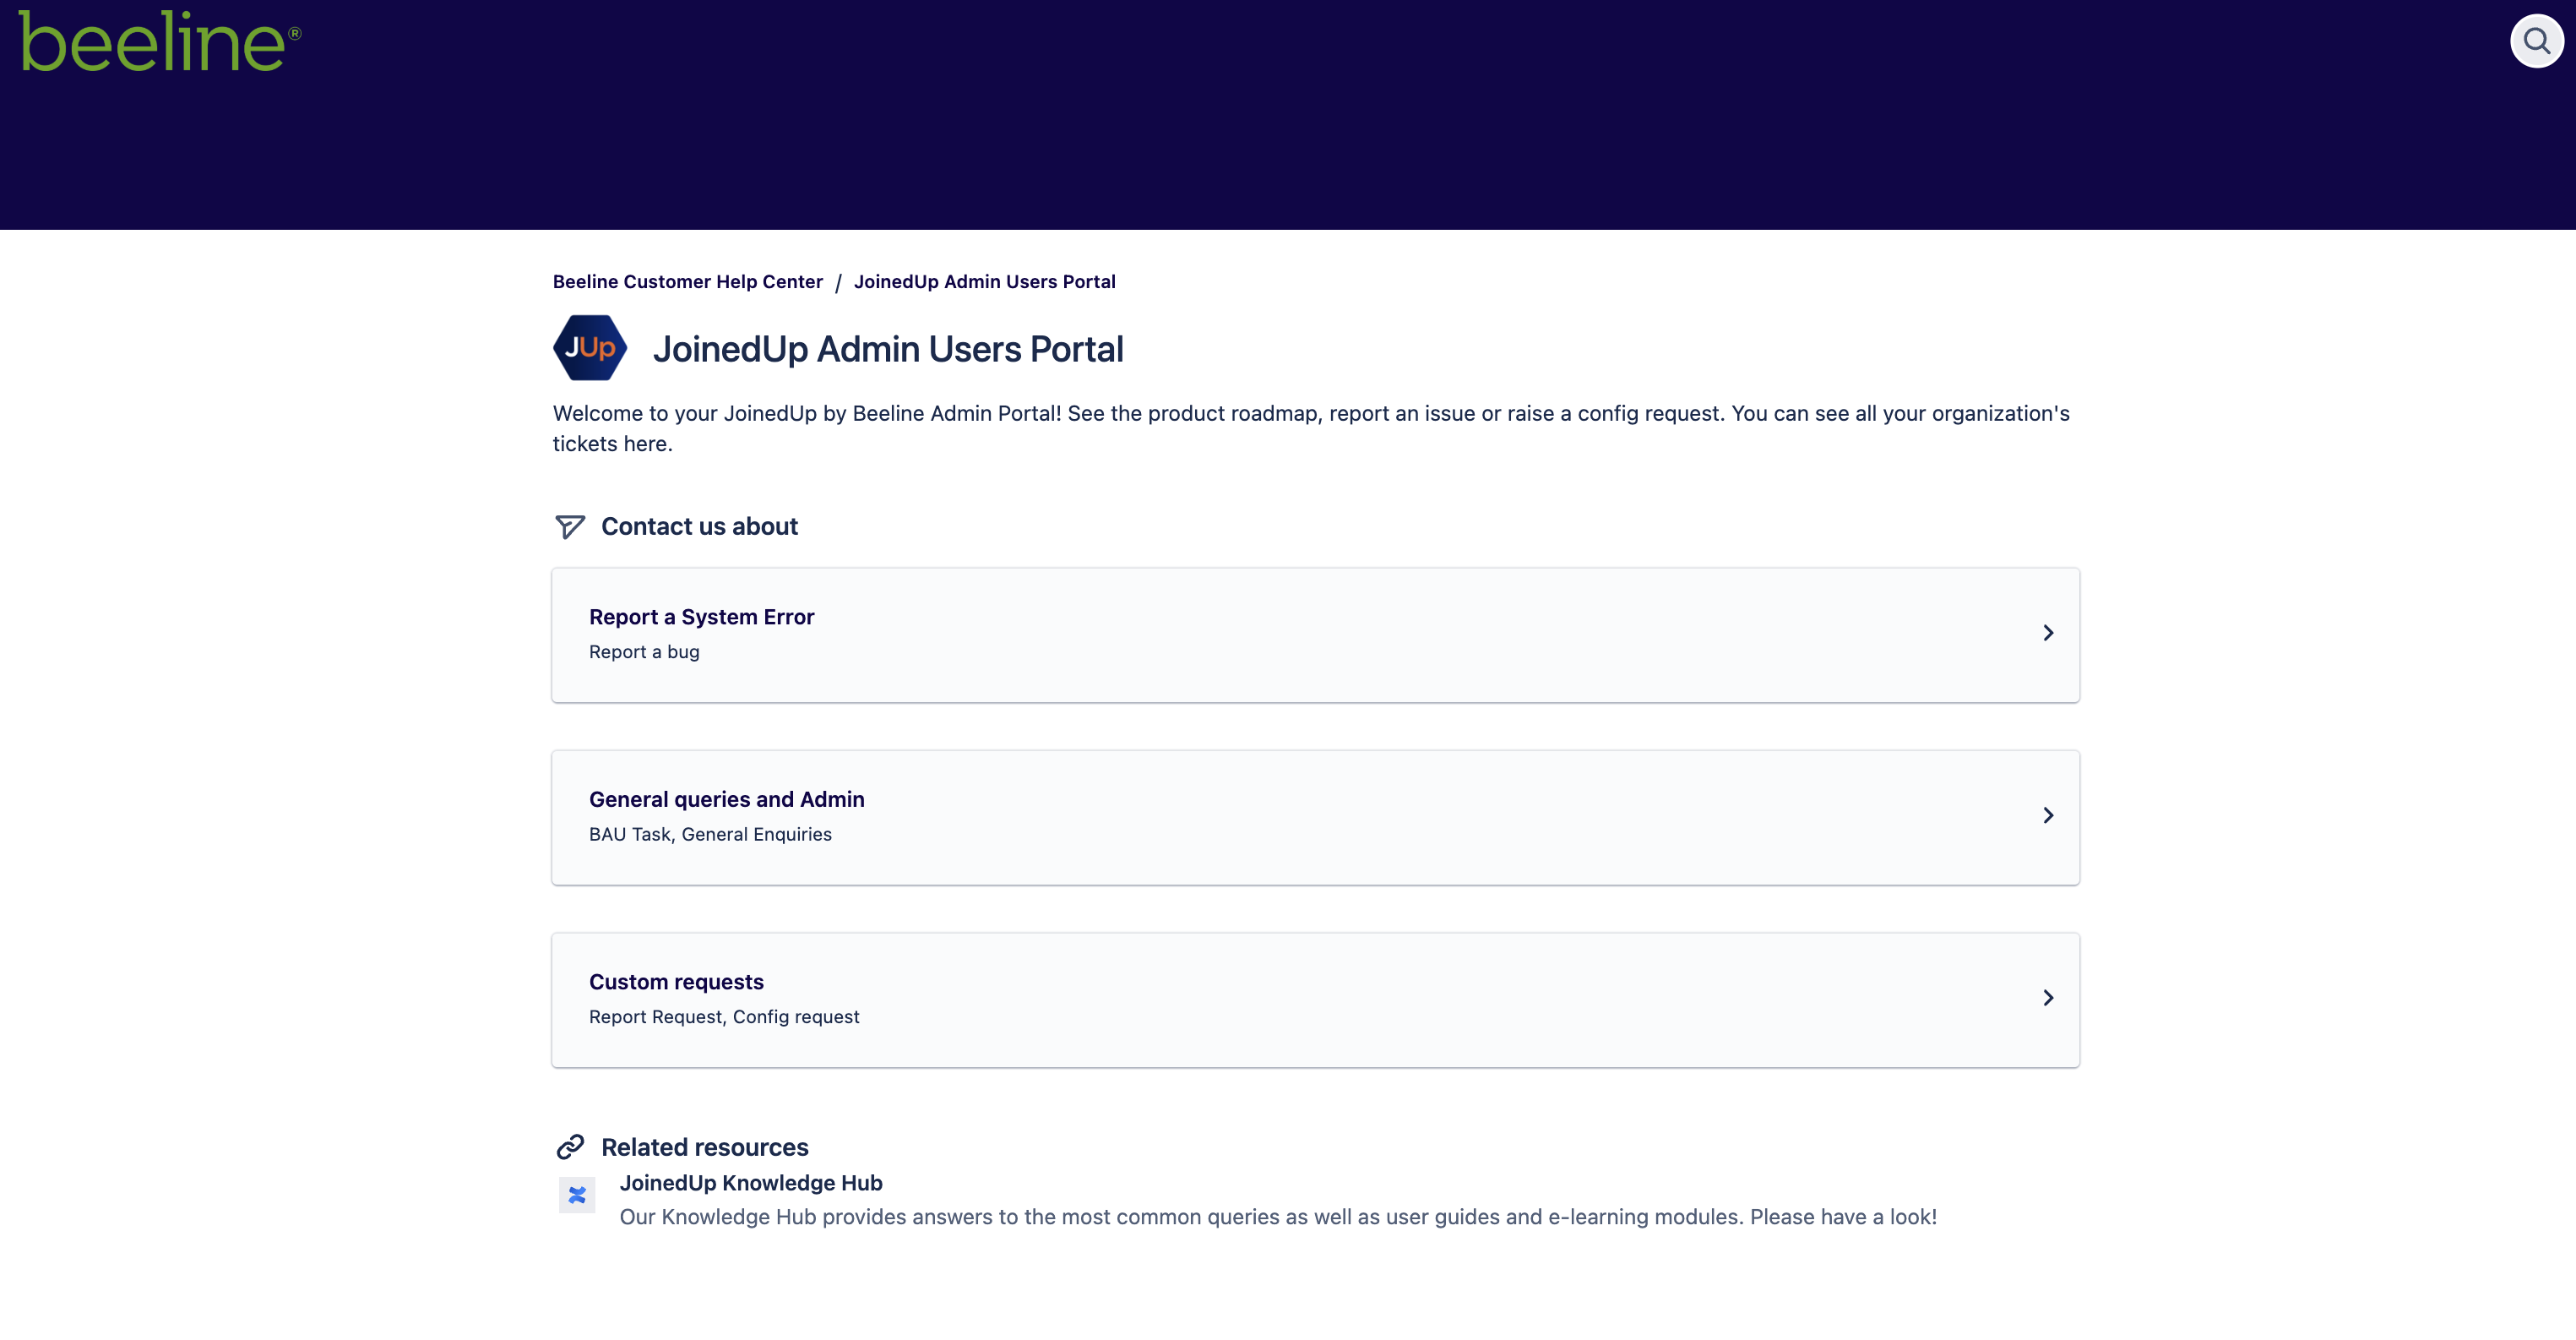
To create a new ticket:
-
Log in to the self-service ticket portal.
-
Select the option that matches the type of ticket you need to submit. Read this article for more information on: Types of Queries
-
Some options will request additional data. These details are required for your query to be accepted.
-
Complete all required fields. Complete the additional fields as needed.
The more thorough and detailed responses you provide, the more efficient the ticket resolution will be. -
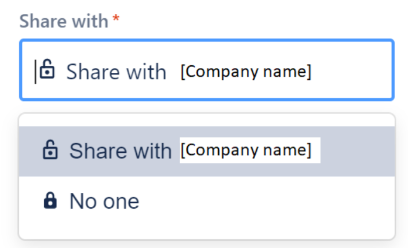
Click Share with [Company Name] if you want users within your company who have access to the portal to see your ticket. If you do not want any other users to see the ticket, click No one. The final field you see controls the visibility of the ticket you are submitting.
-
Click Send. You will then see your completed ticket.
Searching Tickets
-
Click Requests in the top right-hand corner.
The preceding number indicates the total number of open tickets. 
-
Select one of the following options from the drop-down list:
-
Created by me – provides a search screen for all open tickets you have submitted.
-
Your company – provides a search option for all open tickets your company has submitted and has given you access to (if applicable).
-
All – provides a search option for all open and closed tickets you or your company have submitted.
-
-
Each option provides you with flexible filters to complete your search, including status, created by user, participation users, and request types. In additional, you can utilise the simple search option to search any keyword across all tickets.

Reviewing Tickets
To update or enter a Comment on an existing ticket:
-
Log in to the self-service ticket portal and go to Requests in the top right-hand corner.
-
Find and select the ticket you would like to update.
-
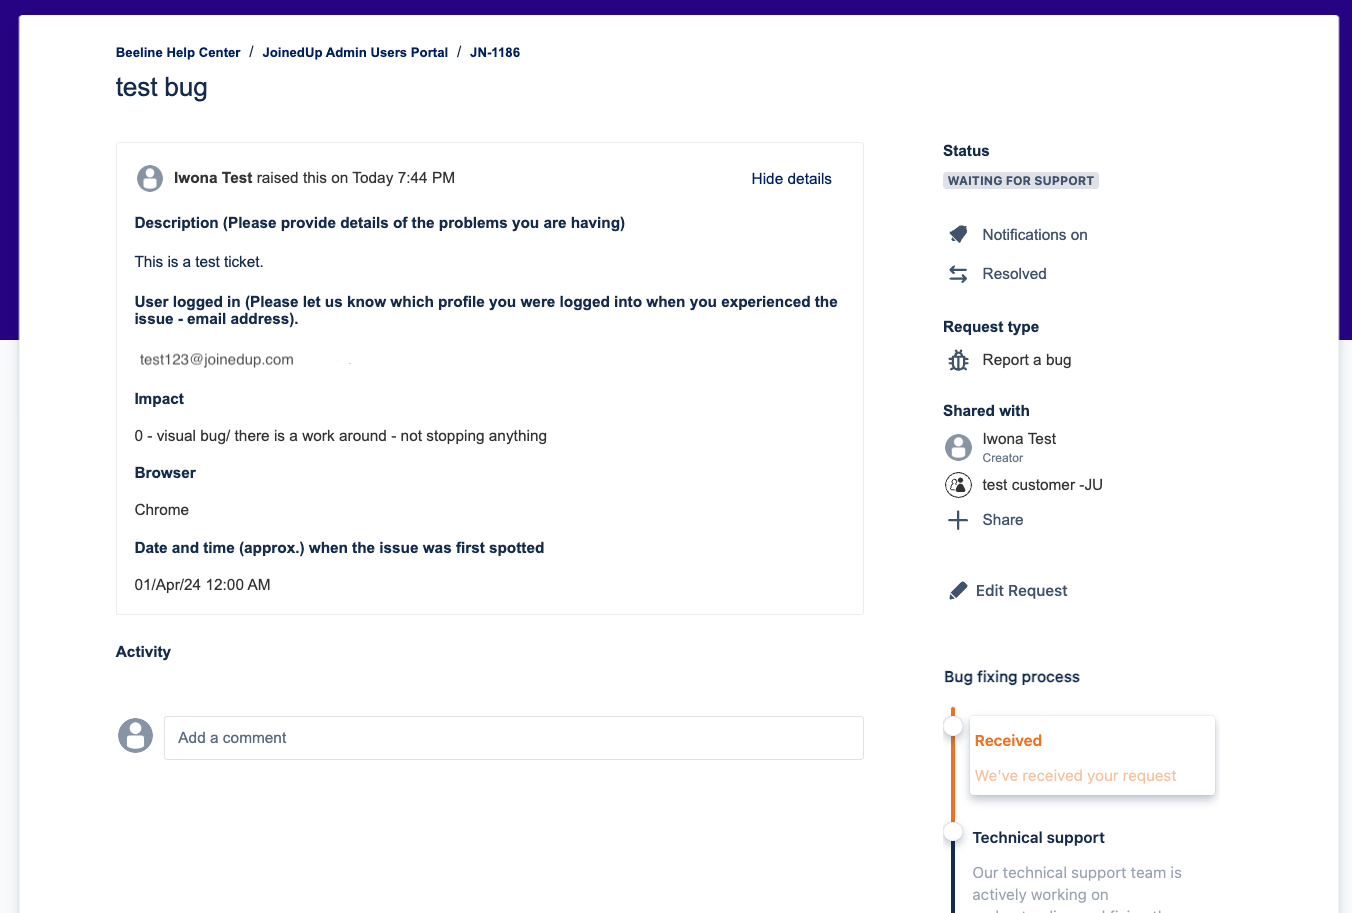
From this view, you can:
-
Review all original ticket details.
-
Review ticket status and activity.
-
Share ticket with other selected users in your organisation
-
Add new ticket comments for JoinedUp’s review.
-
Turn off email notifications for this specific ticket.
-
Mark ticket as resolved if the issue is no longer occurring.
-
Edit some sections of the ticket, depending on the ticket type.
-
Prioritizing Tickets
You help our team prioritize your tickets by making sure that you provide us with all the relevant information requested in the ticket form.
Bug tickets – Please make sure to fill in the Impact and Number of affected users fields correctly. The bug tickets are resolved in order of priority based on our company SLAs.
General inquiries and Admin – We’re trying our best to pick these queries on a priority basis. Every attempt is made to address ticket issues in a timely manner, however it can be difficult to predict ticket volumes and complexity.
If your query becomes more urgent, please send us a message in the Comments to let us know, and we will do what we can to help you out quickly.
Config and report requests – Since these are custom requests the Ops team may need to take some time to check if what you’re requesting is available in your configuration and may try to find an existing solution for you.
Most of the time you will be contacted by an Operations specialist to discuss the details before your request is accepted and the cost estimated. If you’re concerned about the wait time, please drop us a message in the Comments section on your ticket.