Managed Workers Screen
Our Managed Workers screen is designed to let you better manage and organise the worker pool. Select from a broad range of filters or use them in combinations to review the candidates submitted by suppliers for the job postings or to make selections when directly sourcing without using a supplier. Admin tasks such as linking workers to Branches or Shift Templates can be completed quickly by using batch options rather than processing them one by one.
|
If you are using the MSP functionality, you will not have access to the managed workers screen. However, if you want to supply workers to the client directly, you will have access to this feature. |
Workflow processes are enhanced and streamlined to efficiently get you through your workday. See below for details.
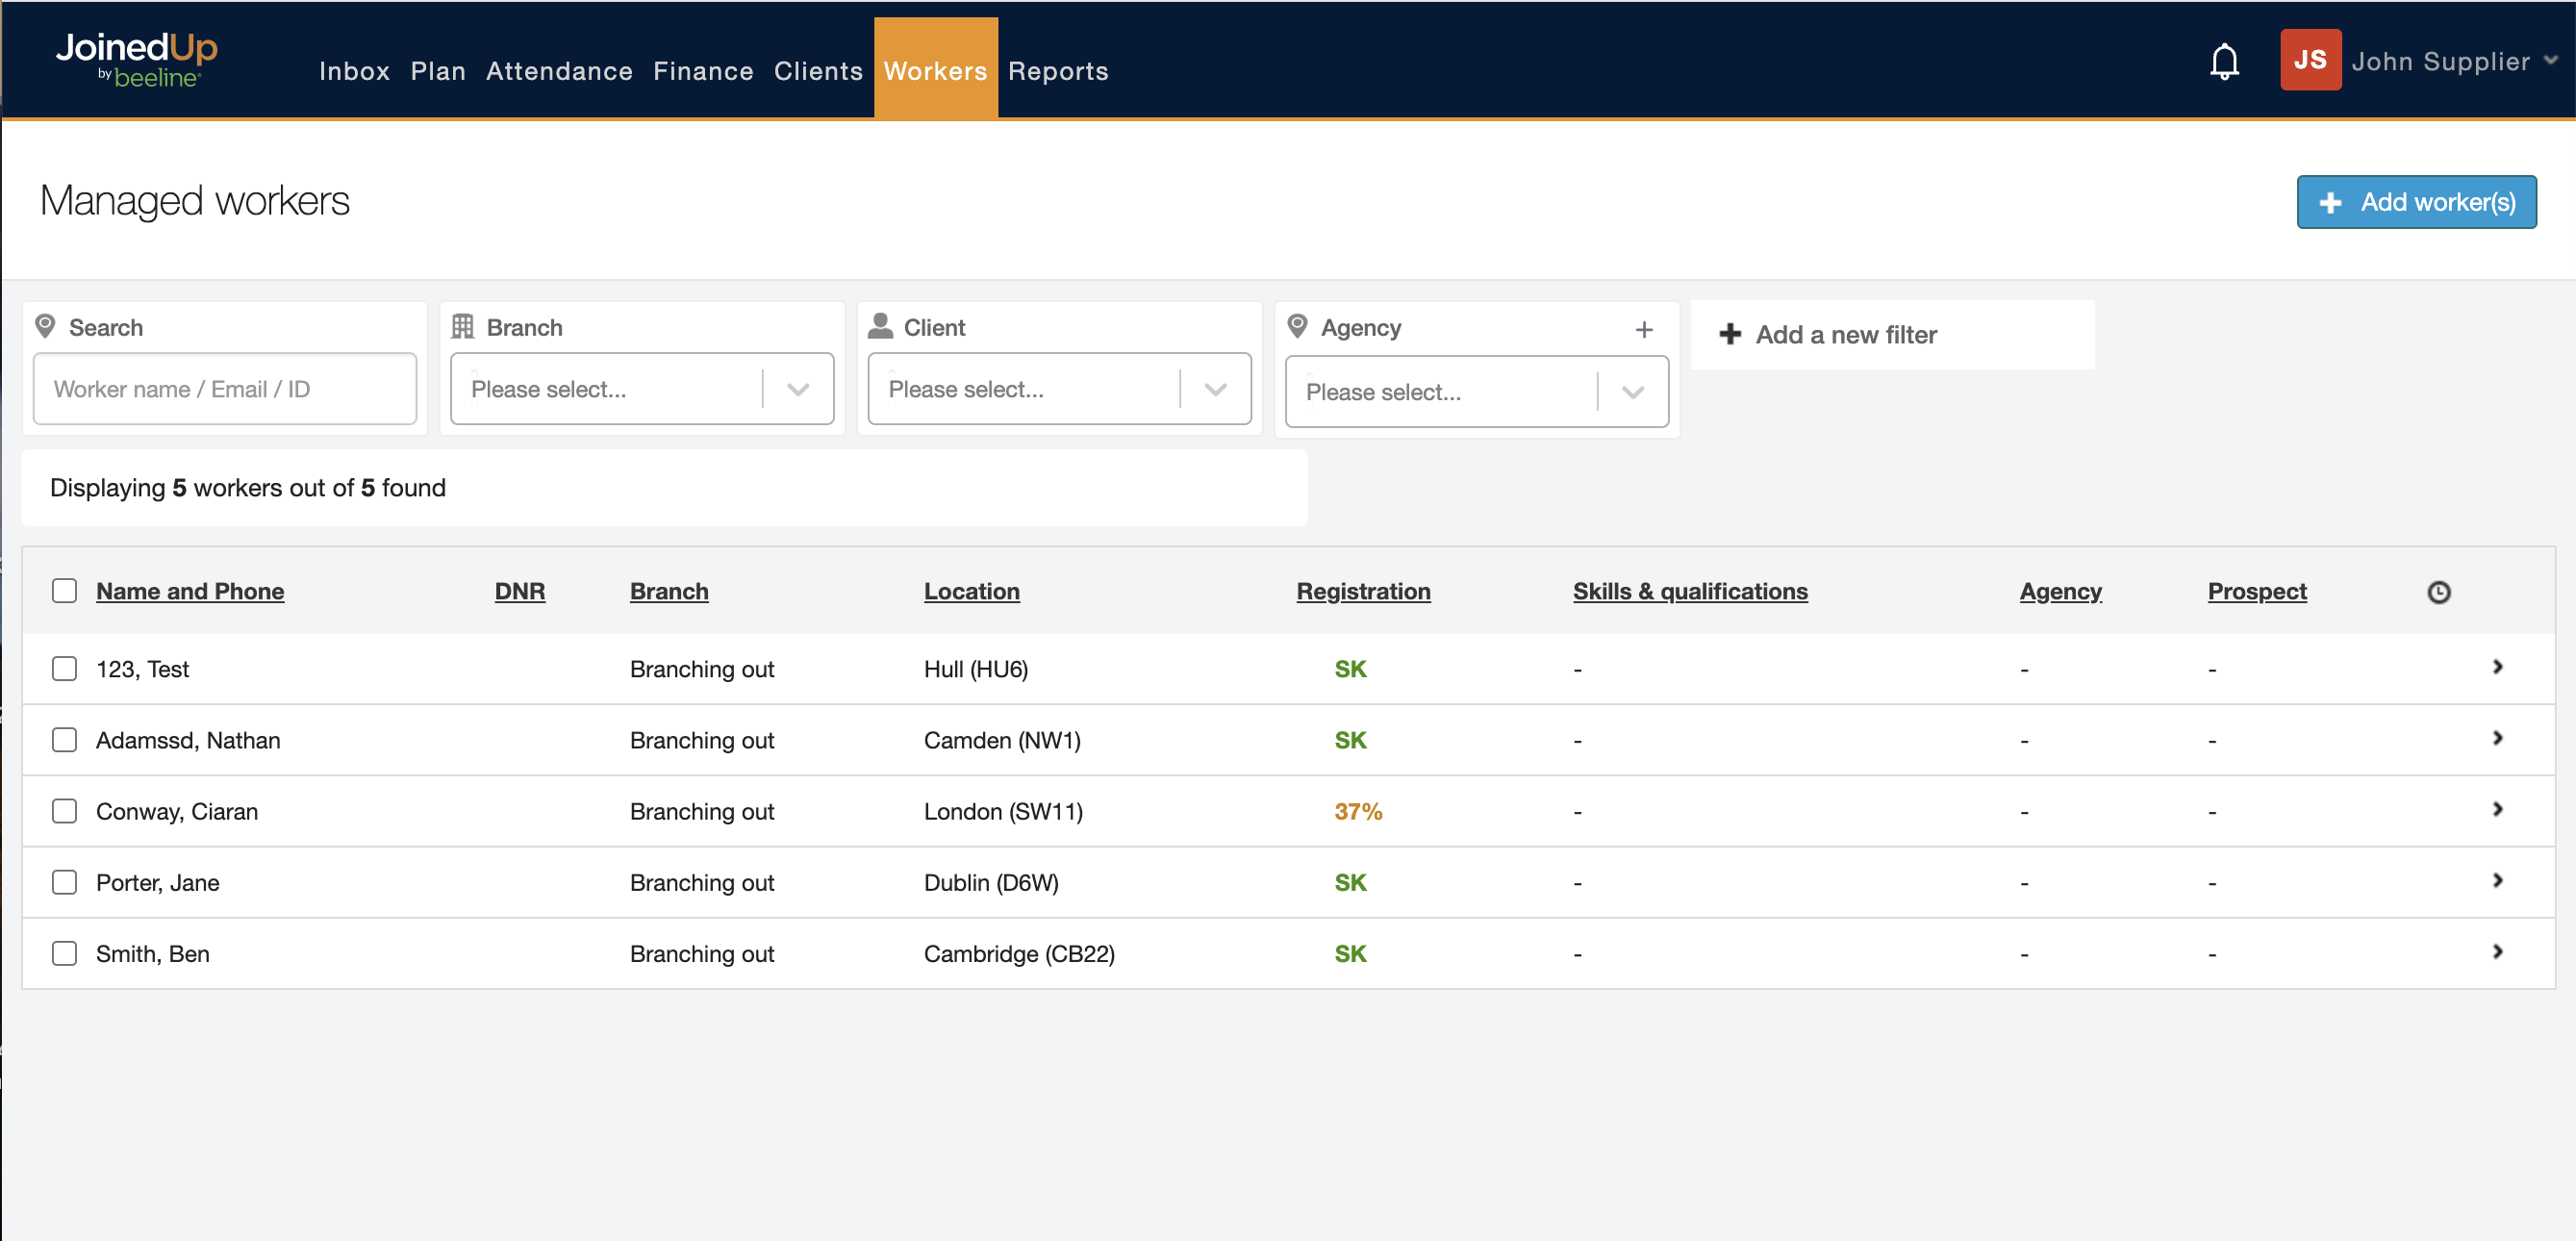
Searching and Filters

Search gives you the ability to look up workers by first name, last name, phone number, email address, or their JoinedUp ID.
Use the filters to display workers linked to a specific Branch or that work for a specific Client. If you’re working with Partner suppliers you can filter workers by their agency affiliation using the Agency filter.
Adjust the filter parameters to sort by other key worker identifiers such as age, driving licence category, or the distance from their work site, and other criteria.
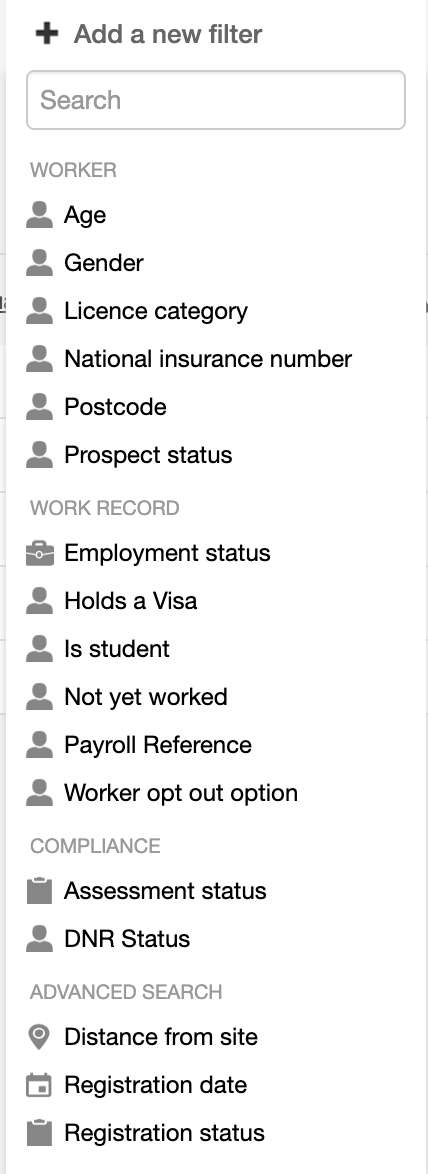
Need more filter options? Simply click Add a new filter to display the list of additional options.
Combine different filters to define your own search query, for example, workers registered to work for the client, Test 789, on the site, TEST 456 and who are over 25 years old and haven’t worked any shifts yet.
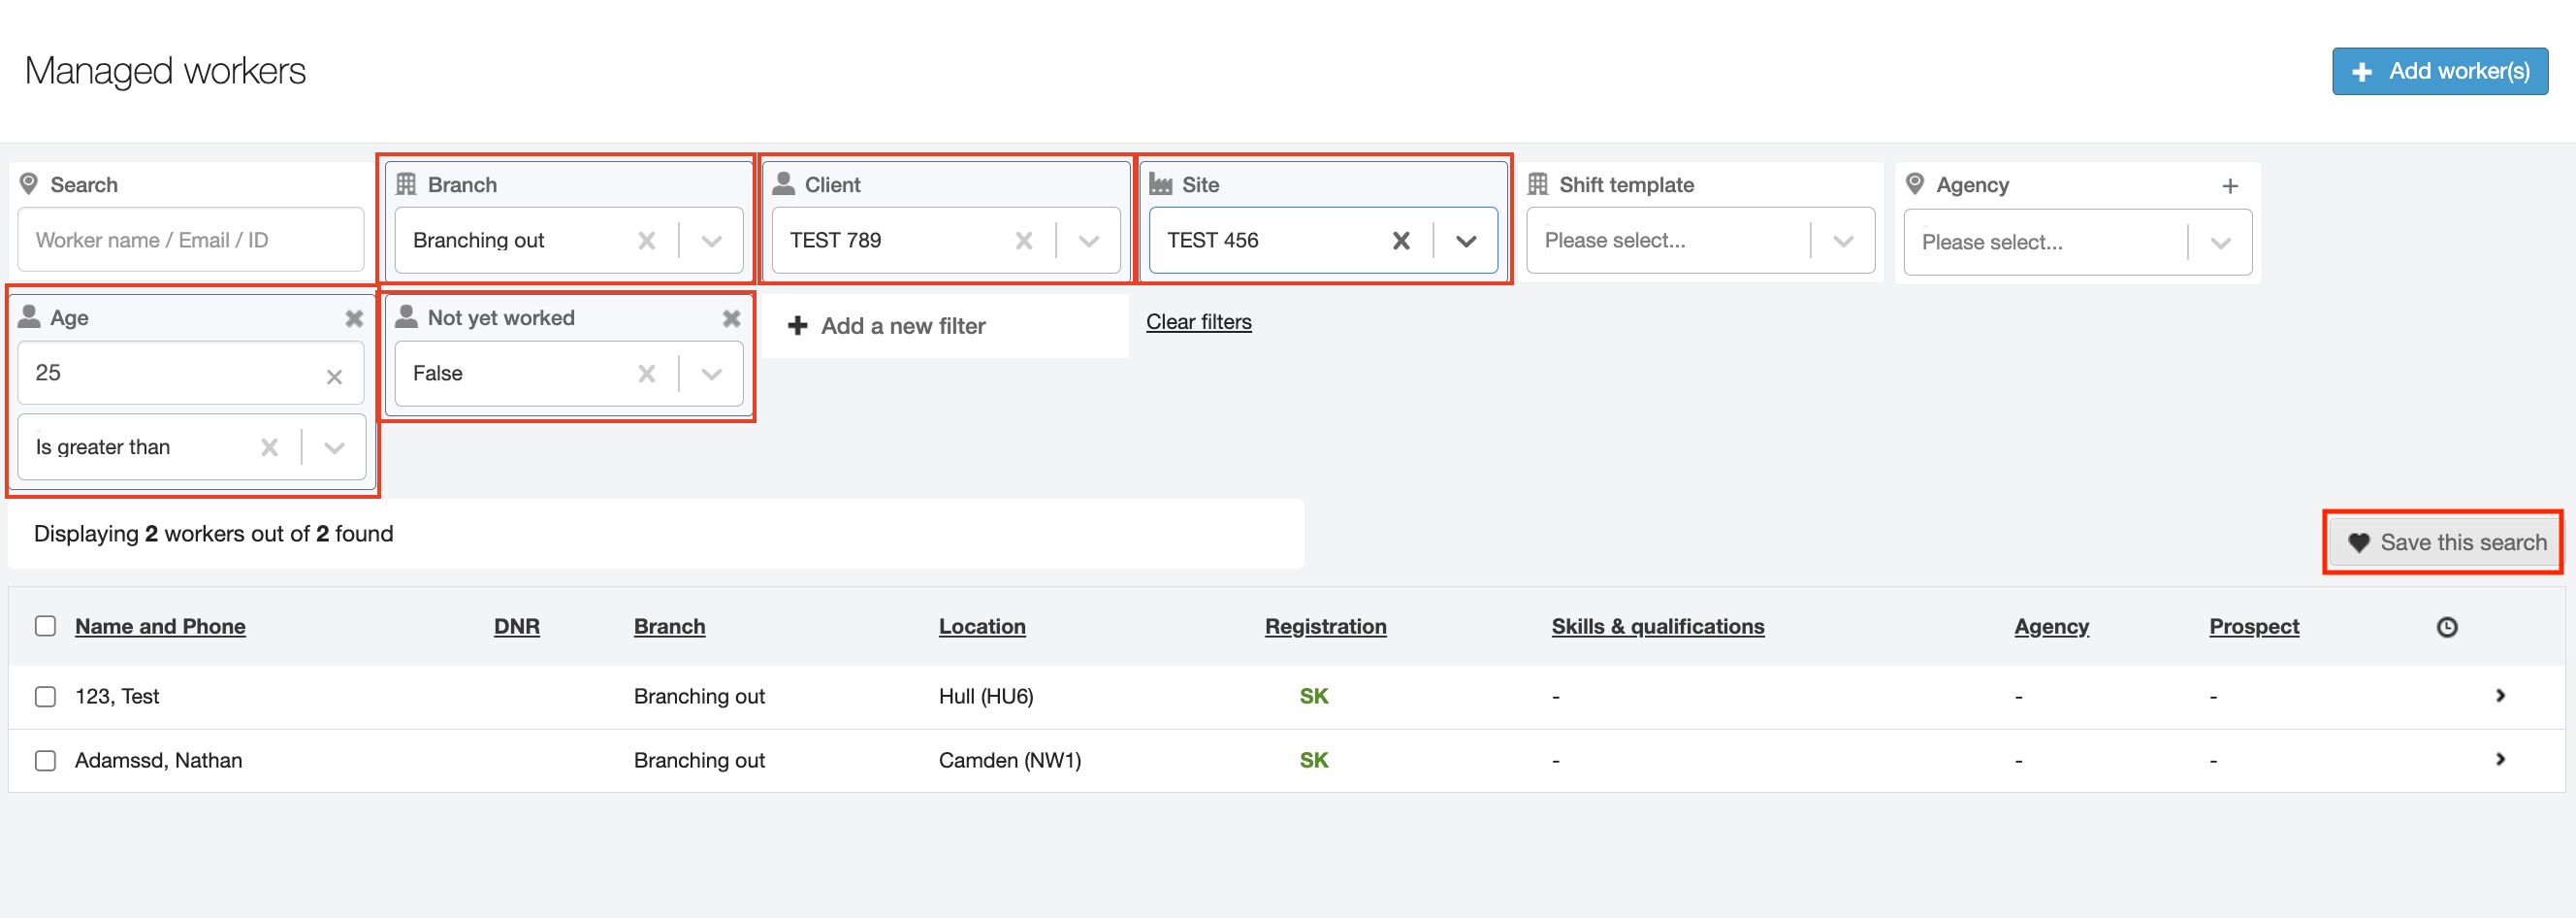
You can also save your custom search query for future use by clicking the Save this search button.
Batch Actions
Selecting at least one worker enables batch actions.
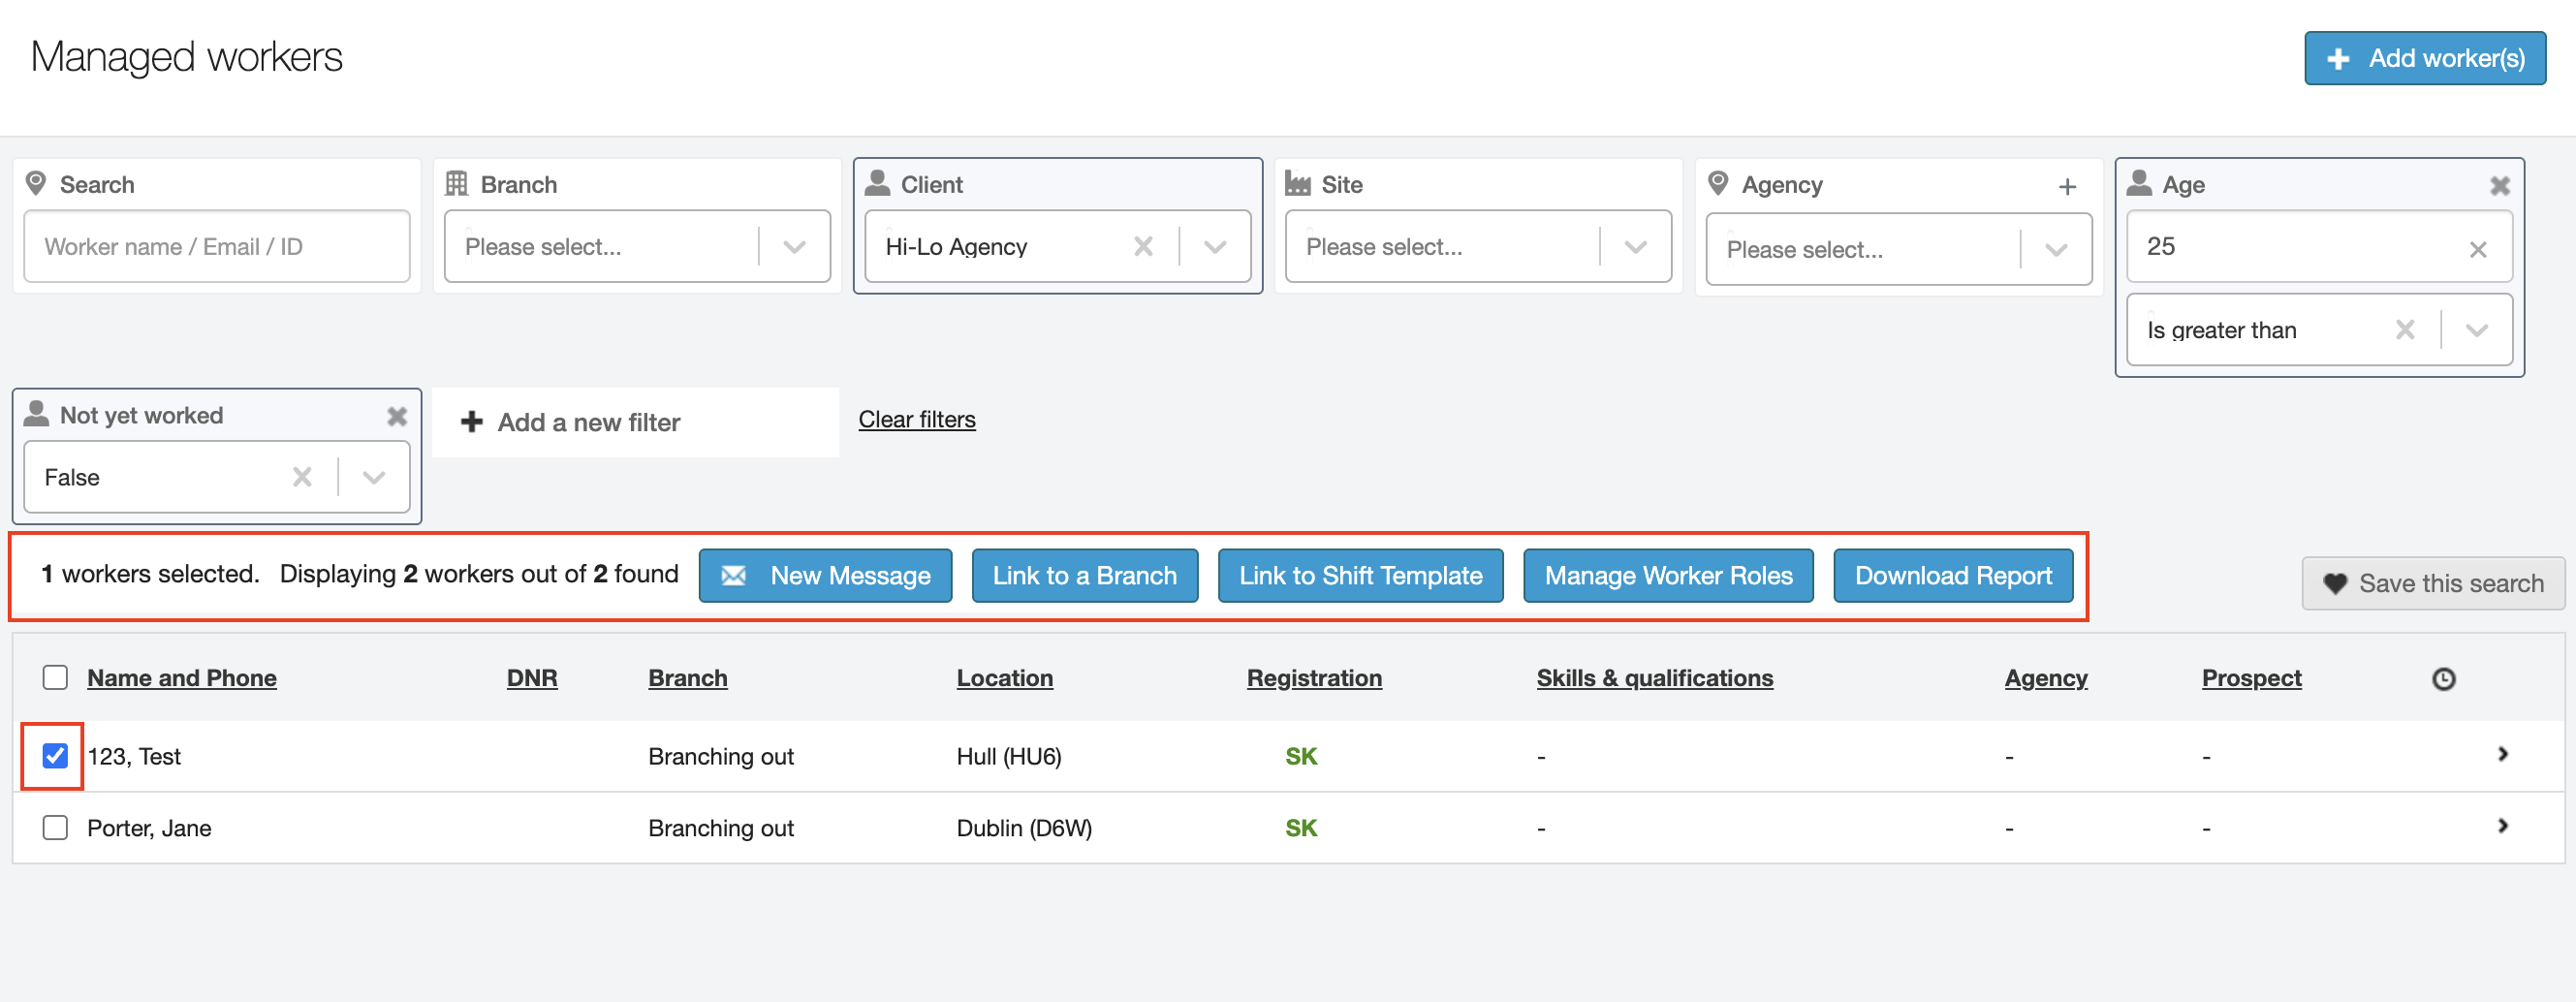
This will allow you to send a group Message (email and/or text) as well as link the selected workers to a Branch or a Job Card (Shift Template).
You will also be able to add or remove Worker roles in batch rather than profile by profile.
And finally, you can also download an On-boarding report that includes the details of the selected workers.
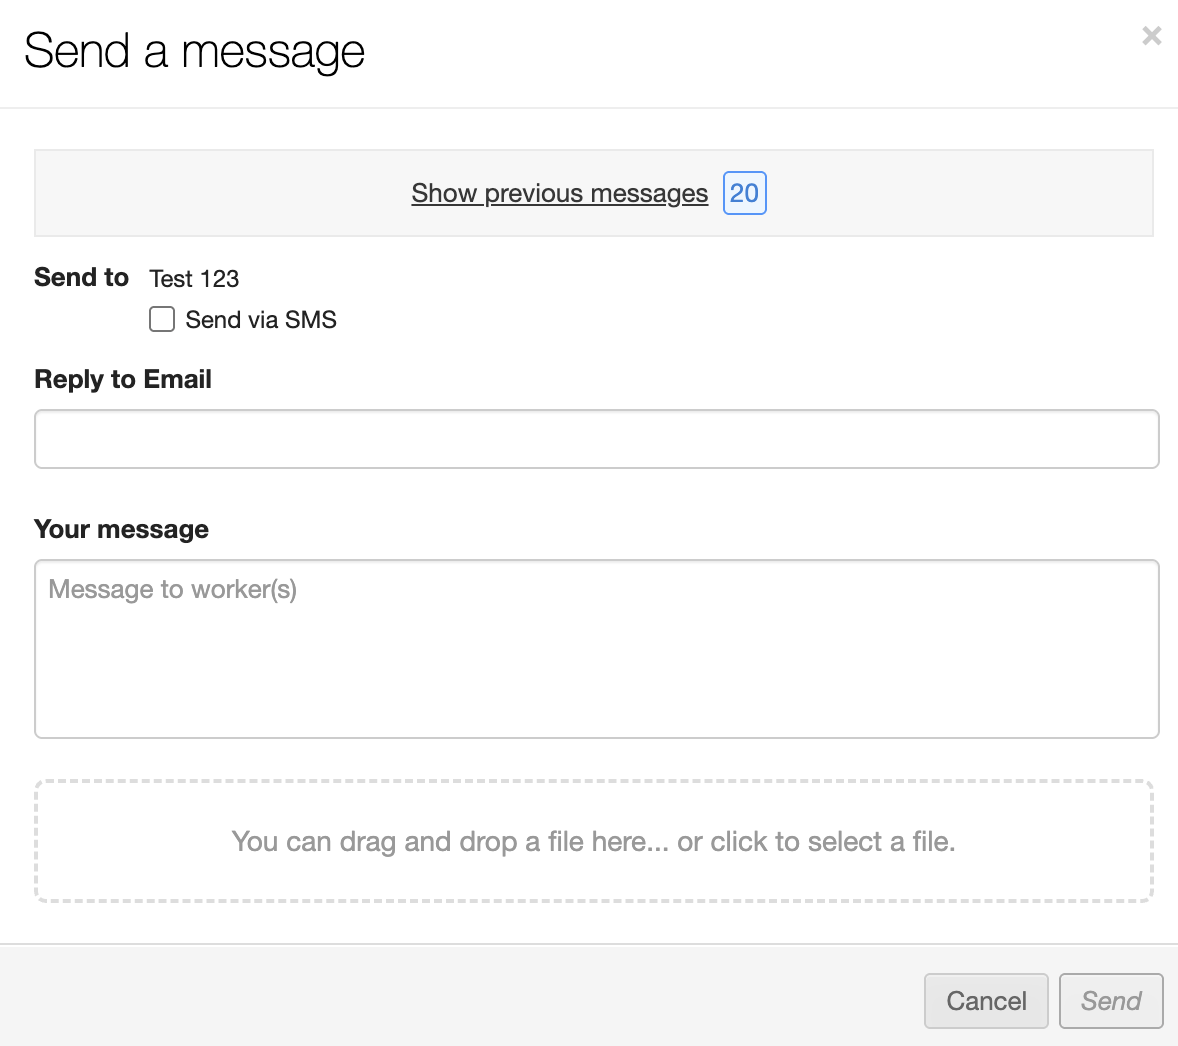
Messaging workers
Changes have been made to the messaging modal. We have removed the map toggle selector. You will now be selecting the workers to send the message to on the main screen.
The message you’ll send will go out as an email. You can put in a reply address and add attachments.
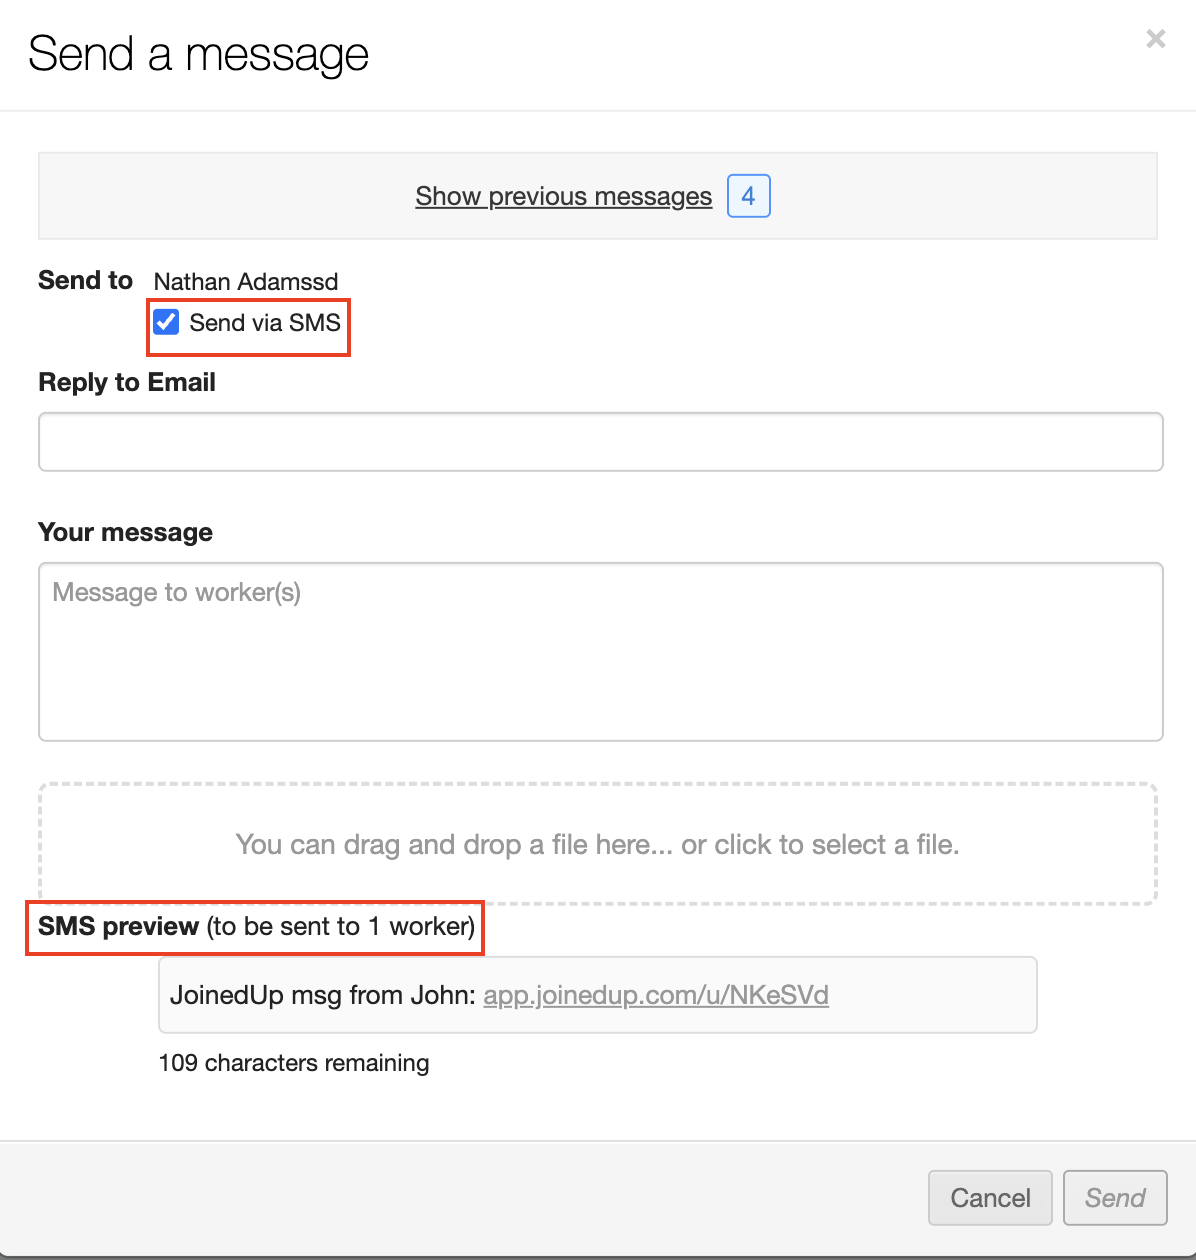
Tick the box to send your message in the form of a text message as well as an email. Please note that the SMS version is only sent to workers who confirmed their phone number. You will be able to look just above the message preview to see how many of the selected workers will receive the text message.
| When you tick the selection box in the header to select all workers, only the first 50 will be selected. Click the link to select all of them. |
There are no limits to the number of workers you can message via email, but when sending a text message, you can select up to 2000 workers to message at a single time. When more than 2000 workers are selected the option to ‘send via SMS’ will be greyed out. In order to use it, you need to make sure you stay within the 2000 per selection group limit.
