Creating Reporting groups
You can create new Reporting groups based on a range of combinations, depending on your needs. This could be for your Branches, your Clients, your Sites, or even your Shift templates. Once created, they are added to the selection list on your Bookings overview screen.
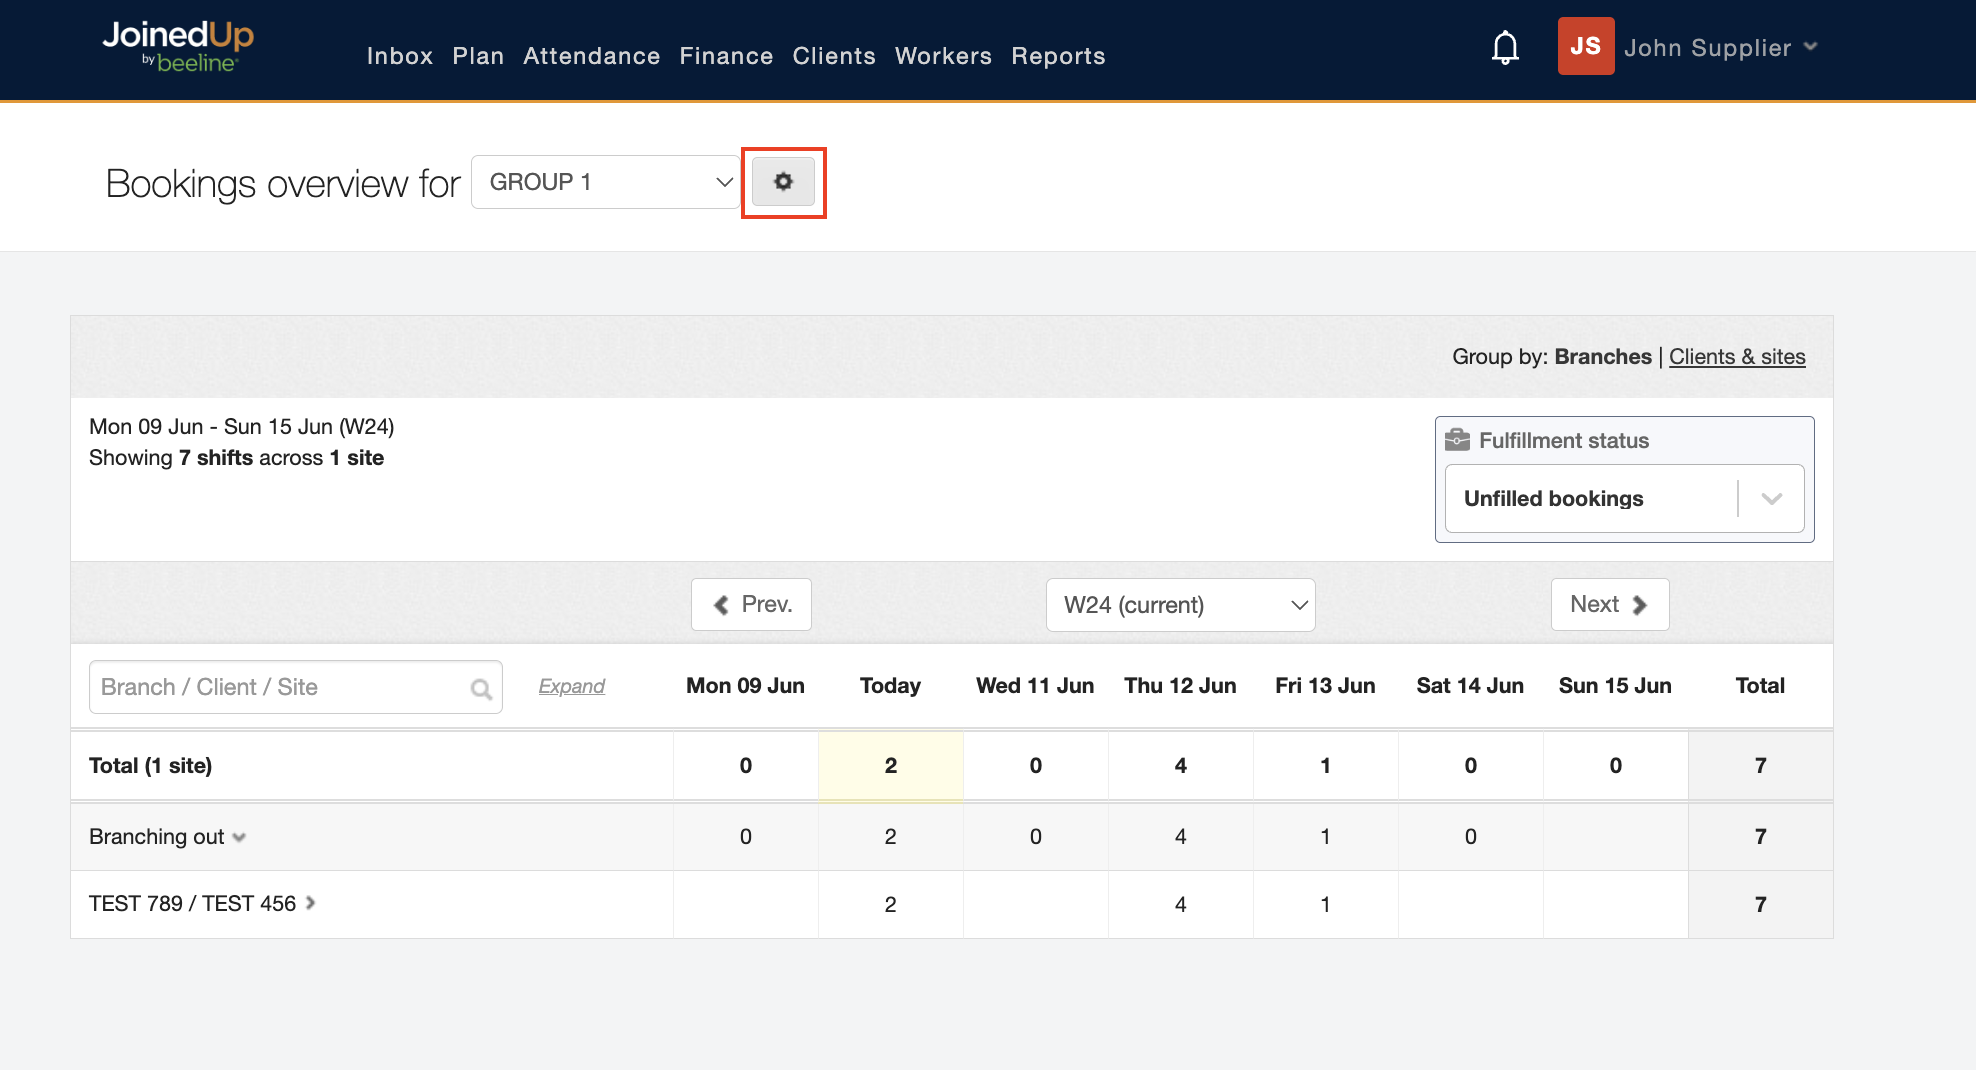
To create a new Reporting group, navigate to . Then click the settings gear icon next to the name of the current “Bookings overview for…” displayed. If no Bookings overview options have been set up yet, just continue to the next step.
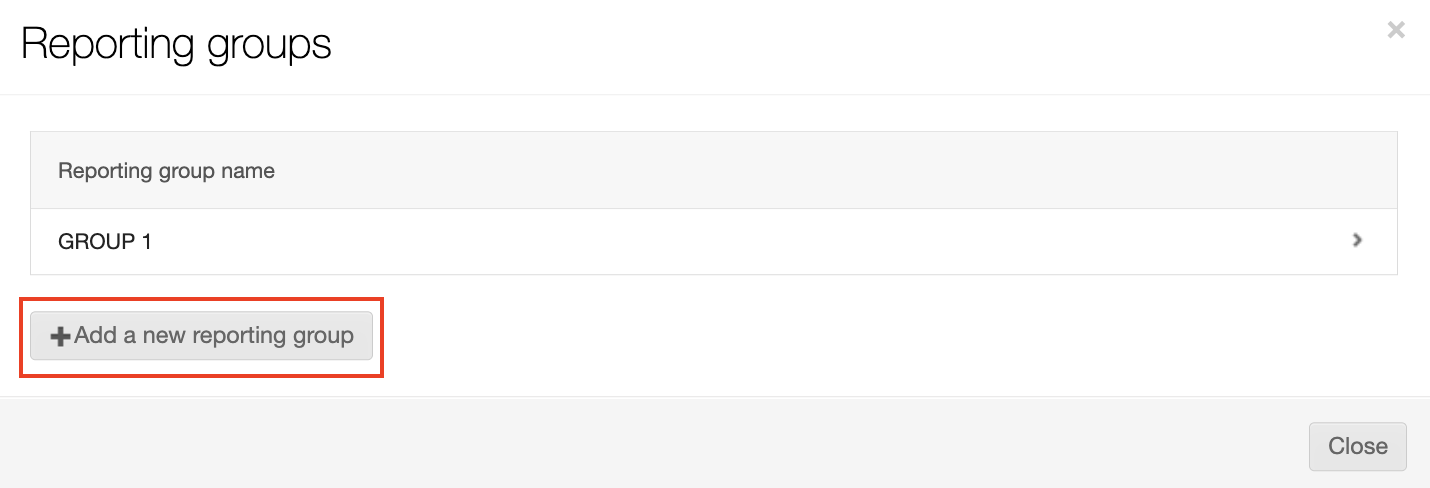
Click the + Add a new reporting group button to display the Create reporting group dialog window.
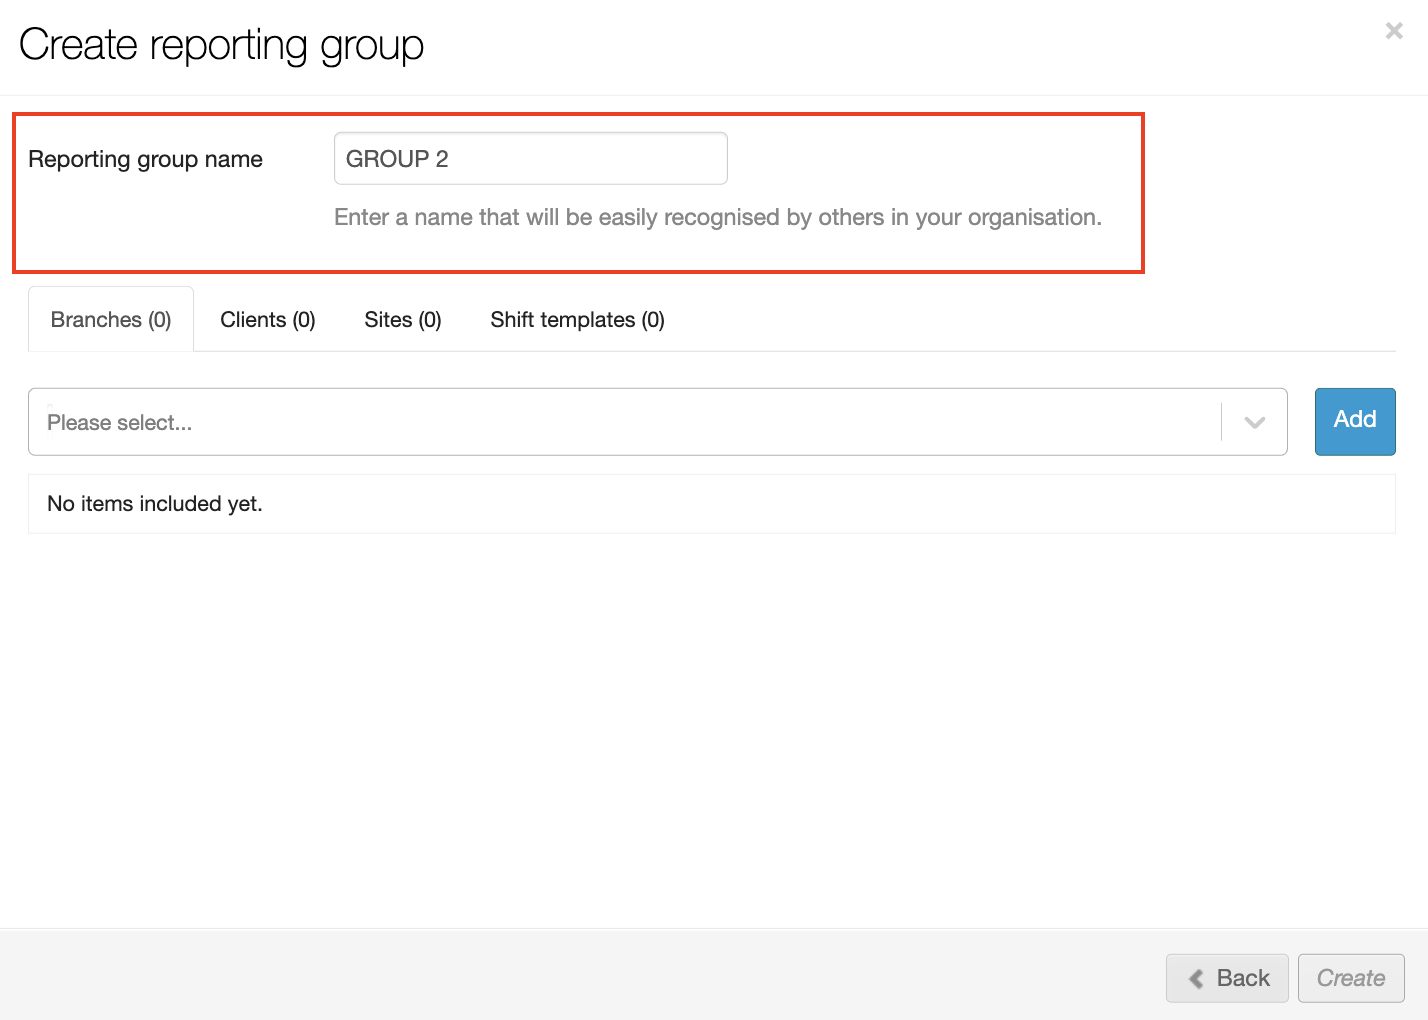
Enter a Reporting group name. Please note: although there are no format restrictions on this field, care should be taken to enter a name that clearly identifies the scope and purpose of the new reporting group since these reporting groups are shared across all users. You can use the Back button in the lower right-hand corner to return to the Reporting groups window if you need to review the current list of reporting groups.
| Agree to a Reporting Groups naming format within your program team. This will ensure that group names are consistent and that duplicate groups are not created by accident. |
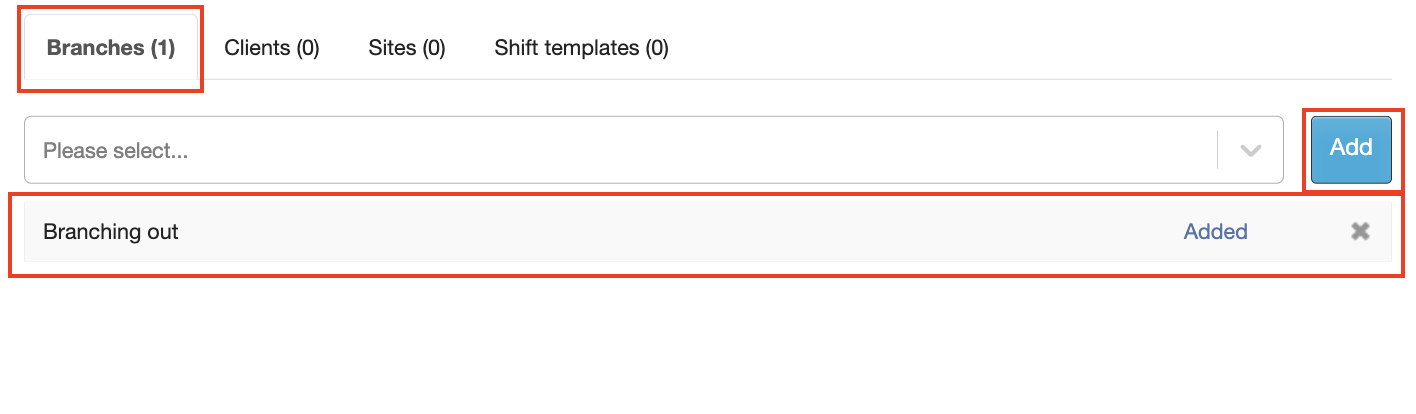
Once the name is entered, then choose from a range of different combinations by clicking between the Branches, Clients, Sites, and Shift templates tabs.
For example, under the Branches tab, use the selection list to locate the Branch you want to add to the reporting group. Select it from the list and click Add. Notice that the Branch name is now displayed and indicates it was ‘Added’.
Repeat to add all branches you need for this reporting group. The number in the Branches tab will match the total number of branches added. If you add a branch and then decide not to include it, then click the X button on the right-hand side to remove it. If you don’t want to include any branches, then skip to the next tab (Clients).
Choose 'Clients' and follow the same process you used to add Branches. Notice that the only “added” items displayed are items selected on the current tab, and not all items selected from all the tabs!
The Shift templates tab may display a “No items included yet” message based on the selections made for Branches, Clients, or Sites. You can leave this tab empty or create a shift template in a separate session and edit the Reporting Group later depending on whether you need one included in the reporting group.
Review your reporting group selections by clicking back through all the tabs. Adjust selections as needed.
Click Create to save your selections and exit the dialog window.
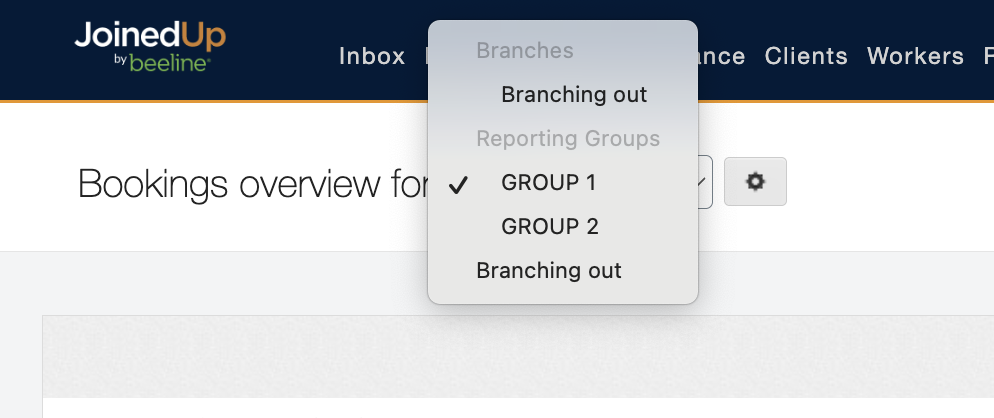
Verify that your new reporting group is now a selectable item by clicking the pull-down selection list arrow in the Bookings overview for… selection box at the top of the screen. You should see your new reporting group in the selection list.