Adding a worker to your plan
When using the screen, you will need to link a worker’s profile to a shift template for them to display on the planning screen.
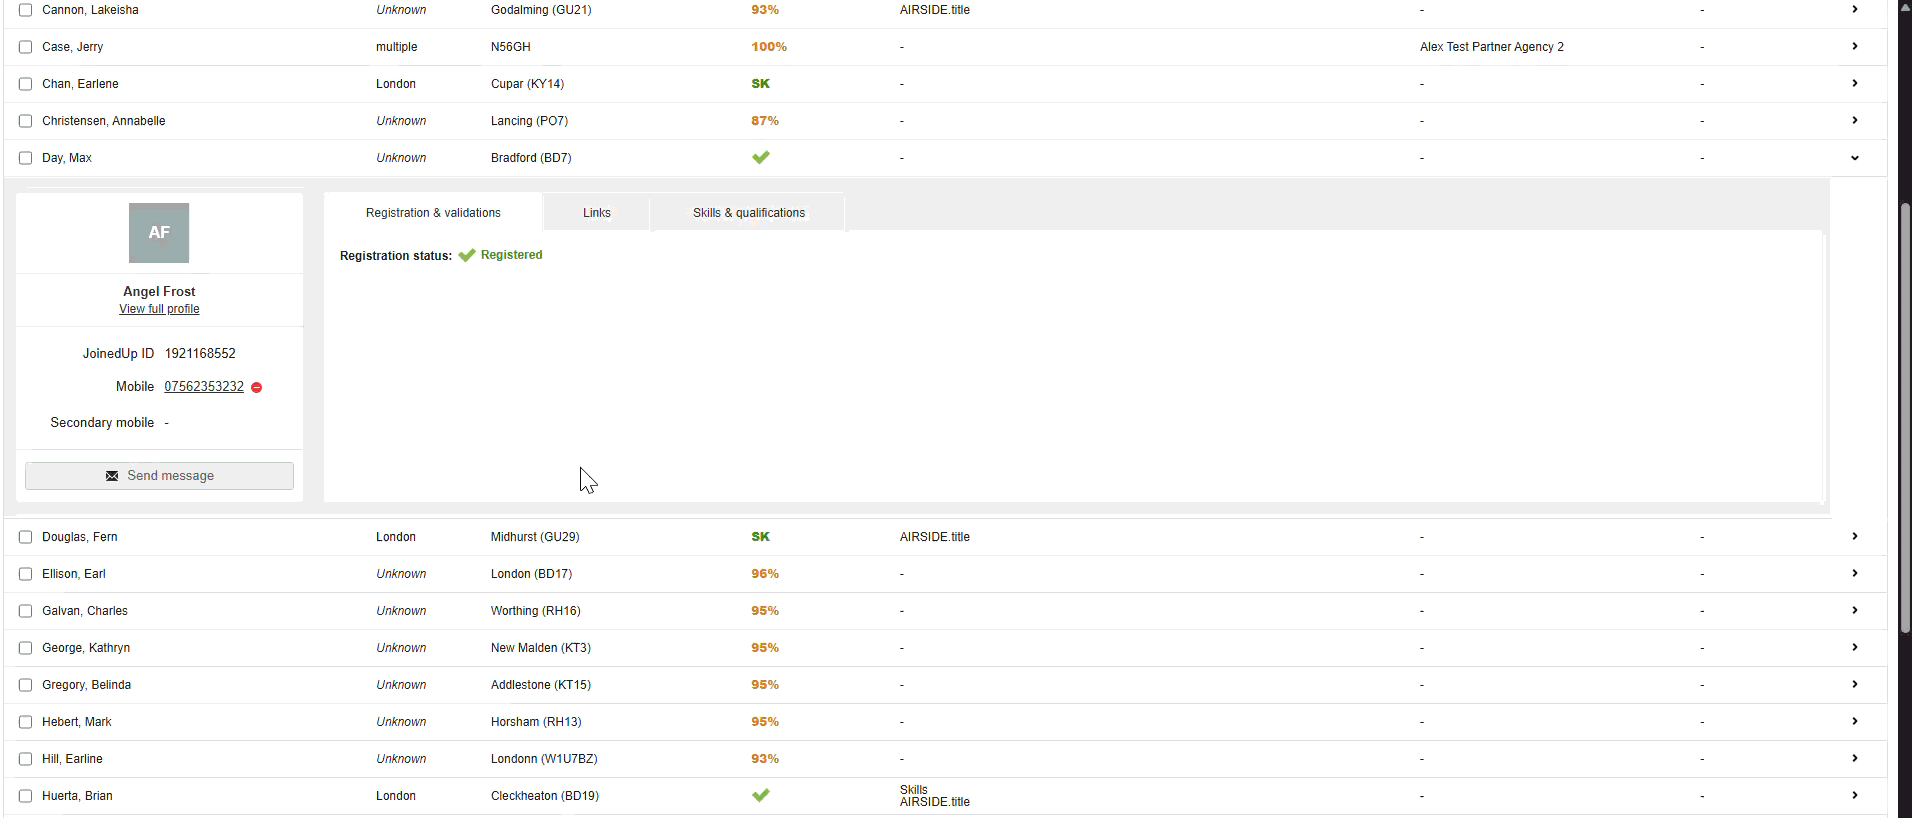
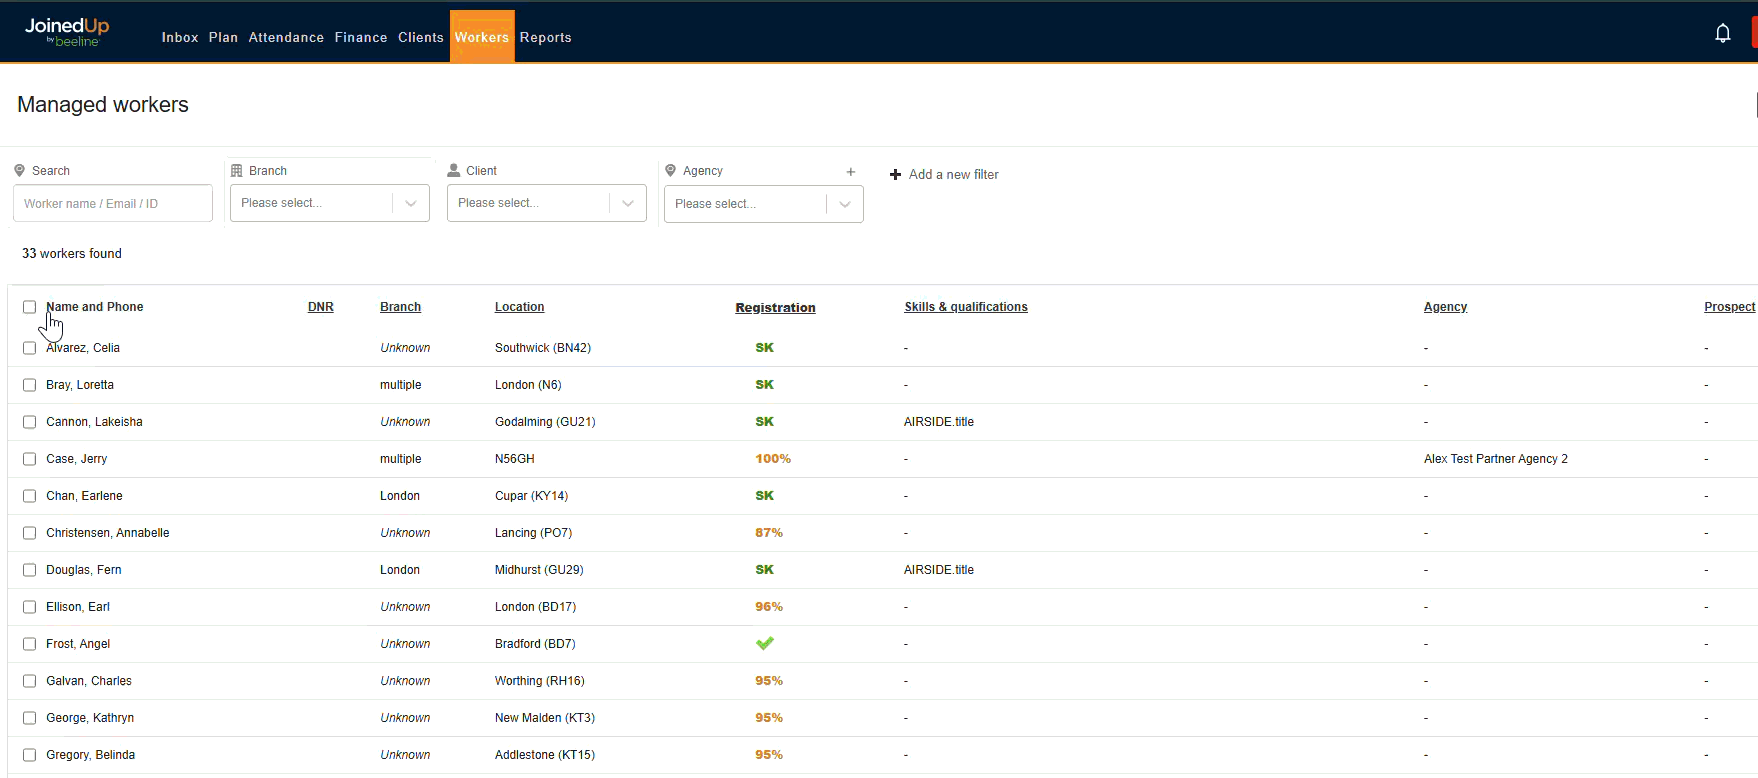
Step 1: Under the Workers tab find and select the relevant worker’s name to see their profile summary.
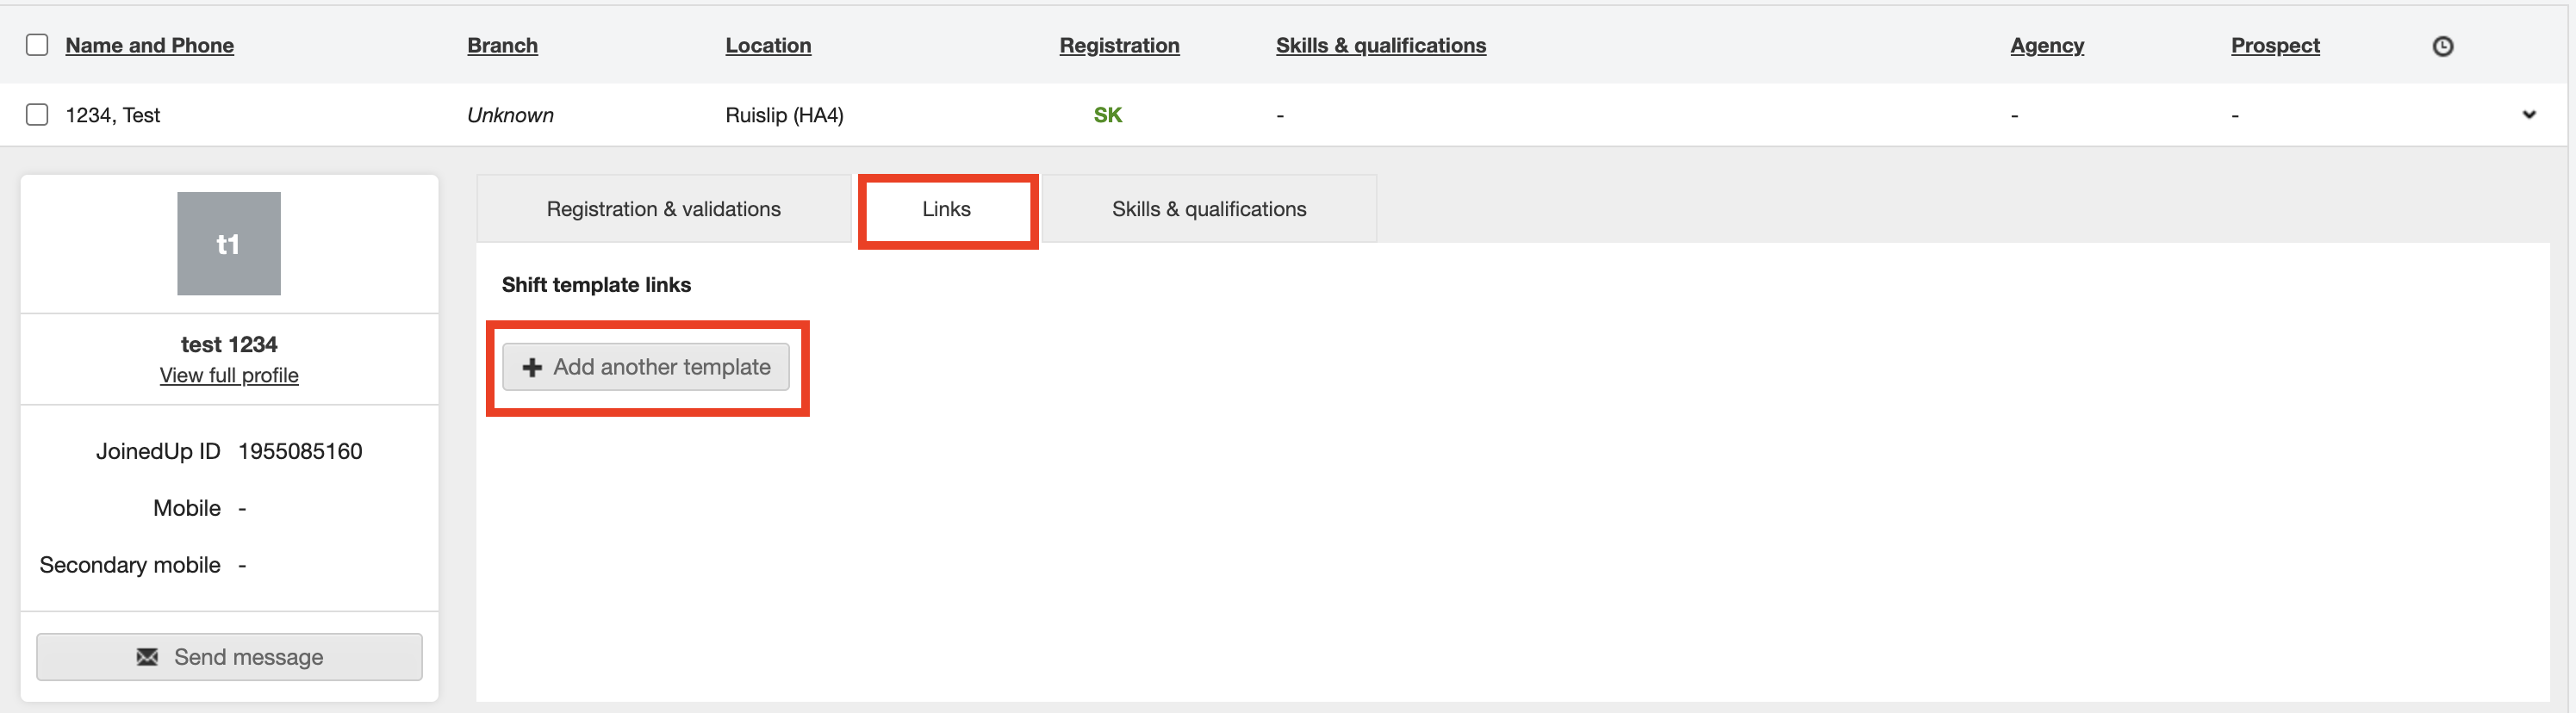
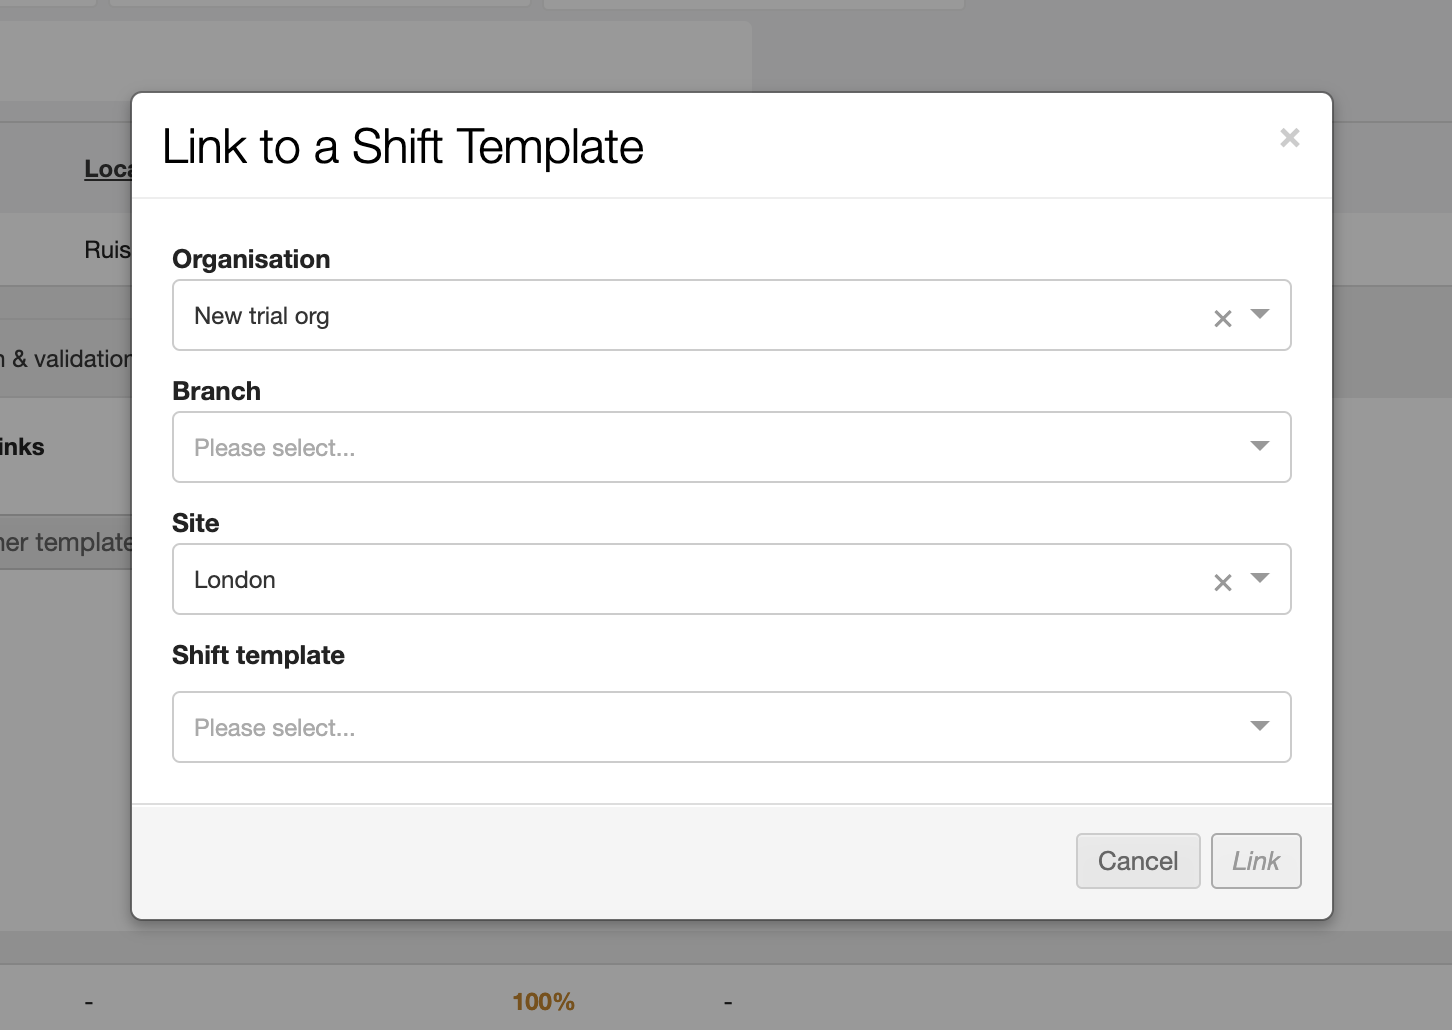
Step 2: Click the + Add another template button. A separate window will appear to add the template details.
Step 3: Select the organisation, site, the template, and the pay schedule this worker will be working on (for example, the company they are working for and which rates they should be on).
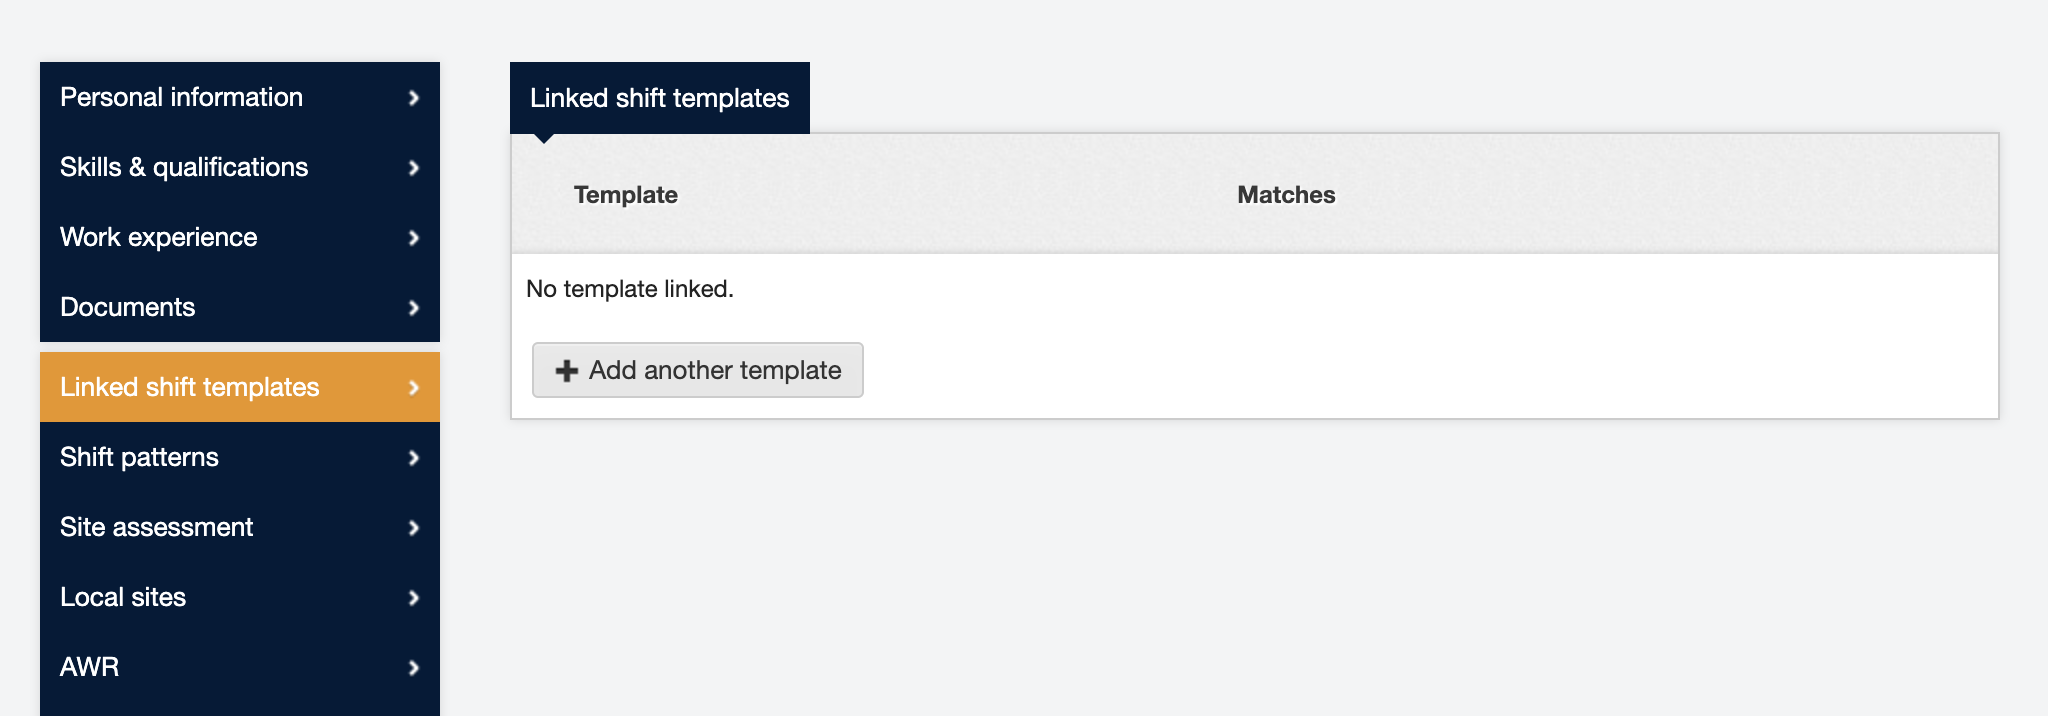
Step 4: You can also link a worker from their full profile. On the profile menu on the left-hand side there is a Linked shift templates section. You can link workers to multiple templates if they work at a variety of sites or qualify to fill a range of roles.
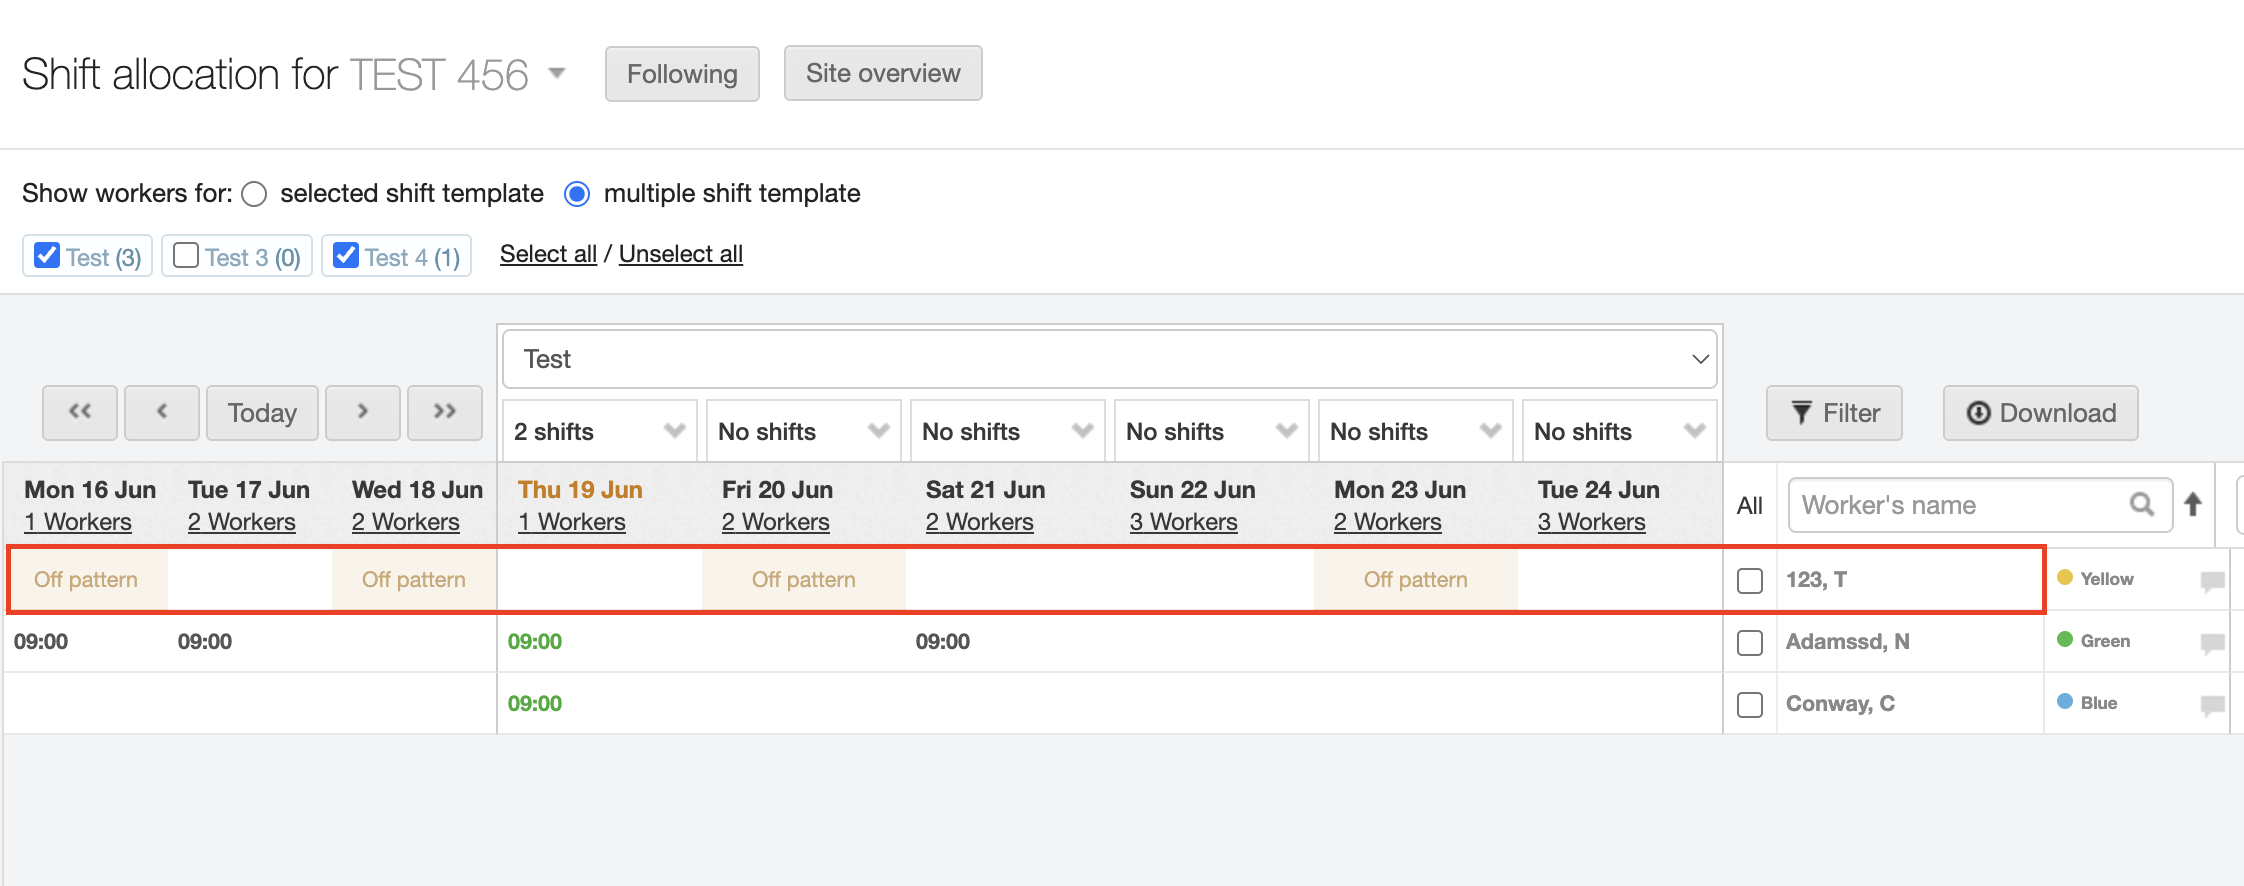
Once you have linked a worker a shift template, their profile should look like this:
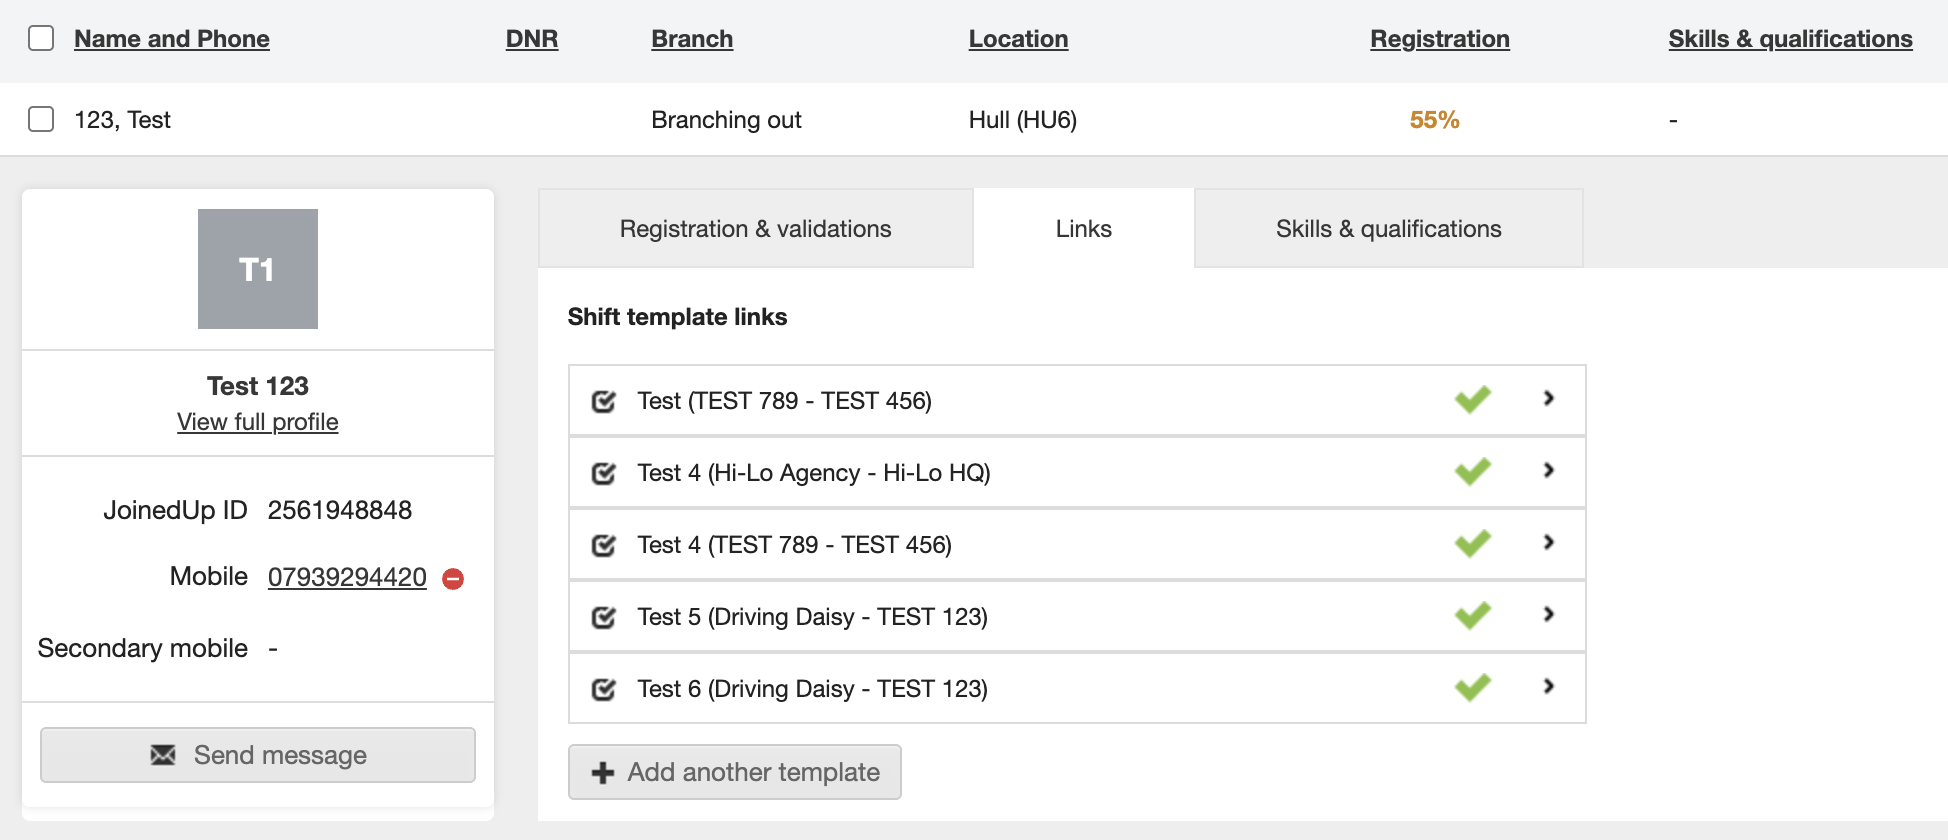
Their name will then appear on the Shift allocation - On site screen.