Linking Workers to a Branch
A worker needs to be linked to the Branch for their name to display on the Branch Allocation screen and in order to be able to book shifts to them.
For some of our Clients, the worker’s profile will not be editable unless they are linked to their managing Branch. All the shifts are greyed out and the profile is not selectable.
To change that, the worker needs to be linked to your branch.
There are two ways to link a worker to the branch screen.
Creating a new profile
A worker can be linked when setting up their profile. When you click Add new worker there is a branch drop-down option. If you select the branch this will link the worker to the plan.

| This guide was created using standard settings. Your specific setup is based on your company’s configuration settings and/or data visibility rules and may vary slightly from what is described here. |
Linking an existing worker
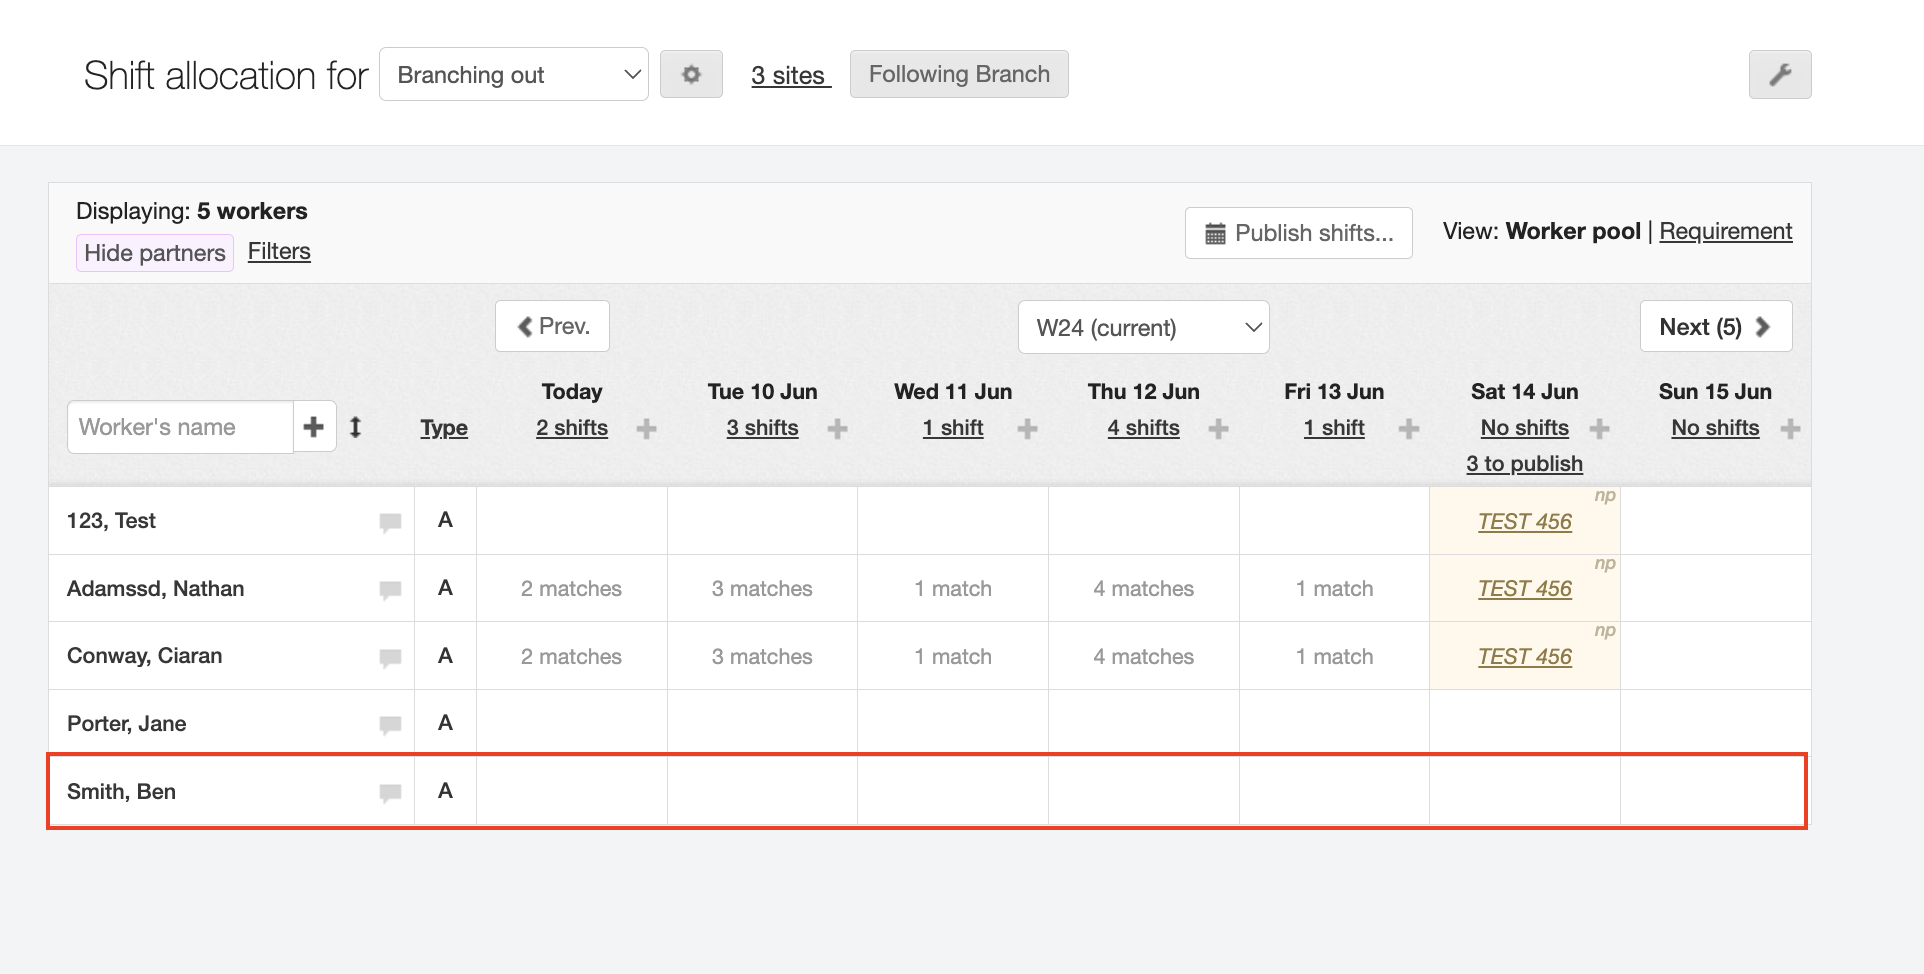
Navigate to and then select the Branch you need in the Shift allocation for … selection box.
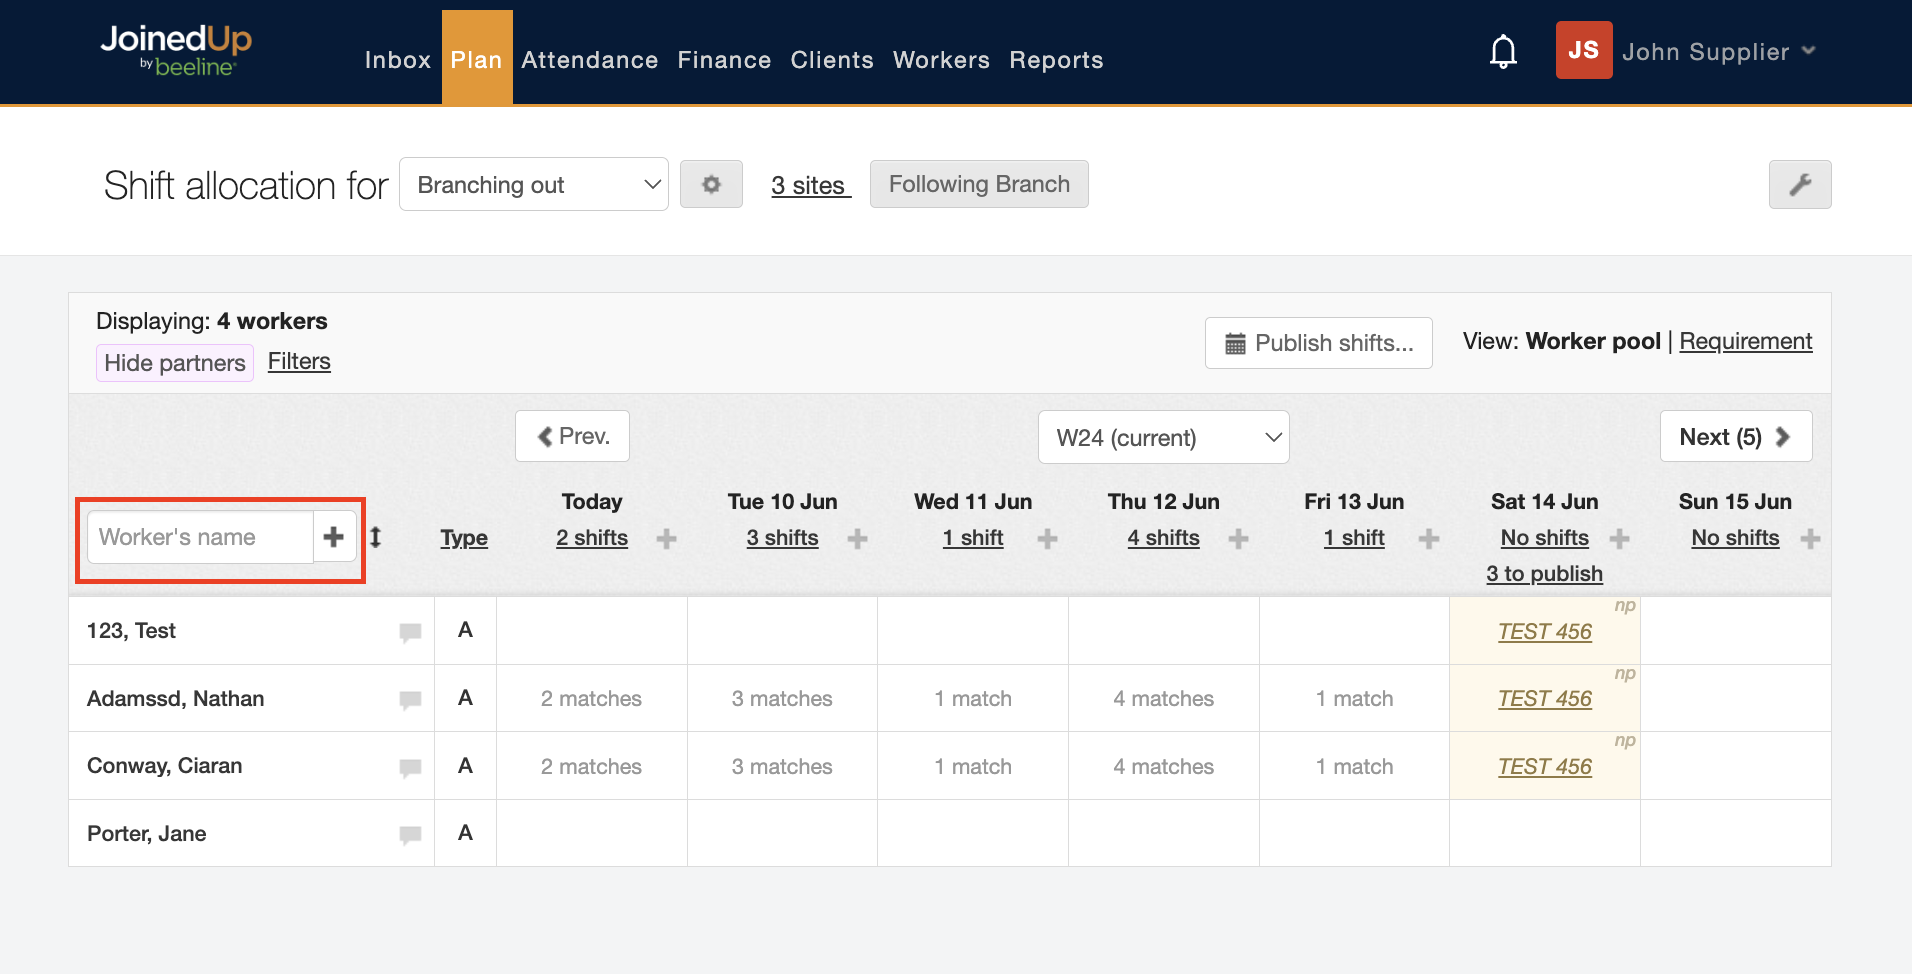
Click the + (plus) button next to the Worker’s name search field. The Link a worker to [Branch name] window opens.
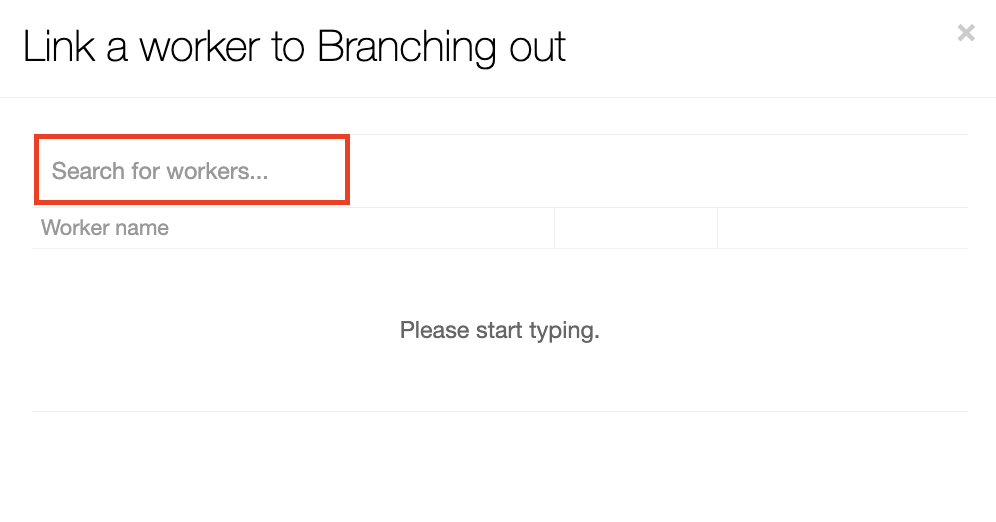
Enter the worker’s name, email, address, phone, or JU ID in the Search for workers field and a list displays with matching results.
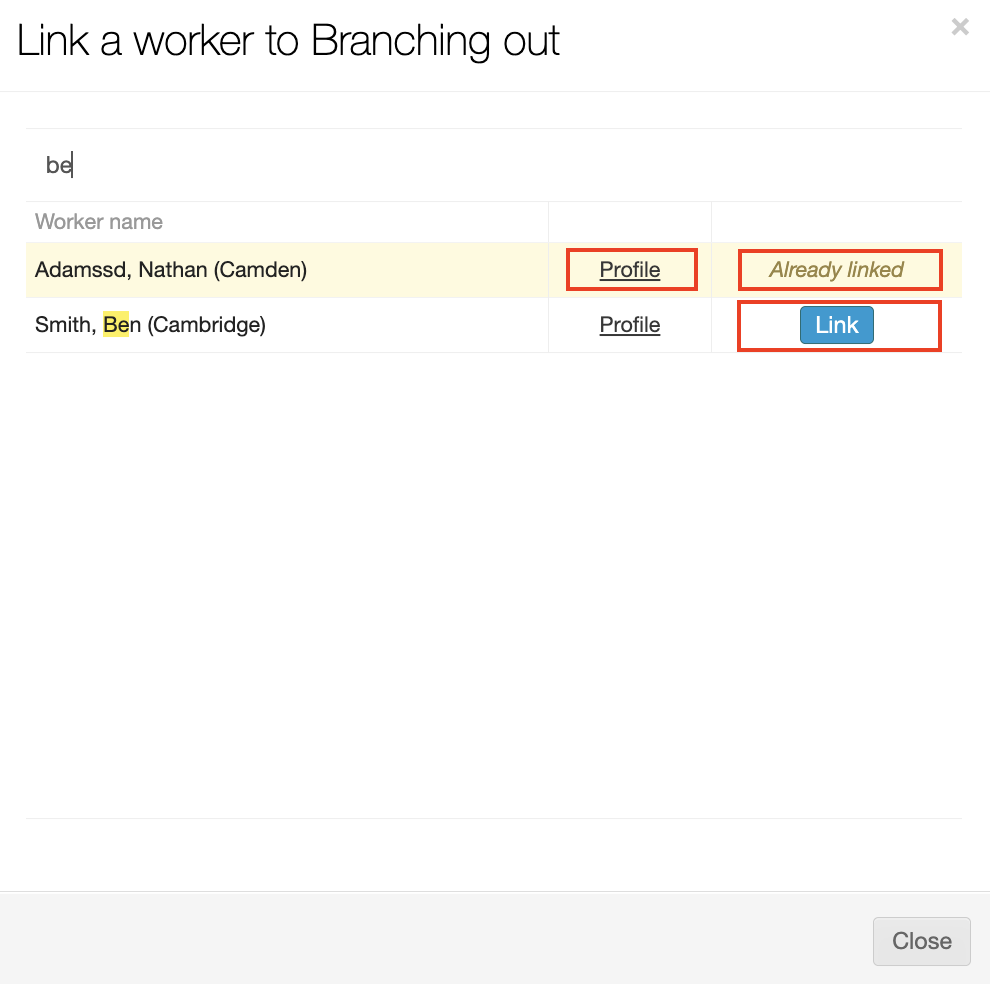
Once you find the worker you want to link to the Branch, click the Link button. Notice that the list will indicate any search matches where the worker is already linked to this Branch. It also includes a Profile hyperlink option if you need to review the worker’s details before linking them to the Branch.
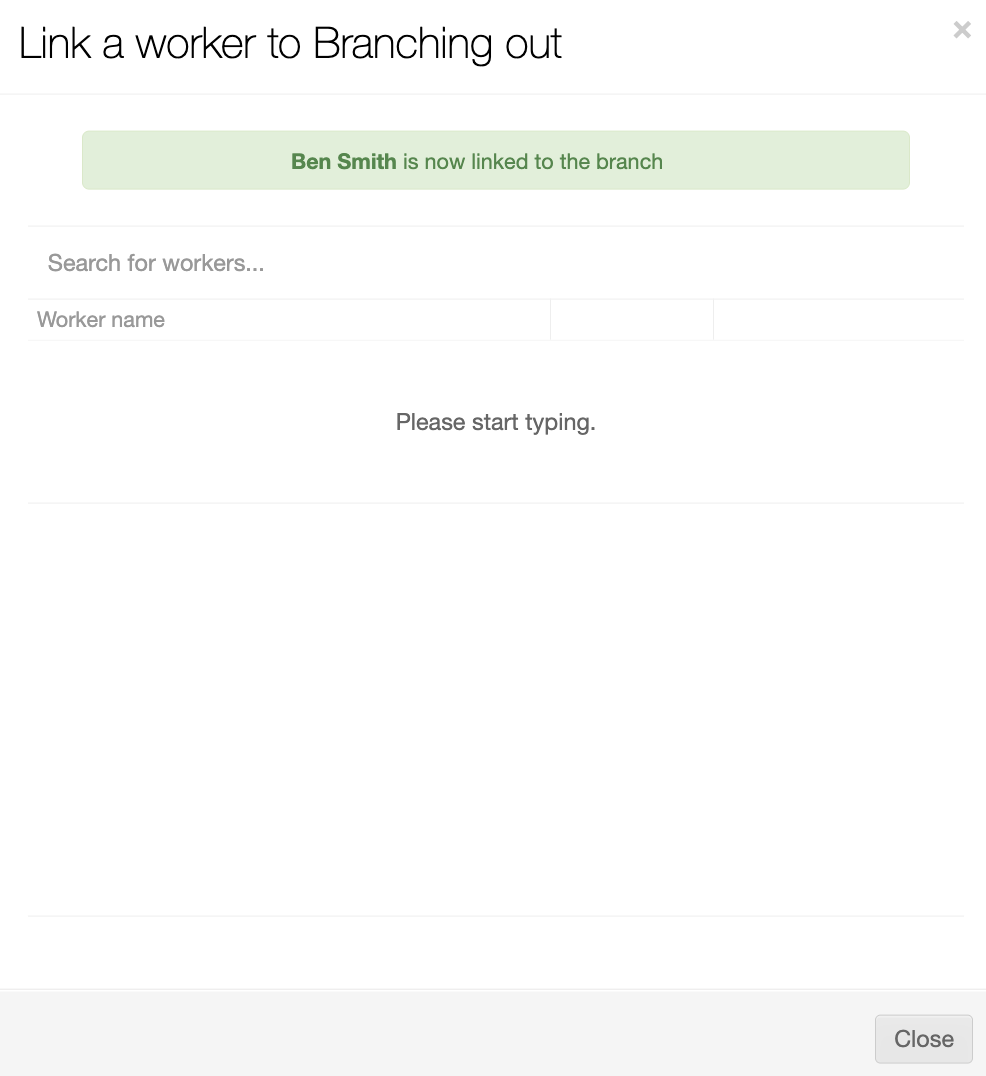
The window updates to confirm that the worker is now linked to the branch. Repeat the search and link process until all the workers you need to add have been linked to the branch. Click Close to return to the Shift allocation (Branch) screen.
The worker is now included in the list of workers displayed on the screen and can be selected for shift allocations.
To unlink a worker from a branch:
From the Shift allocation (Branch) screen, check that the Branch to be unlinked from the worker is the selected Branch in the Shift allocation for … field.
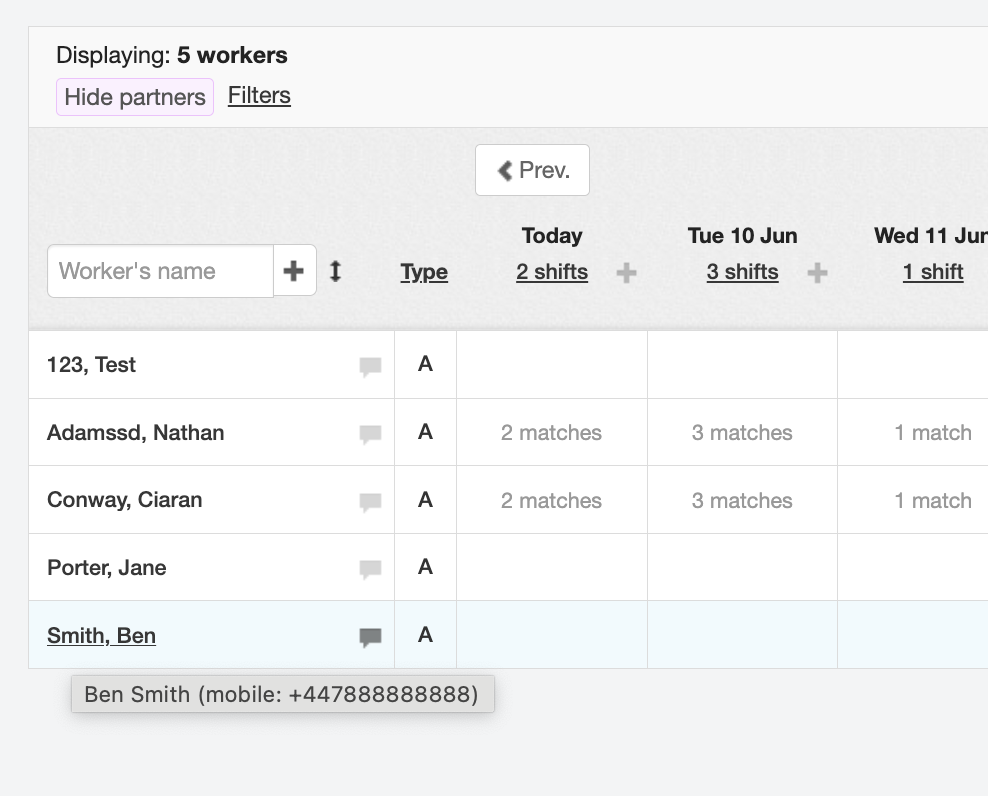
Locate the worker’s name on the displayed list and click the worker name hyperlink.
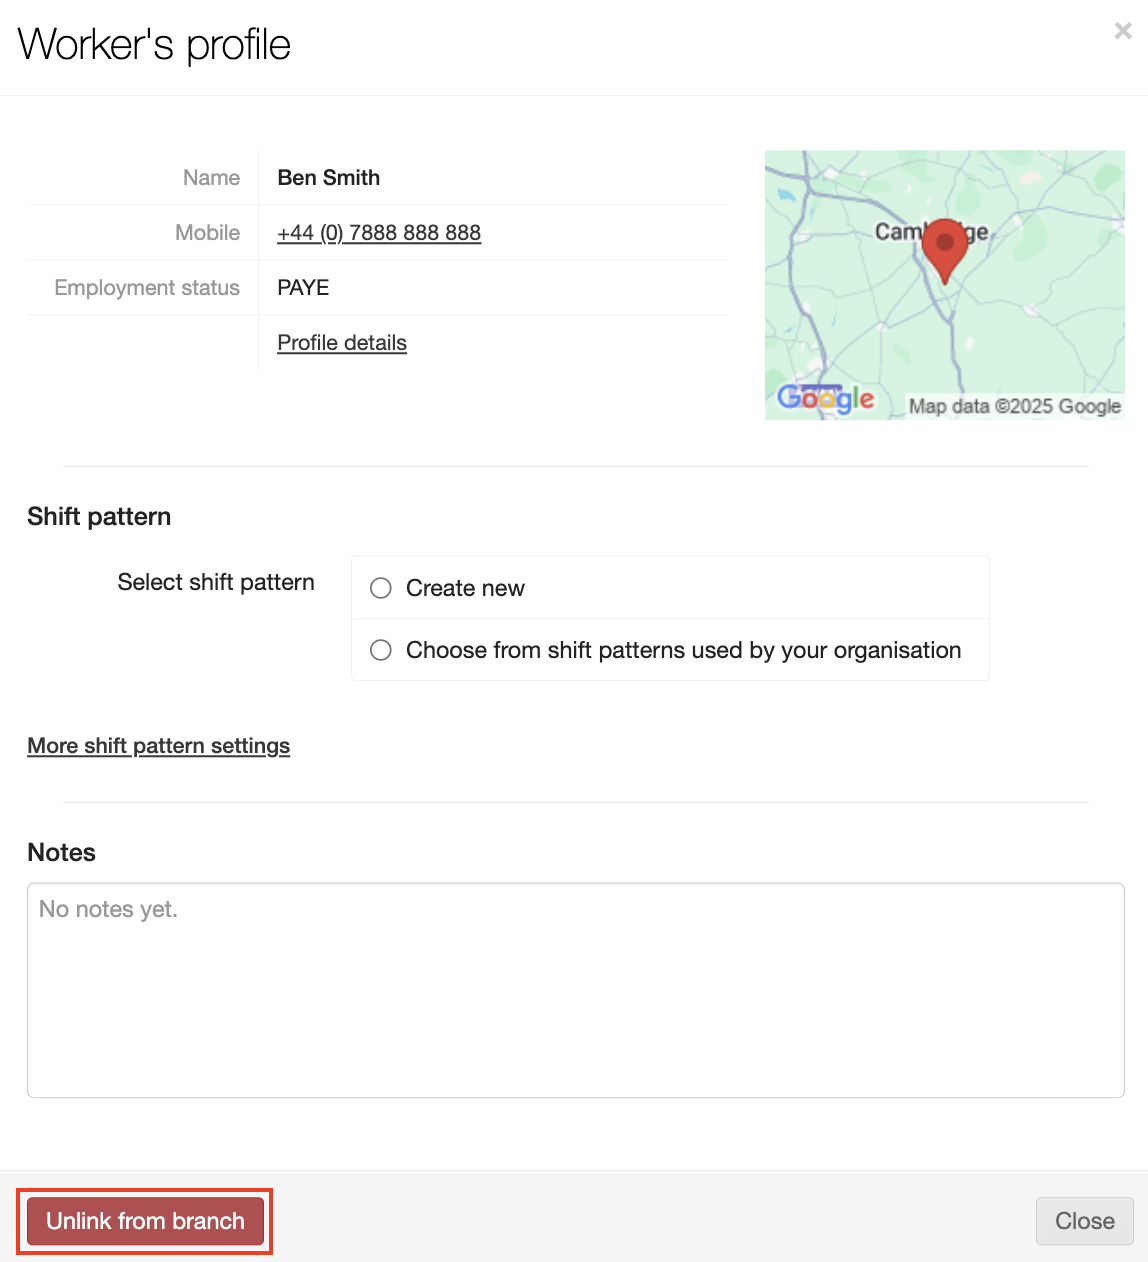
The Worker’s profile window displays. Click the Unlink from Branch button in the lower left corner.
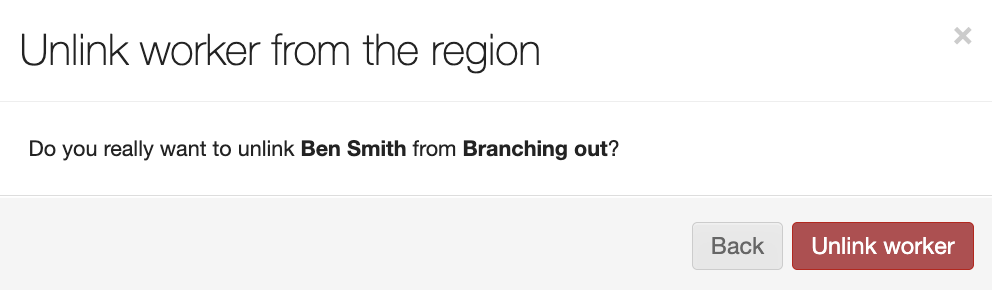
A Confirmation window opens for you to confirm you want to unlink the worker, click Unlink worker to complete the process.
The window closes and the worker’s name is removed from the Shift allocation (Branch) screen worker’s list.