Invoice Expense
Creating Invoice Expense
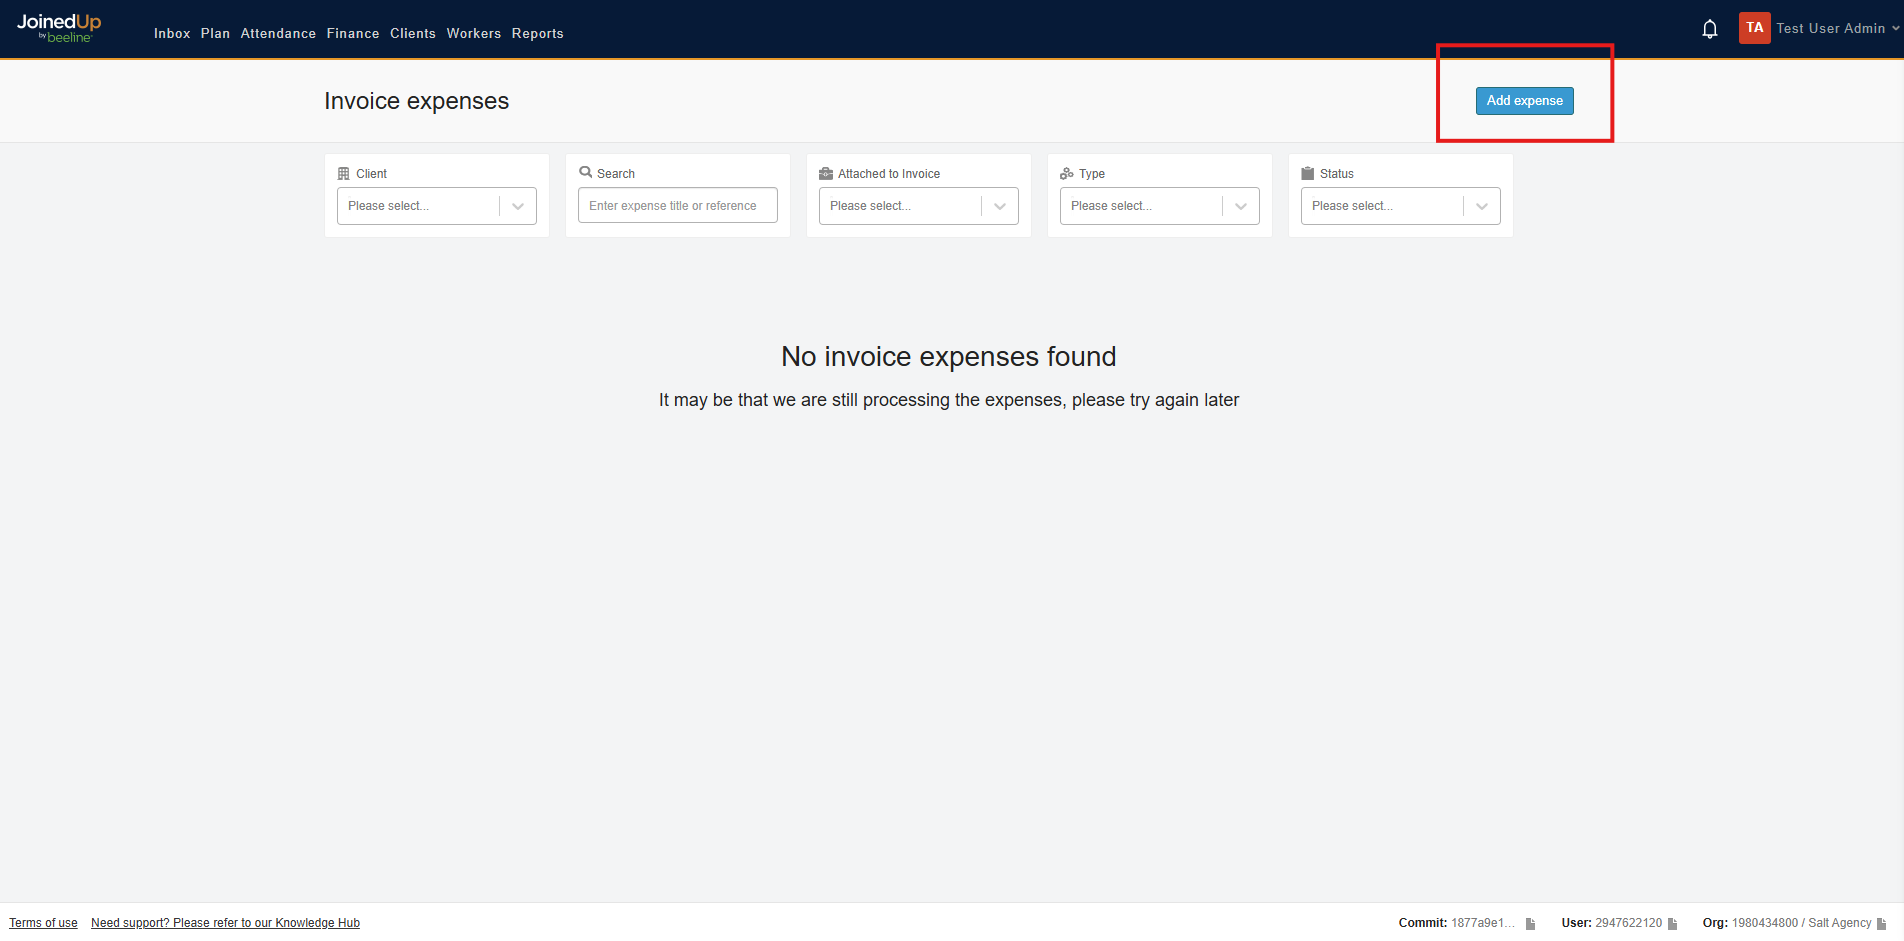
To create an invoice expense, navigate to the Finance Tab, Select Invoice expenses. Here you can view, add, and submit your expenses ready to be approved by your End-Hirer.

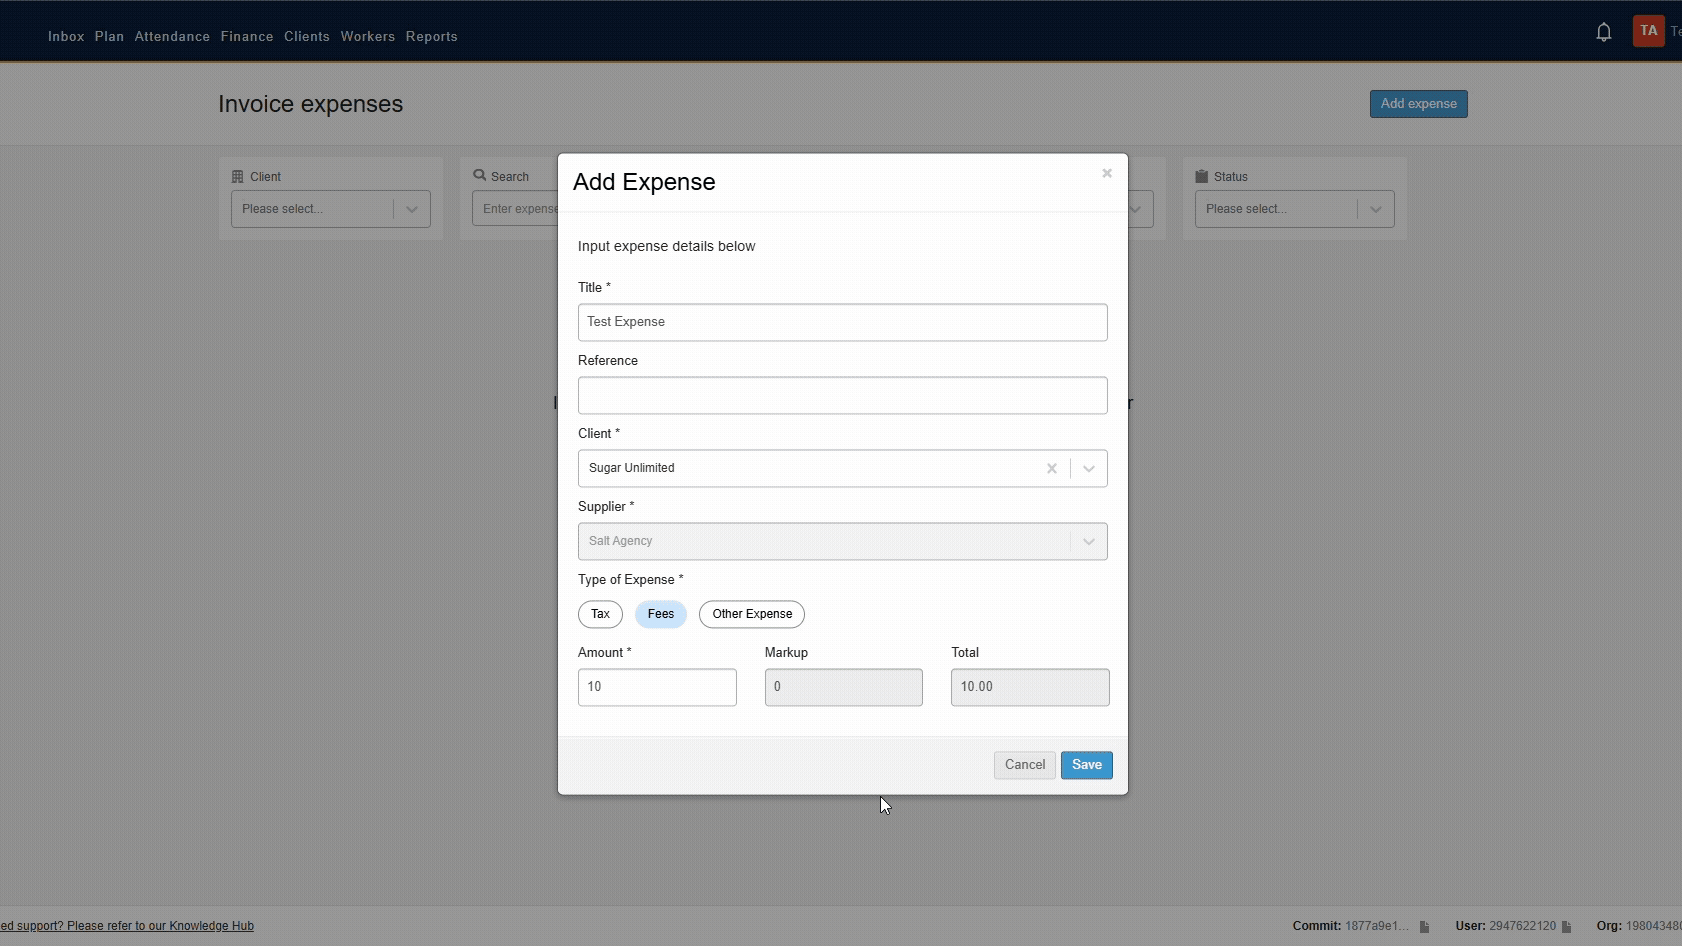
To create an expense, select the Add expense button.
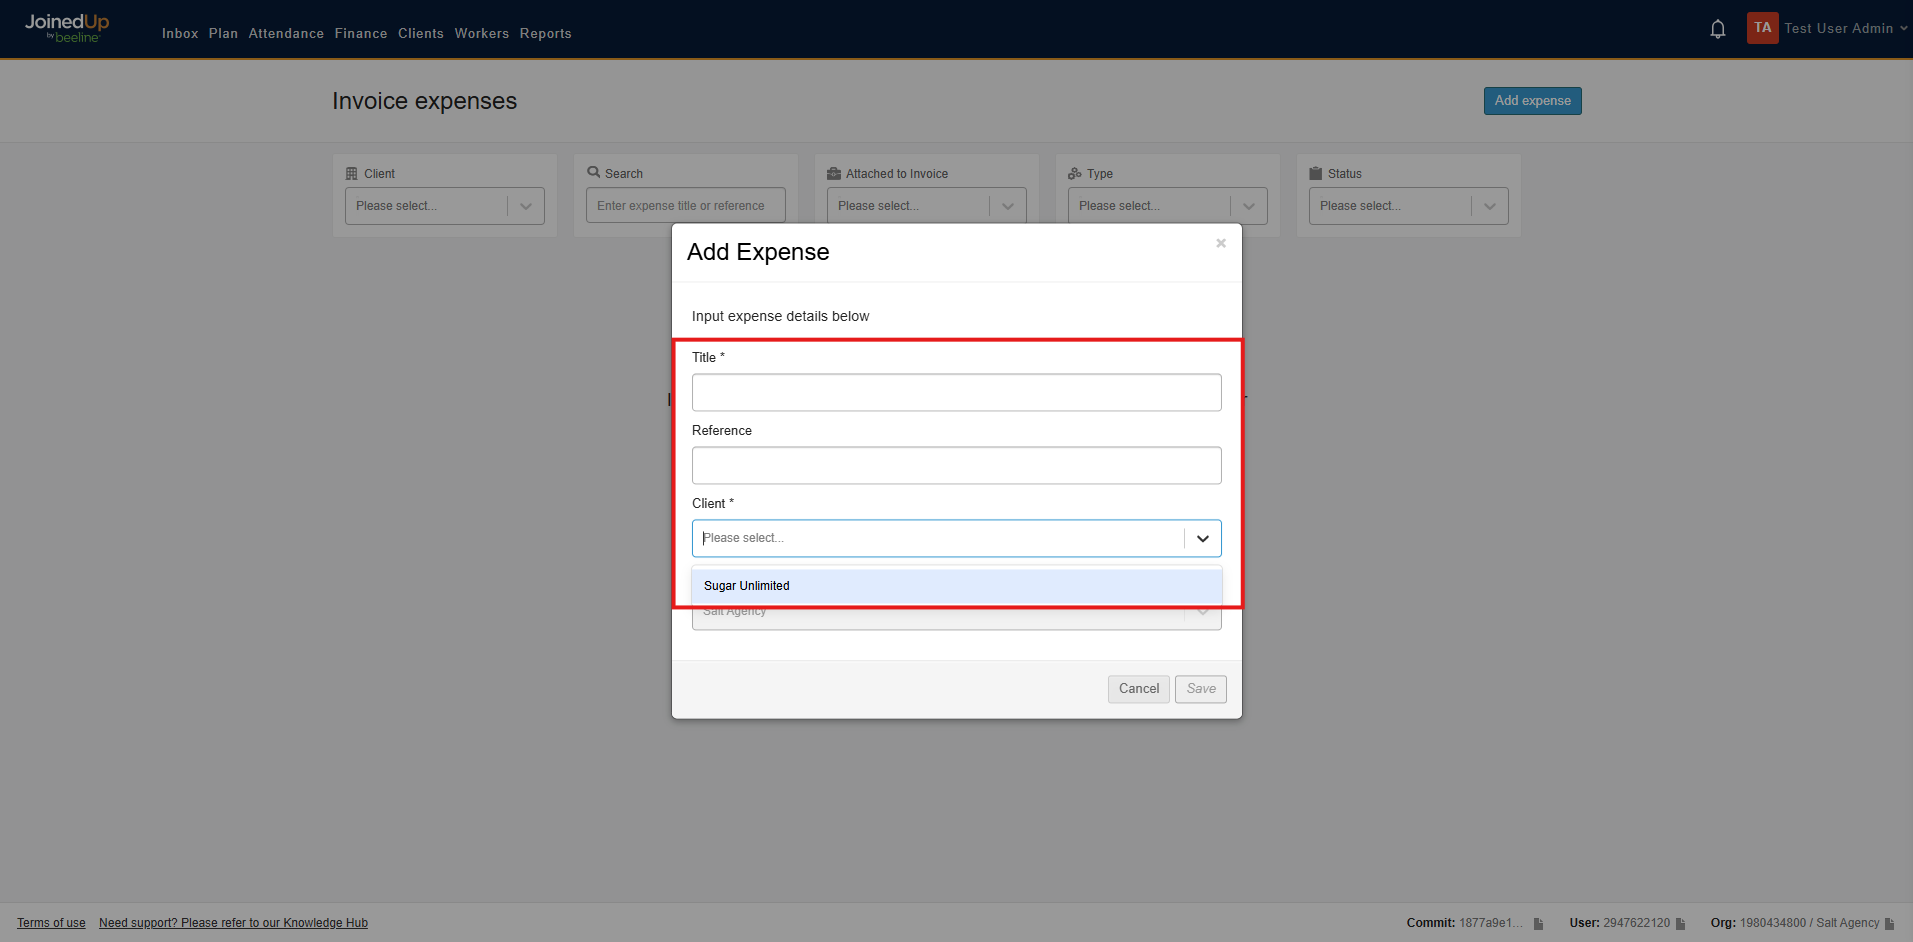
It will show a modal which allows you to input a Title, and select the Client/End-hirer on the drop-down menu.
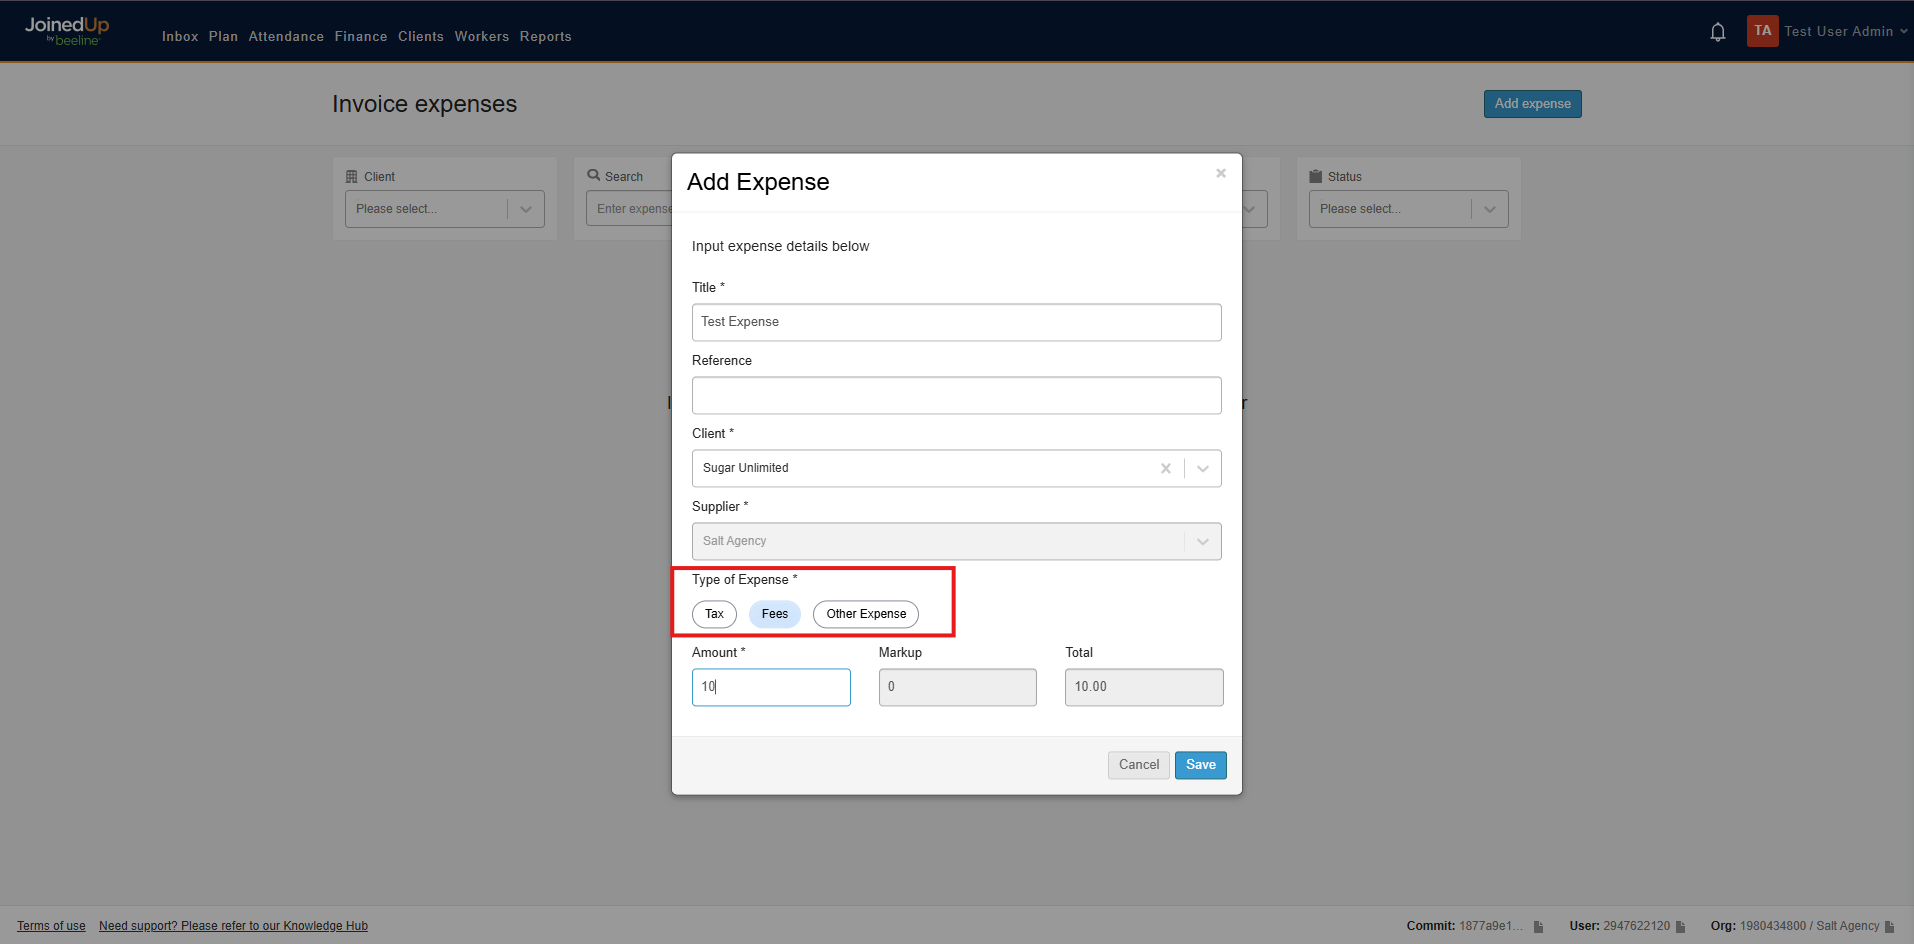
Once selected, choose the type of expense and add your amount.
Expense Types are as follows:
-
Tax
-
Fees
-
Other Expense
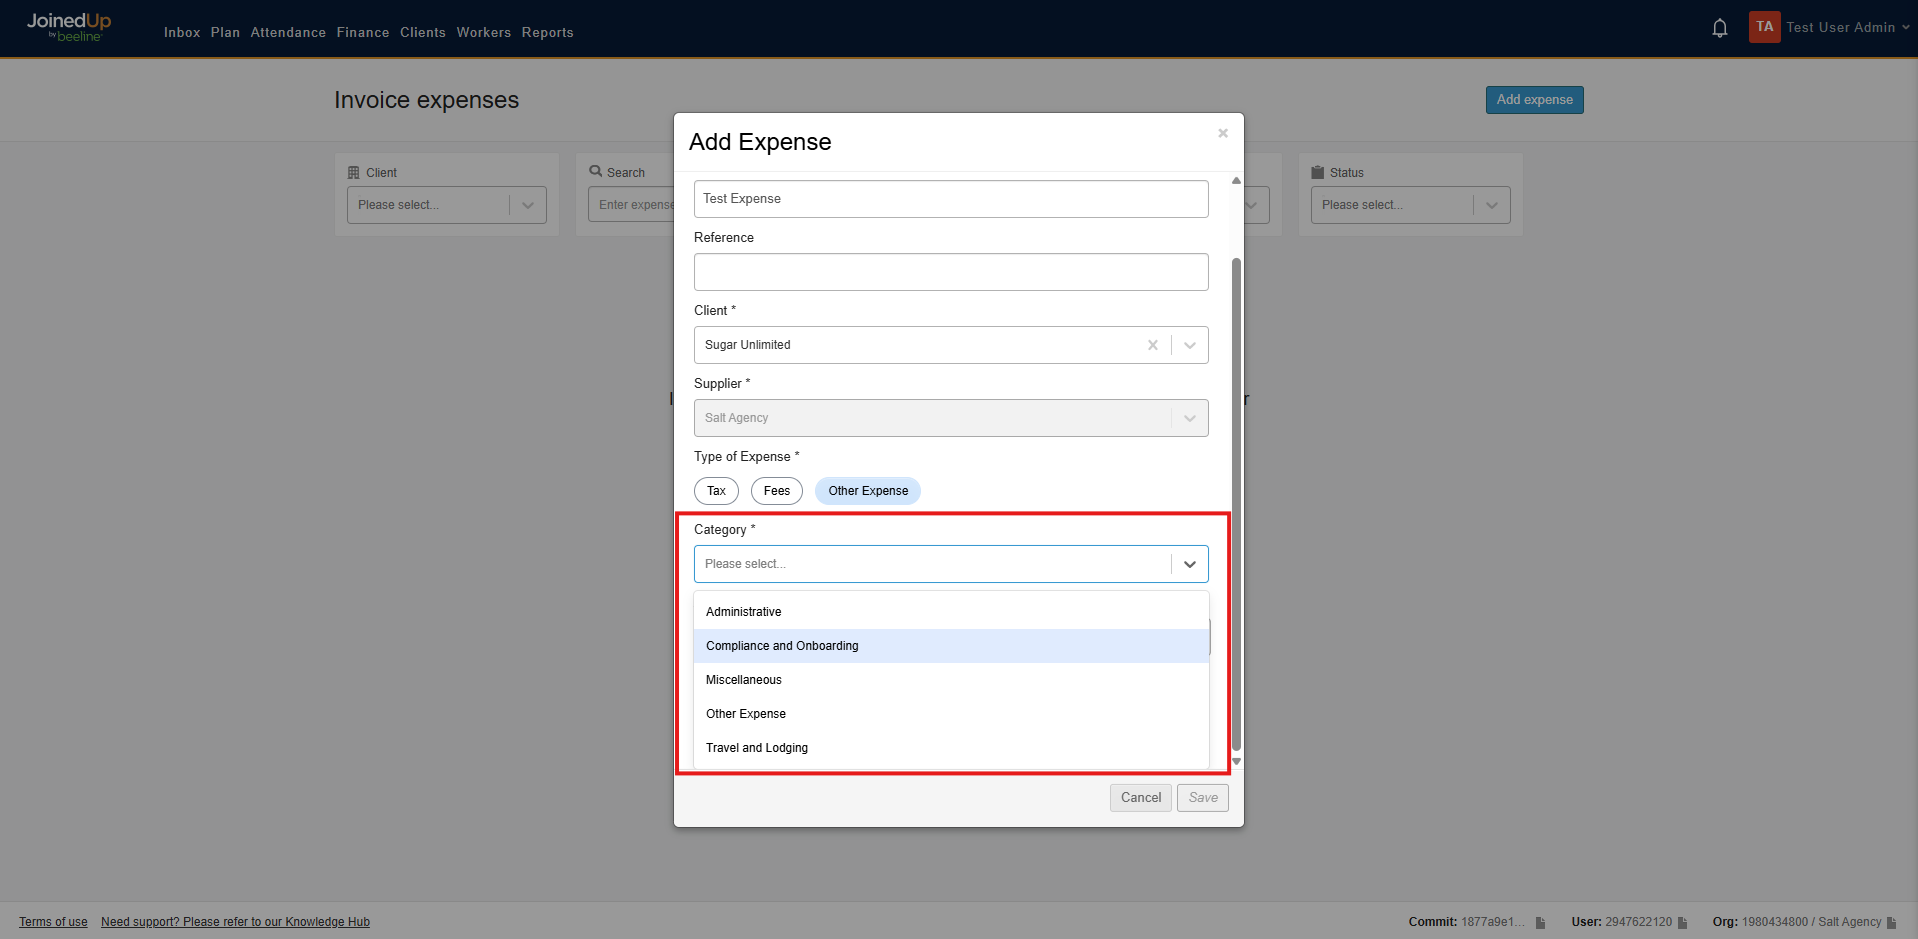
When selecting the Other Expense option, choose a category from the dropdown list.
| The markup may be automatically populated based on the selected category, depending on how your organization is configured. |
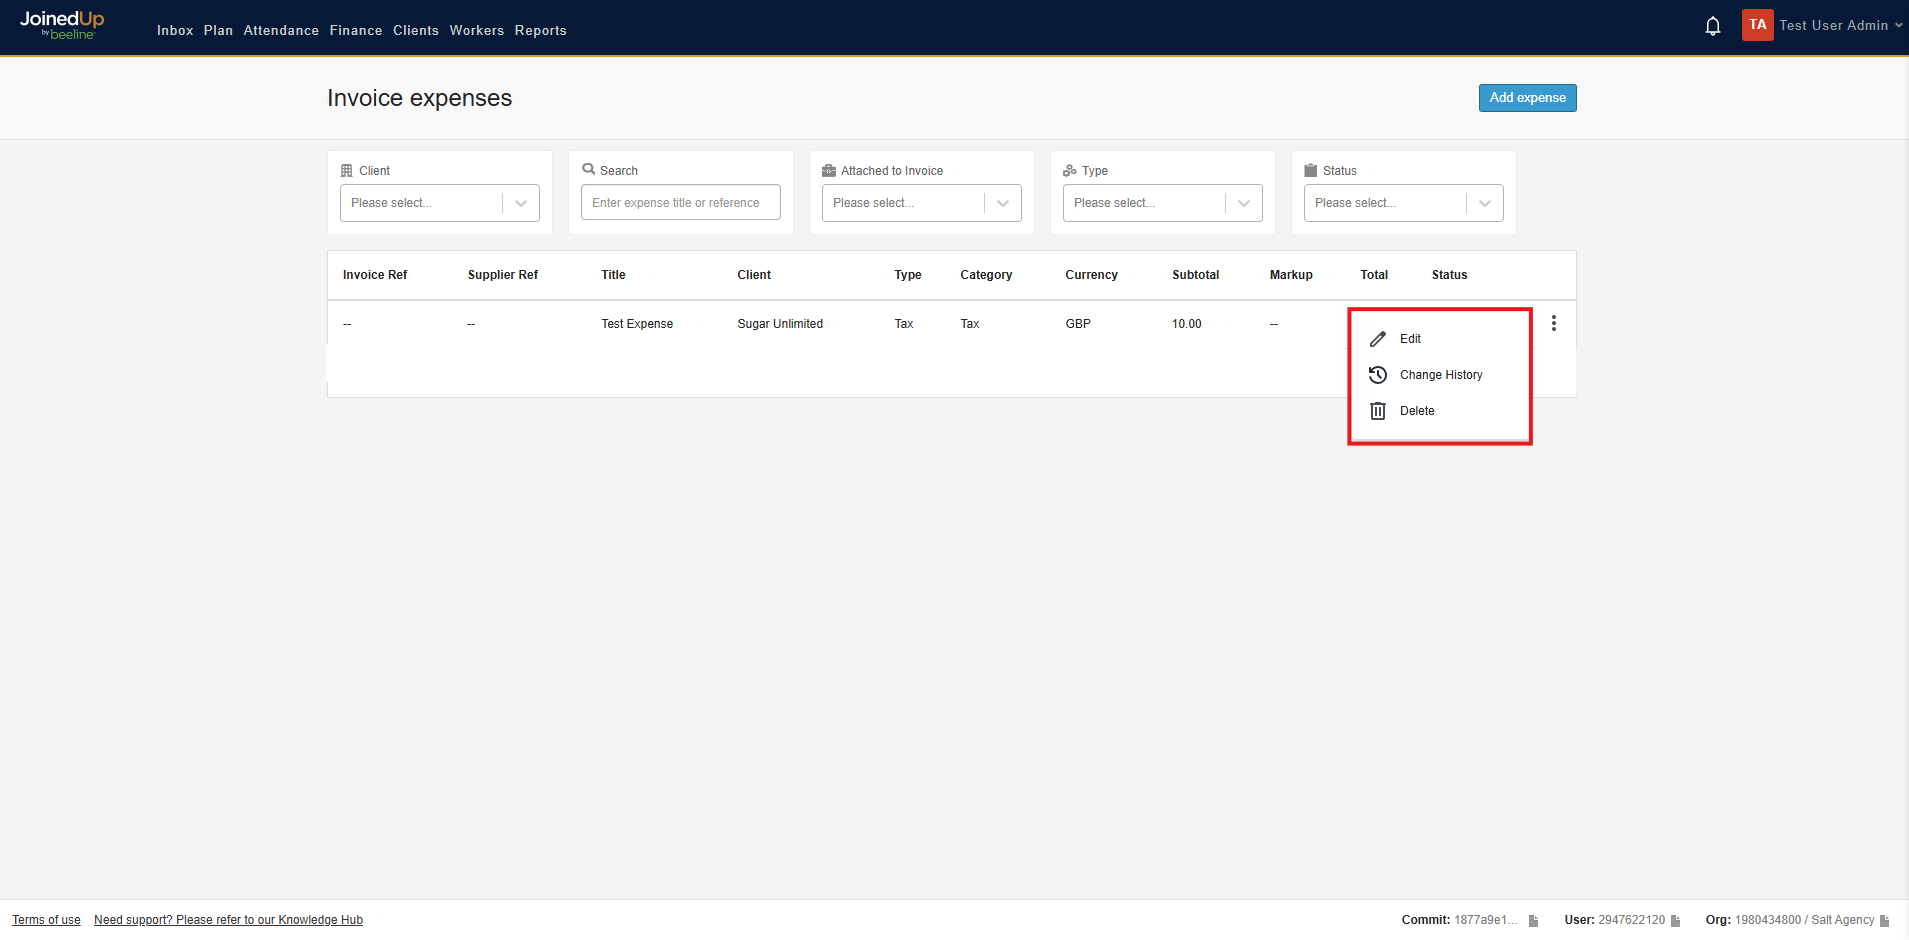
Once you have completed entering the expense details, click Save. The invoice expense will appear in Draft status. To submit, select Draft and choose Submitted from the dropdown menu.
Selecting the three dots next to the status allows you to Edit, view the Change History, or Delete your expense.
| Once your expense has been submitted for approval, you cannot make any changes. |
Once you have submitted your expense, the status will update accordingly.

End Hirers are now able to Approve or Reject Invoice Expenses.
The following illustrates how an invoice expense appears once it has been Approved or Rejected.

| A notification will be sent to you once your expense has been Approved or Rejected. |