Branches
Setting up Branches
On JoinedUp a Site represents a singular physical location where work is carried out. You can group sites together to create a Branch (Region). You can group the sites in any way you need to regardless of their physical locations or which client they are under.
To create and manage branches, please navigate to Plan > Shift Allocation (Branch).

At the top of the screen you will see a drop-down to select which branch you would like to see.
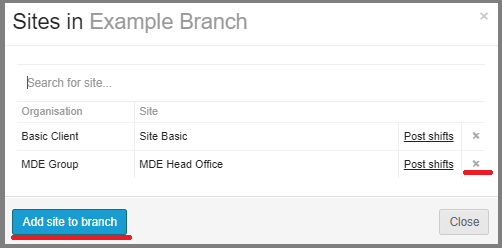
Next to it you can see a counter showing how many sites are underneath the selected branch. Click the site count to add or remove sites. Click the blue Add site to branch button to add a site or the ‘x’ button to remove one.
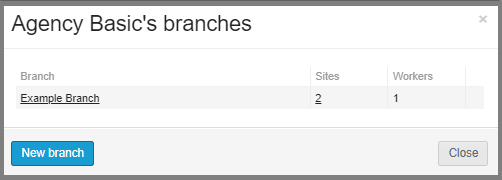
You can also press the cogwheel next to the Branch’s name to open a control panel allowing you to modify existing branches (change the name and add or remove sites) as well as create a new one. When creating a new branch you will simply need to give it a name and add sites and workers underneath it.
You will also need to link workers to your branch in order to be able to see them on the worker roster and allocate them into shifts.
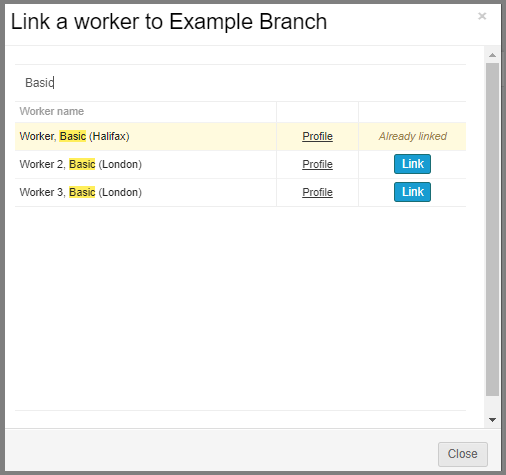
The worker roster is on the left-hand side. At the top of it you will see a search bar to be used to search for workers already added to the branch. Next to it is a ‘+’ button to add more workers to the branch.

To link a worker to a branch simply type in their name, select the worker you would like to link and click the Link button.