Invoicing
In order to generate invoices, the relevant sites must first be locked. Locking sites ensures that associated timesheets are secured, preventing any modifications that could impact financial reporting or invoicing accuracy
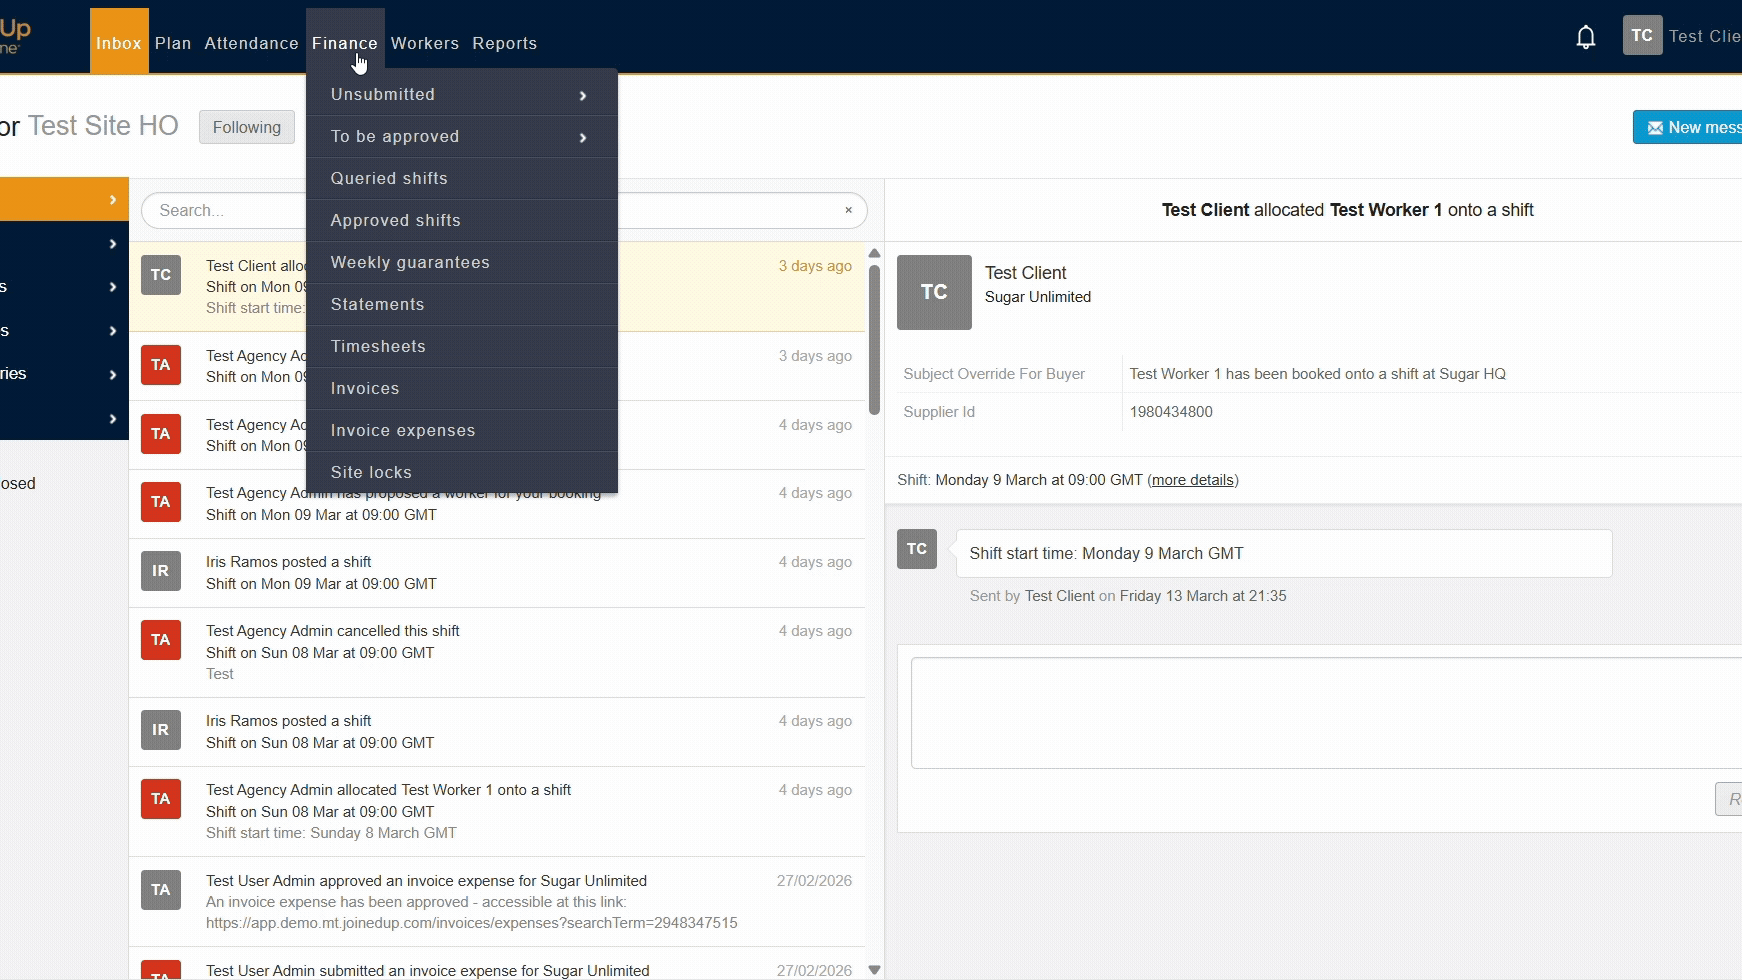
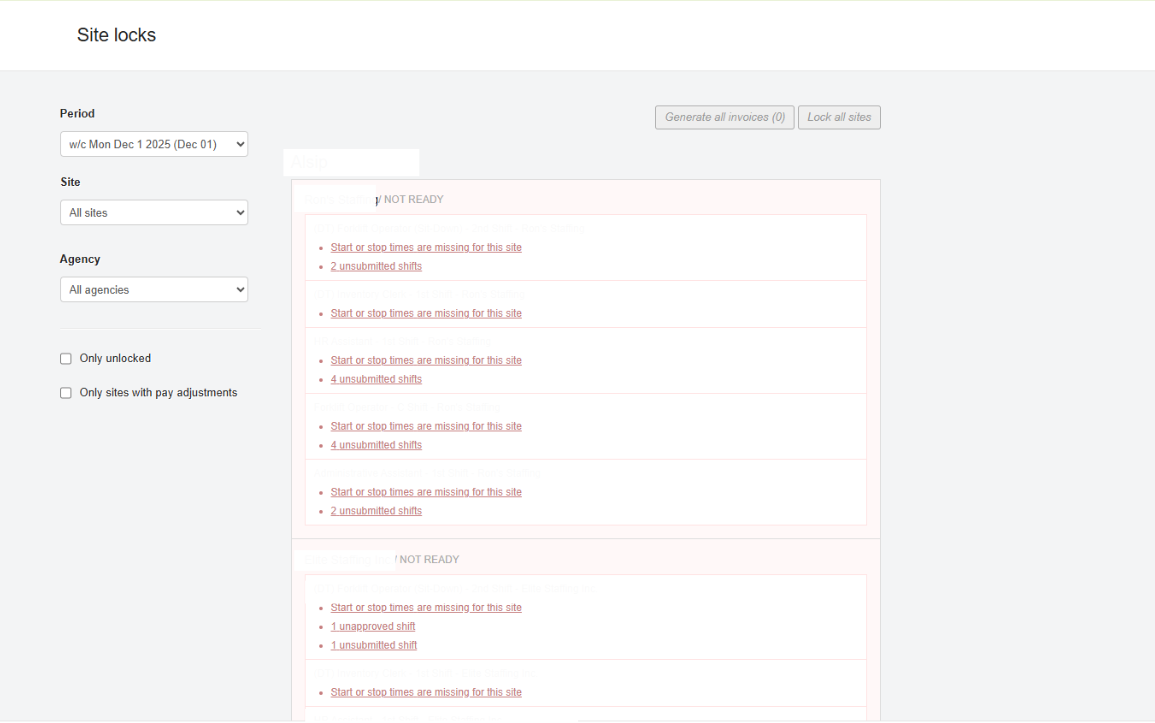
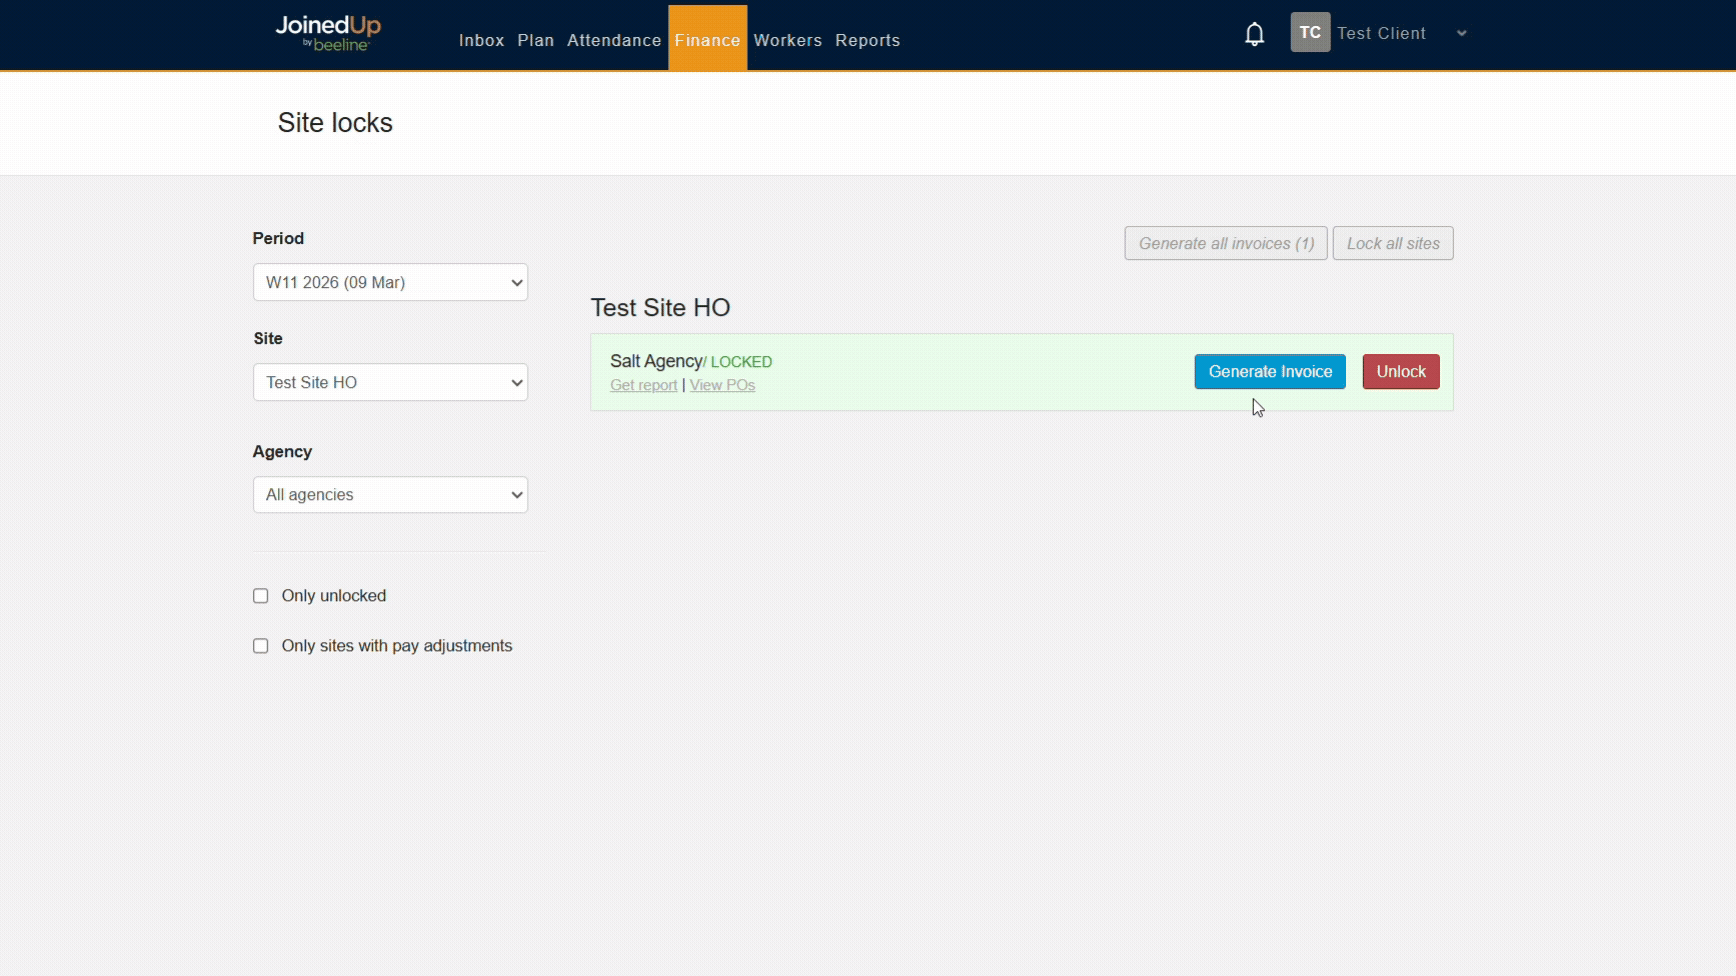
To initiate invoice creation, navigate to the Finance, then, Site Locks screen. Once supplier shifts have been submitted and approved, the site can be locked to proceed with invoicing.
| The Ready to lock is shown as a blue button. |
Here you view which sites are ready to be locked and have invoices generated. You can also filter by supplier/site if needed.
You will also be able to view other statuses of timesheets, for any site or supplier at any time.
After a site has been locked, a green confirmation message will be displayed. The Generate Invoice button will remain inactive for 15 minutes while the invoice is processed.
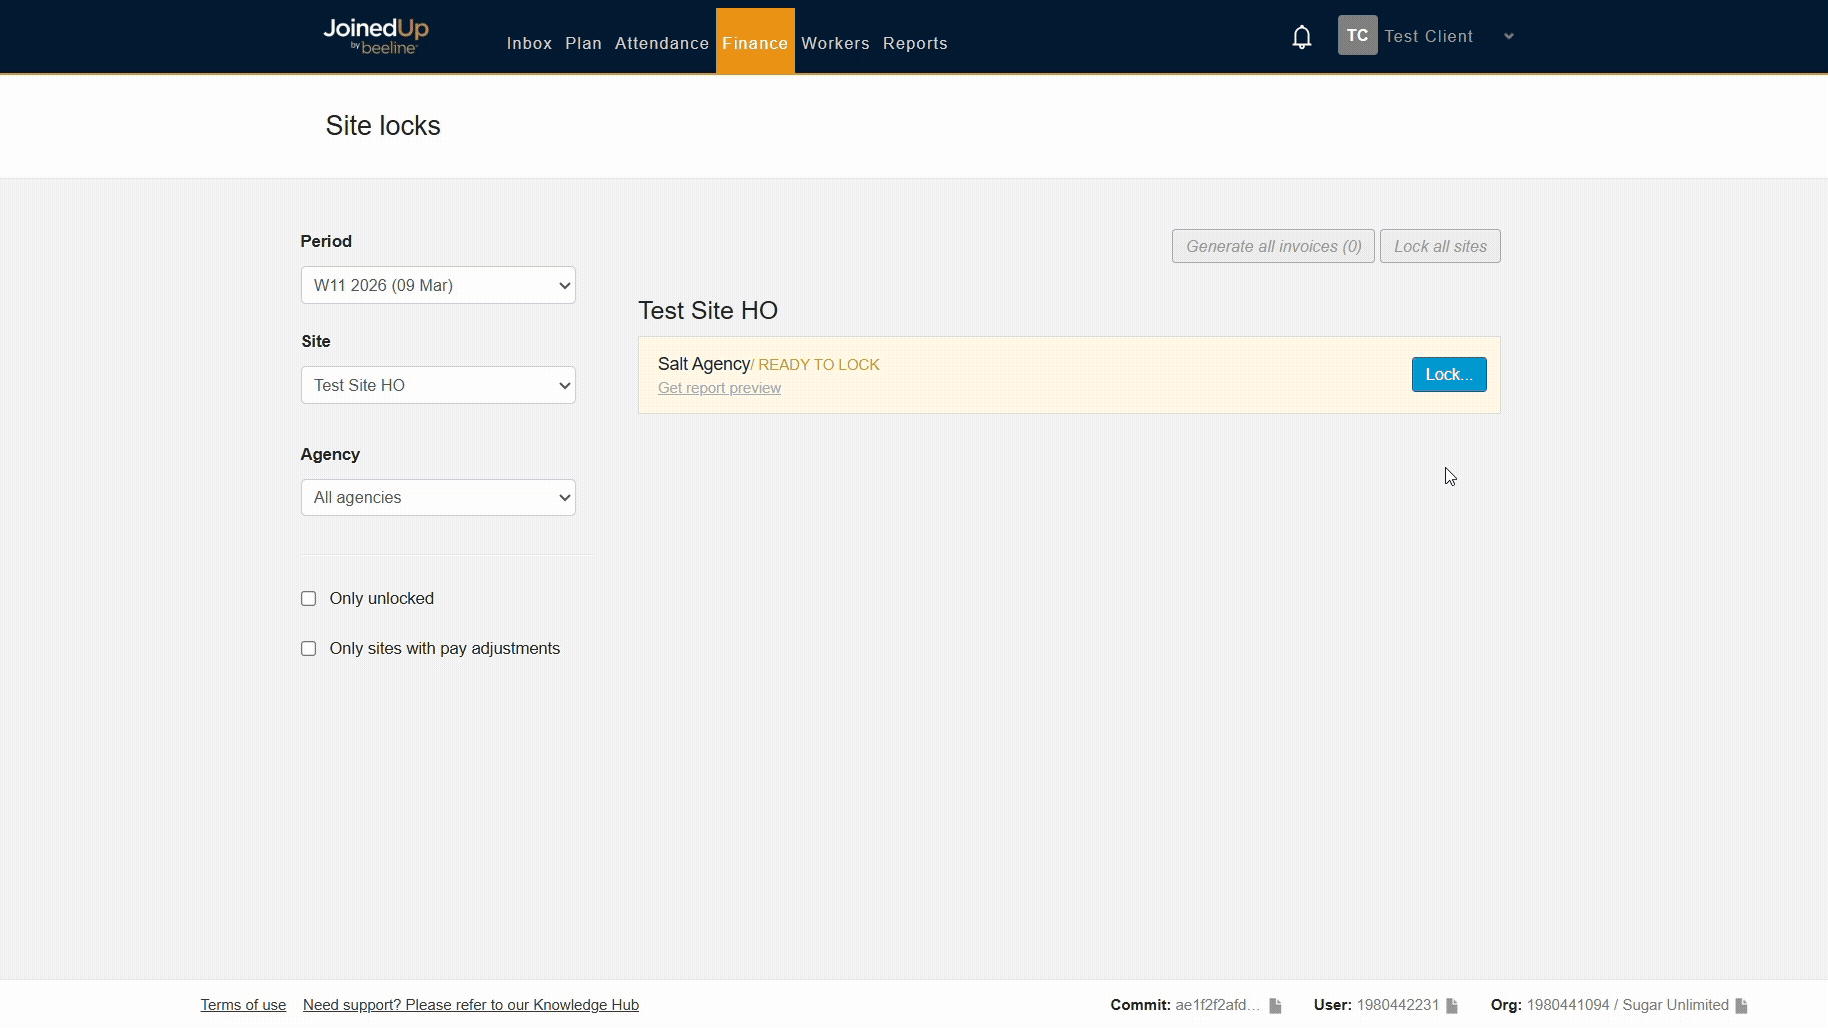
After 15 minutes the Generate Invoice button will appear, click the button to proceed.
Once your invoice has been successfully generated you will get a green success message at the top of your screen.
| You will also receive a notification once an invoice has been generated. |
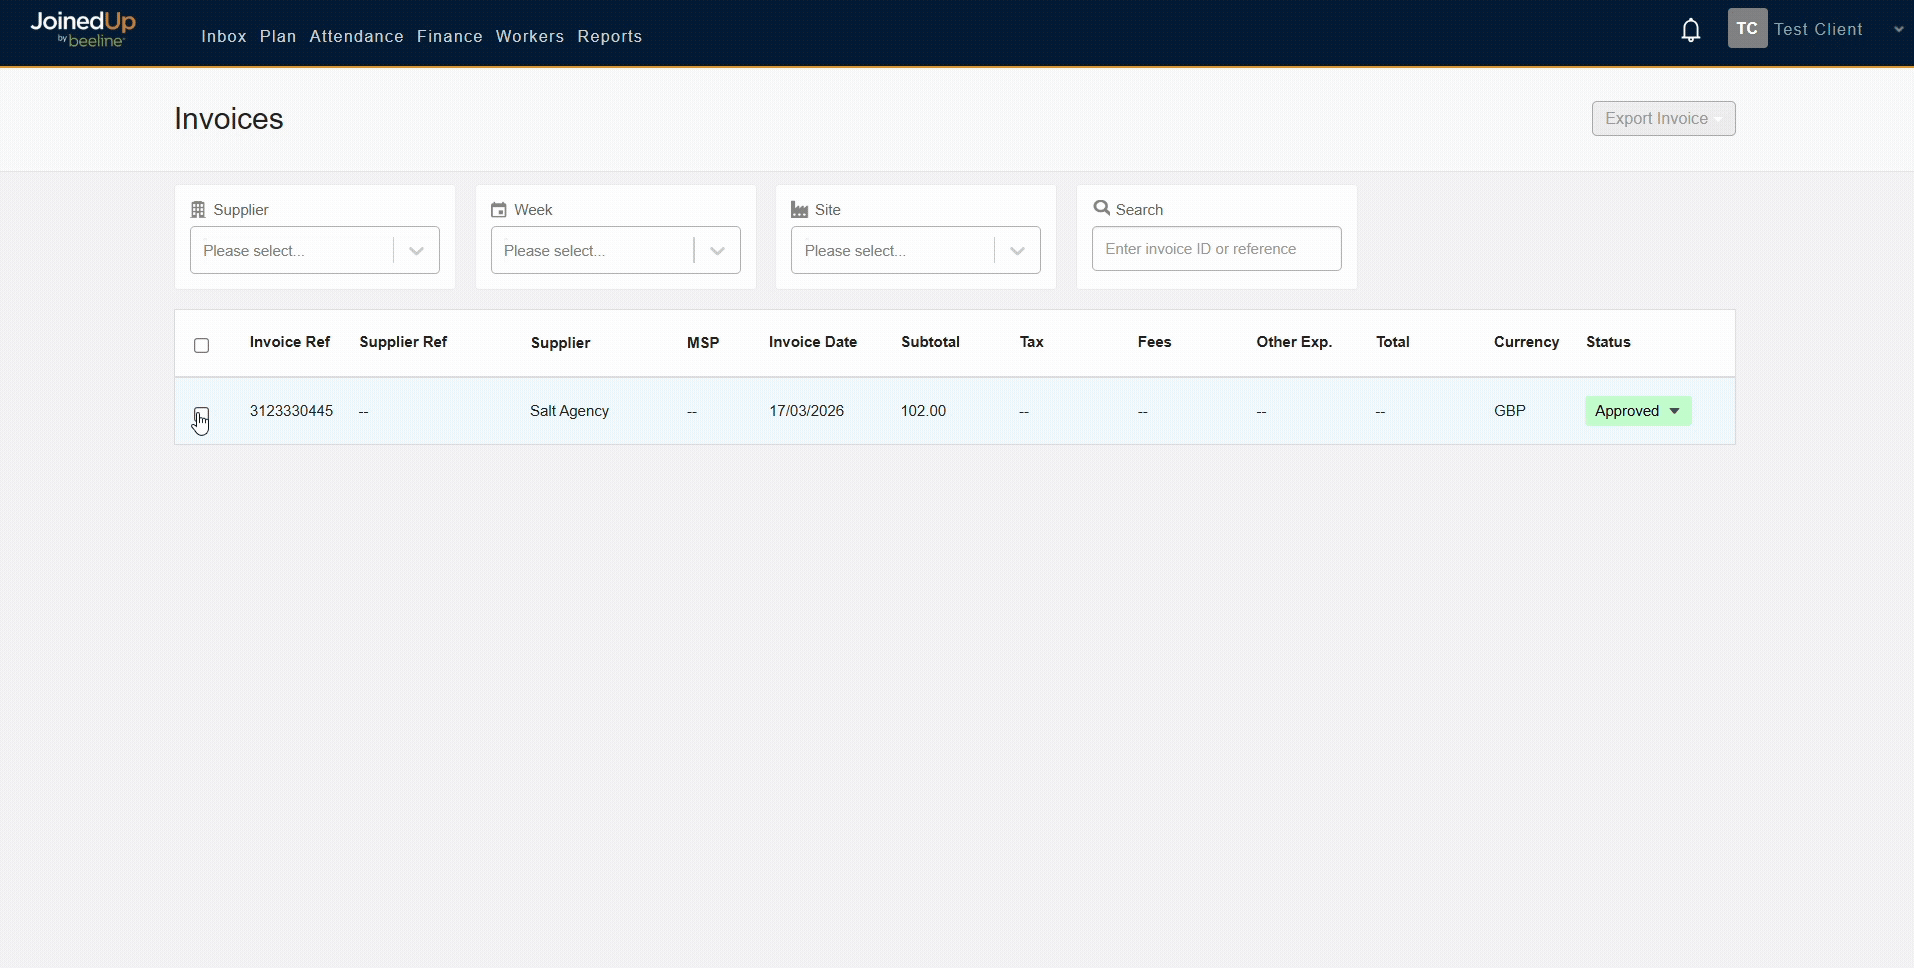
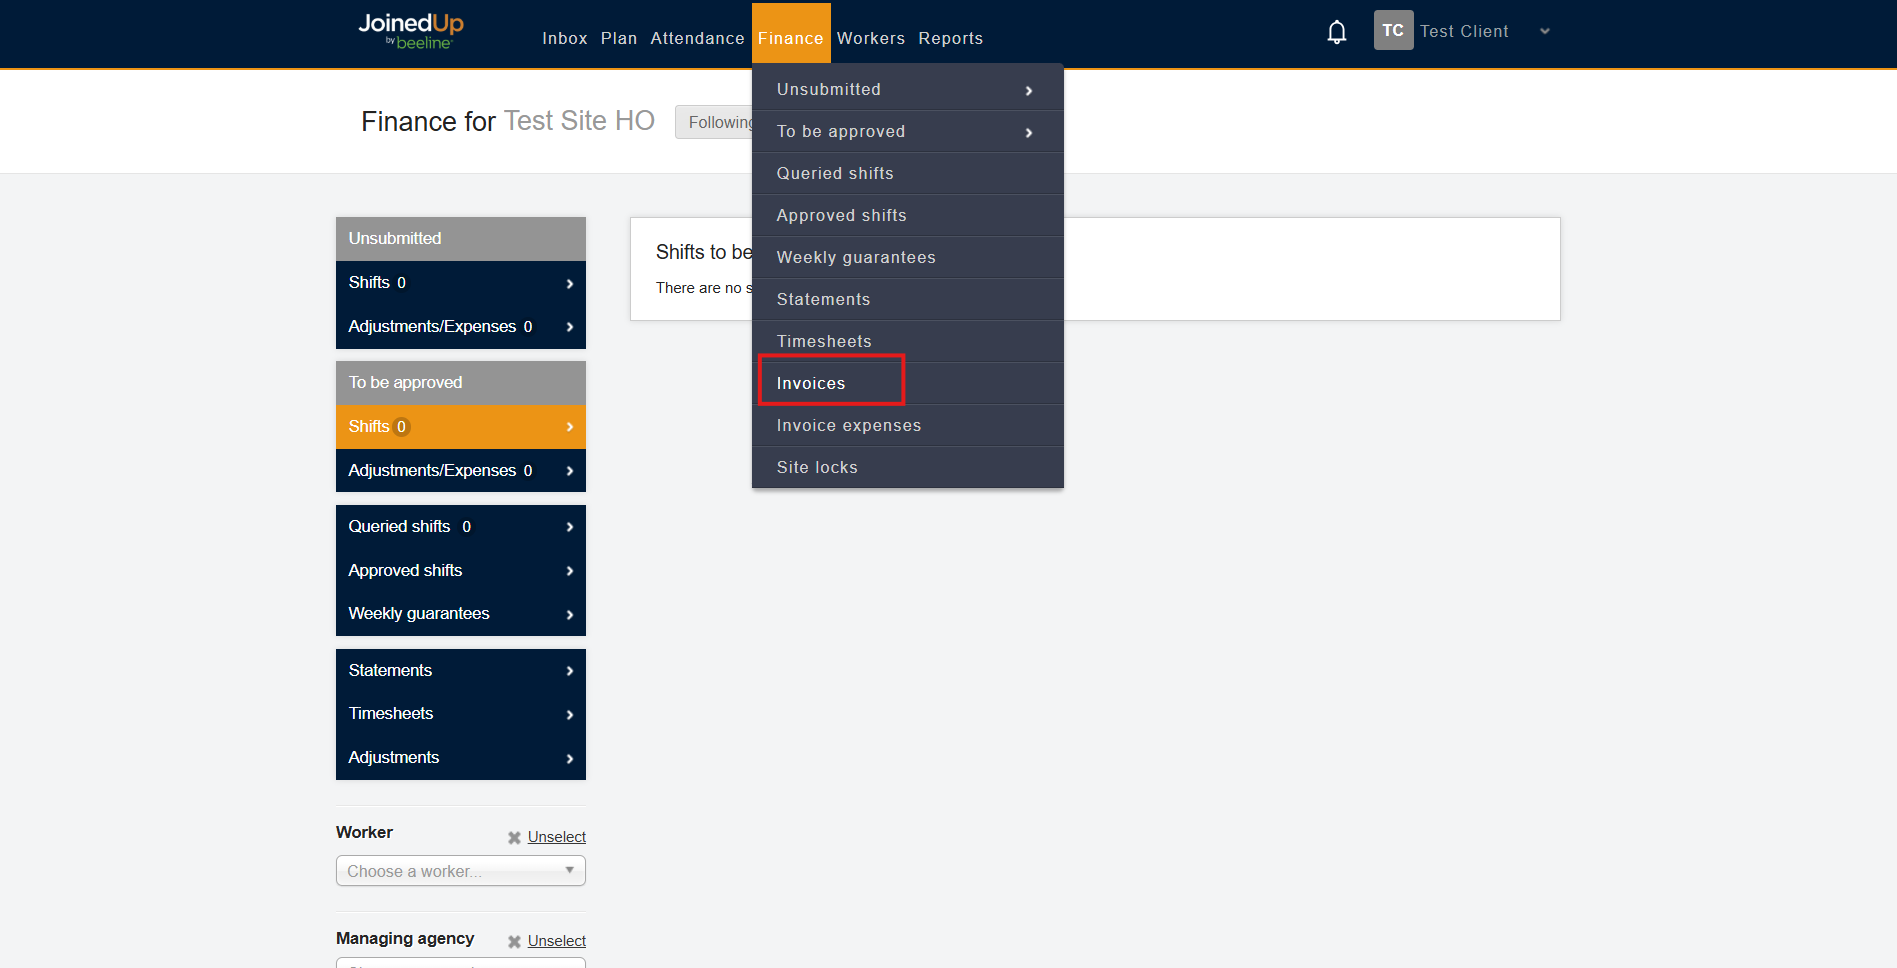
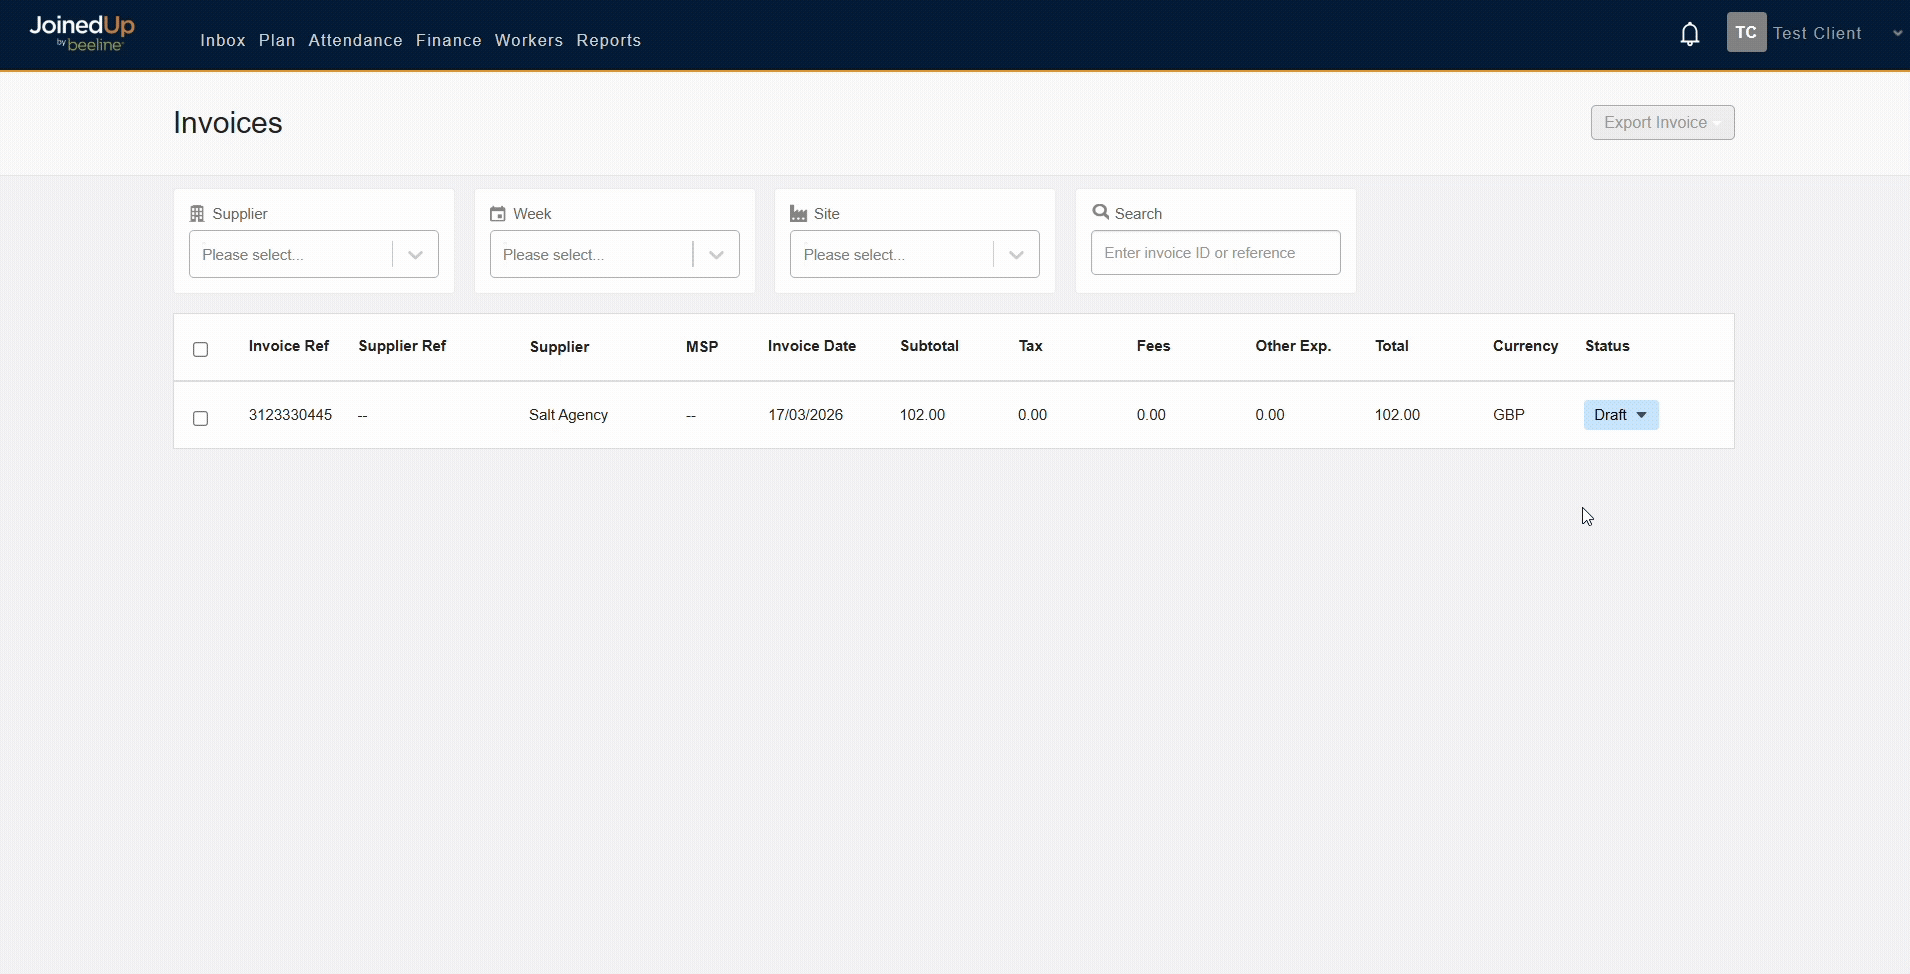
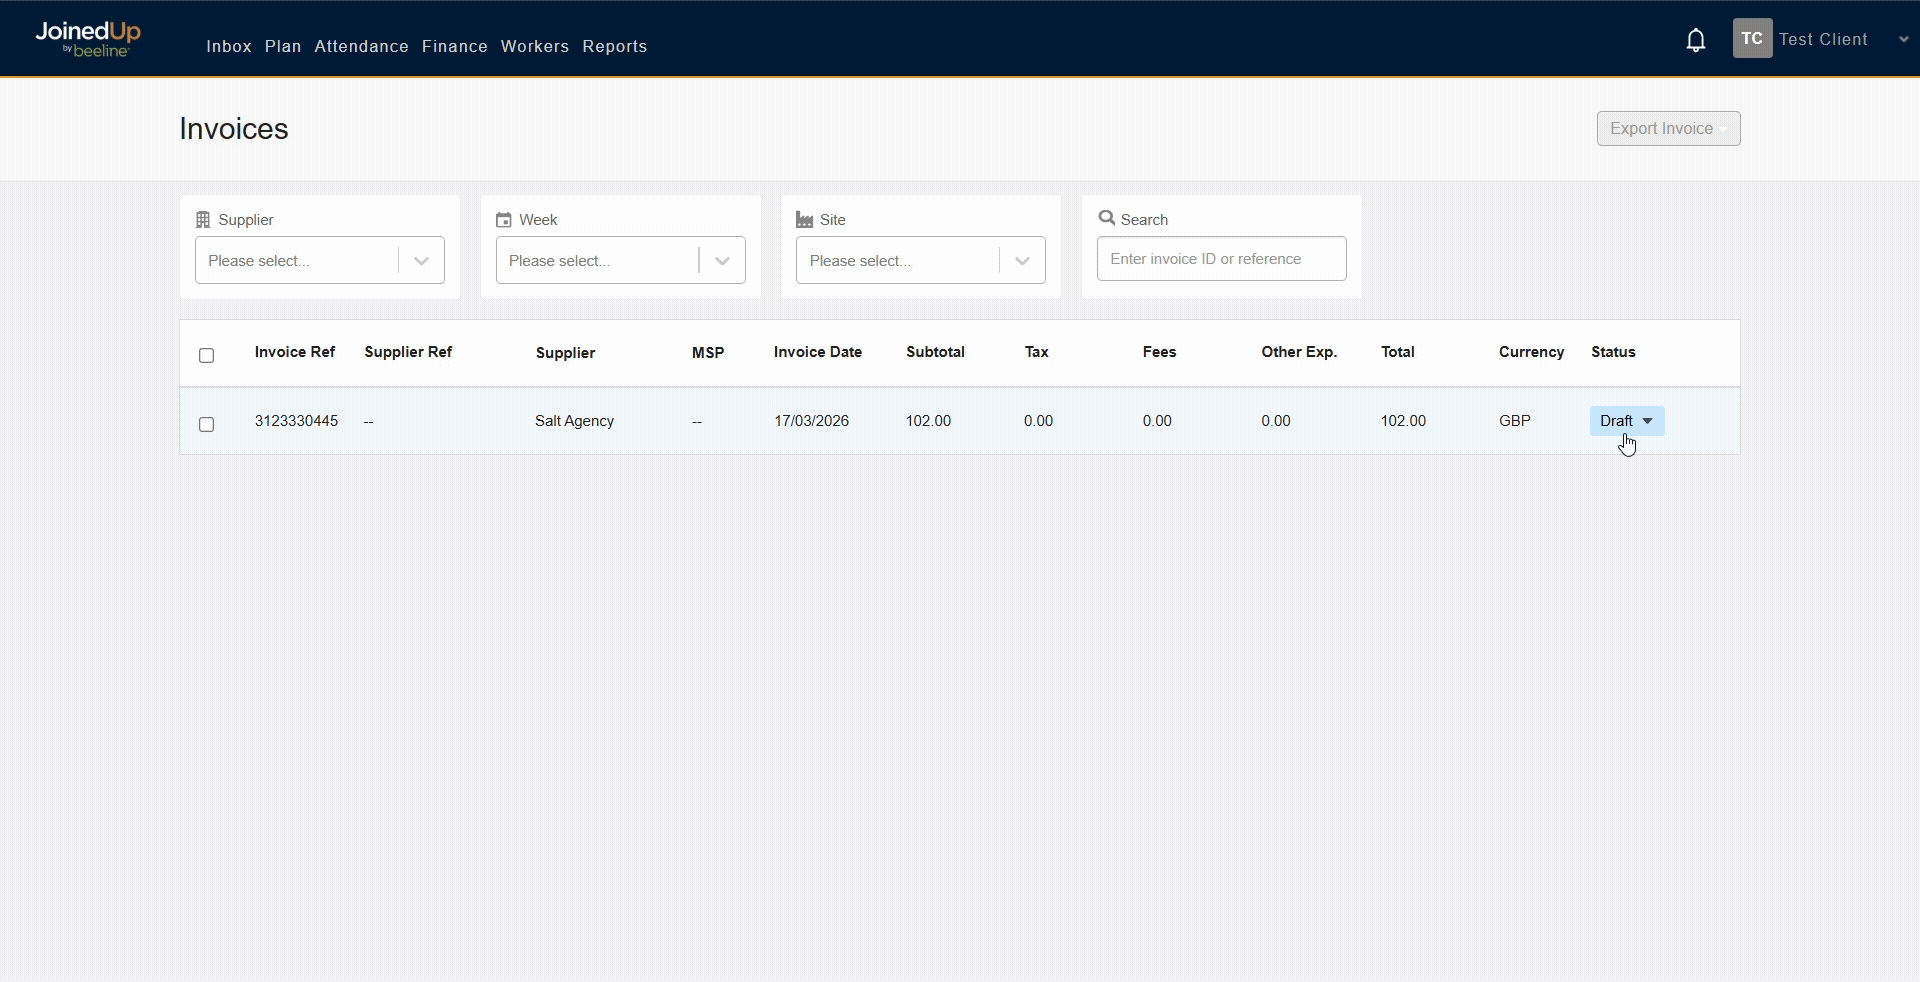
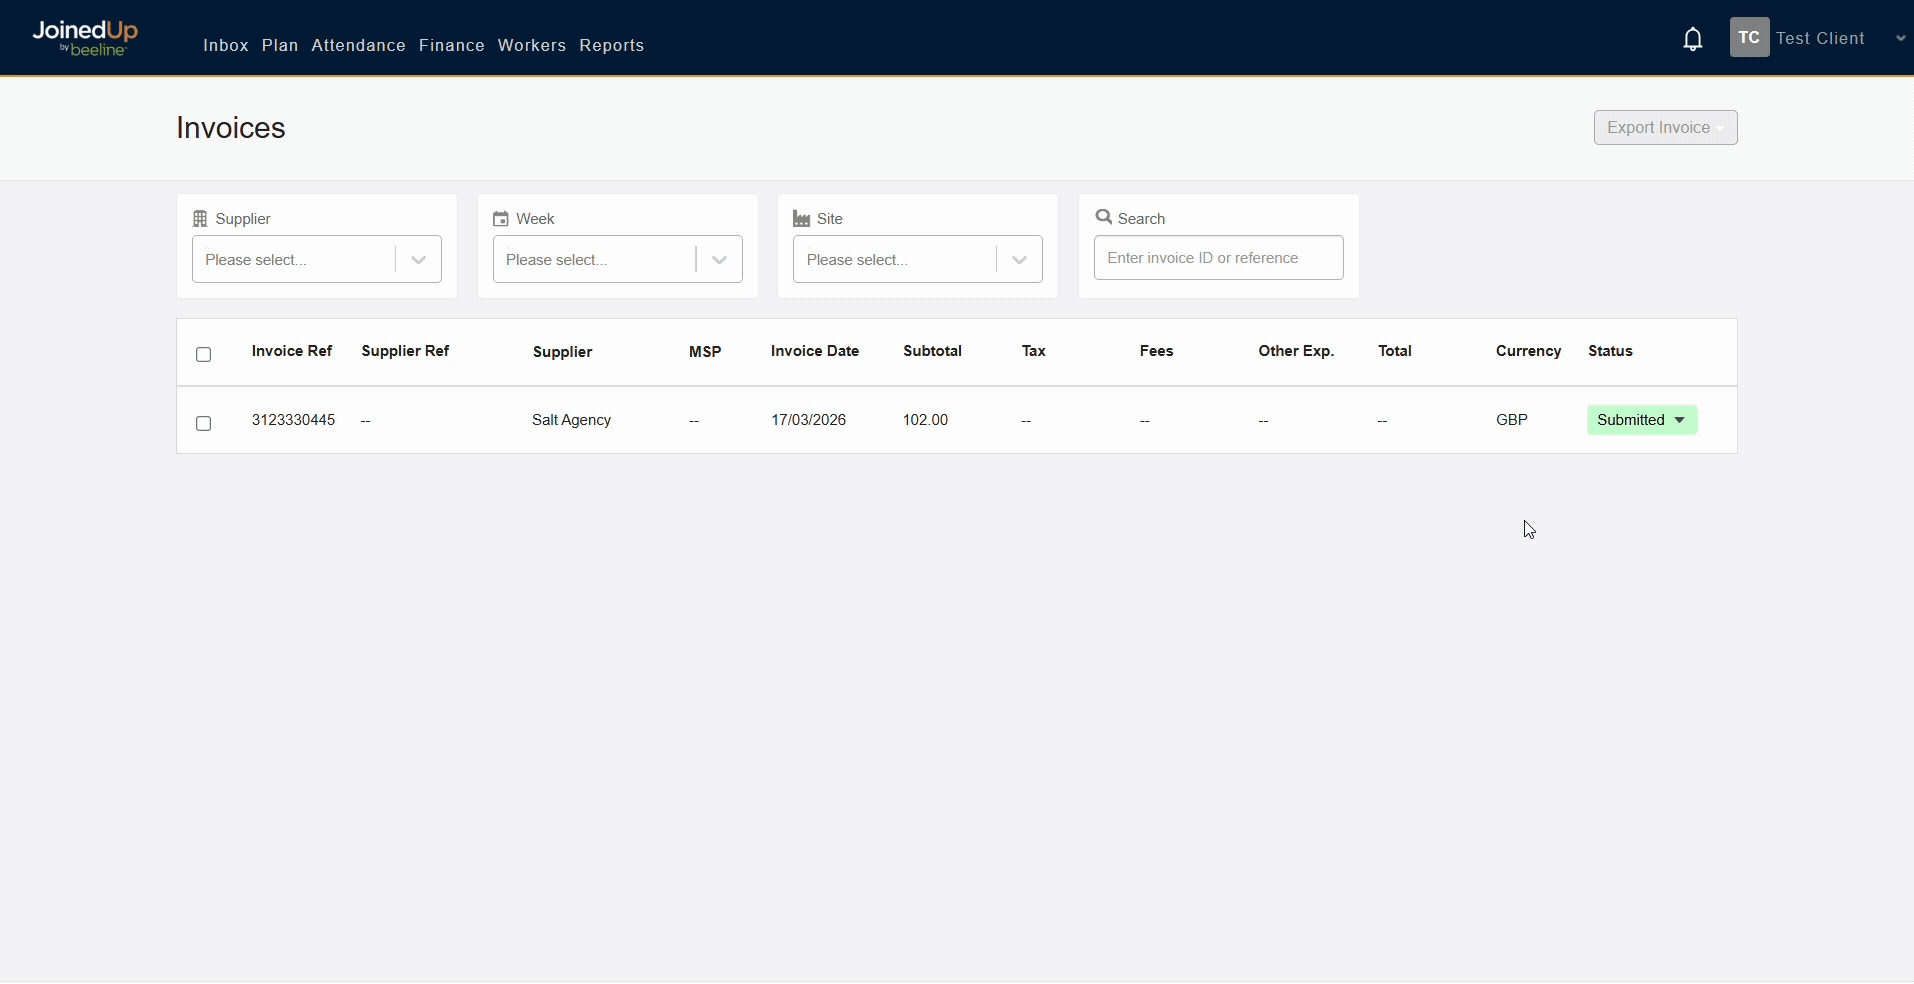
You can check this generated invoices through Finance Tab, then, Invoices.
Invoices will initially appear with a Draft status. This status can be updated by selecting the drop‑down menu and choosing either Submitted or Cancelled.
| Moving the status from Draft to Submitted prevents any further changes being made. |
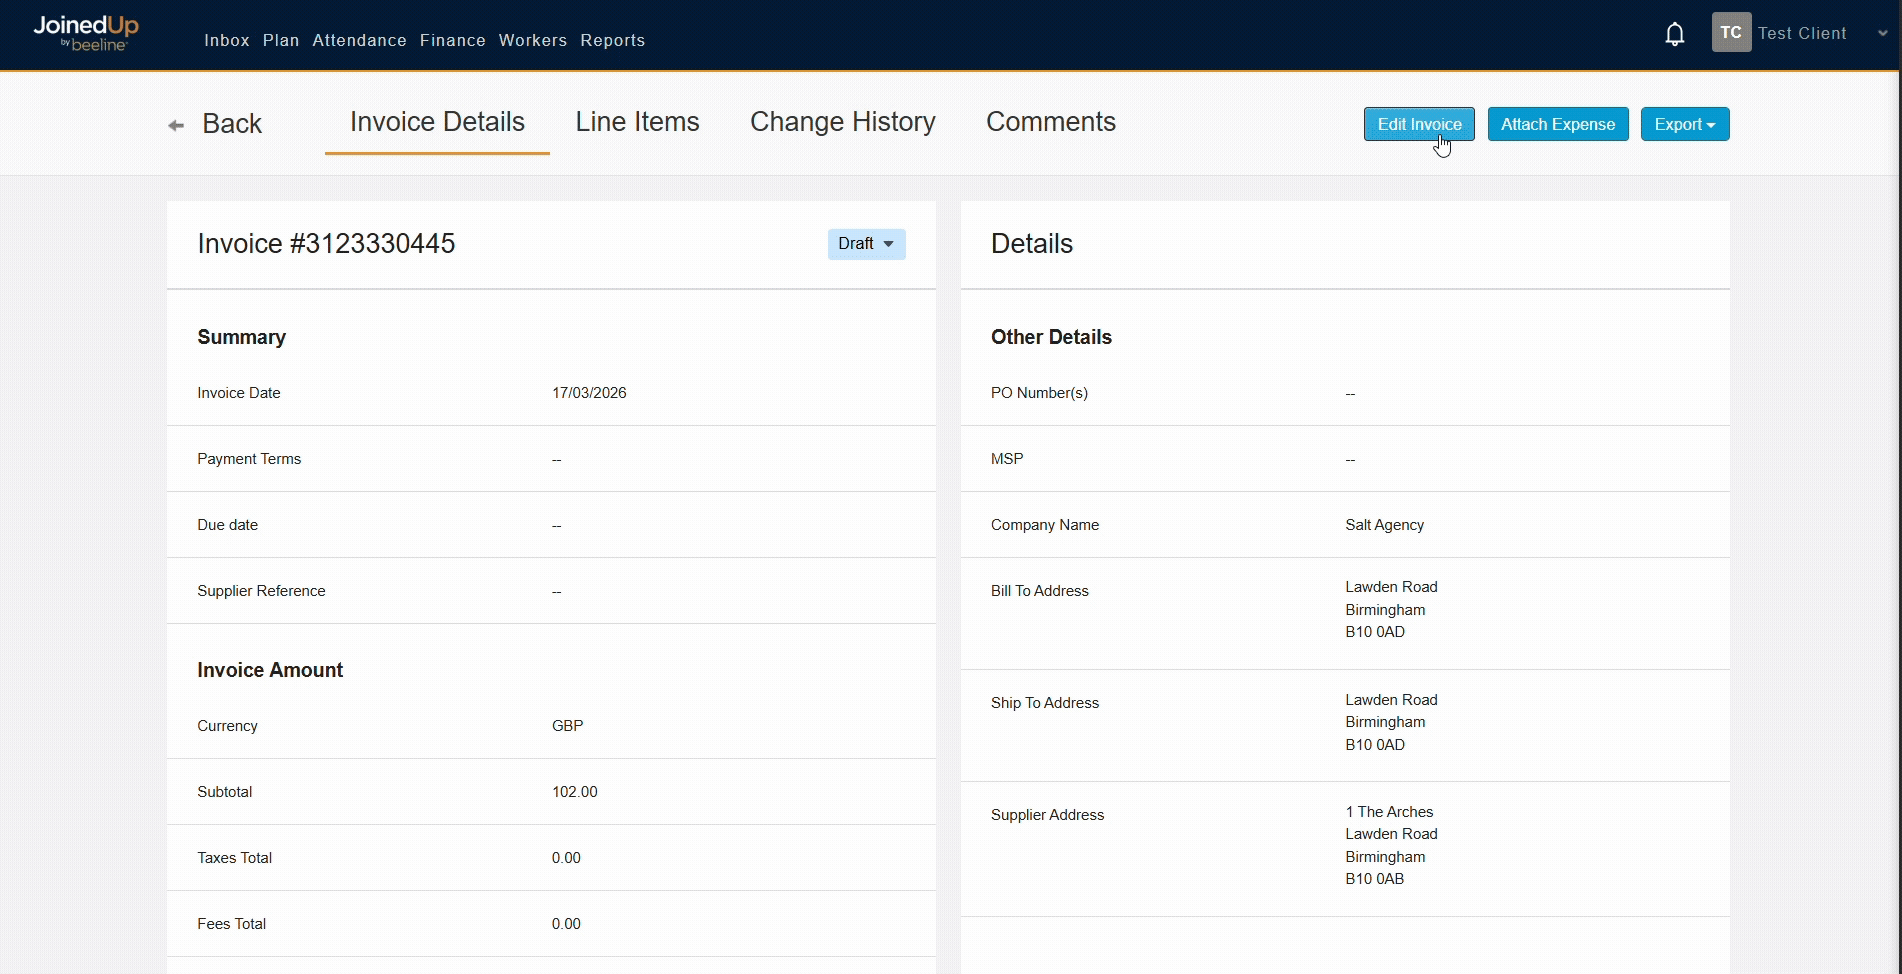
To view an invoice, select the invoice record. This will provide you access to additional details such as Line Items, Change History, and Comments, along with the option to attach related expenses
Selecting the Edit Invoice button, allows you to add PO numbers if needed.
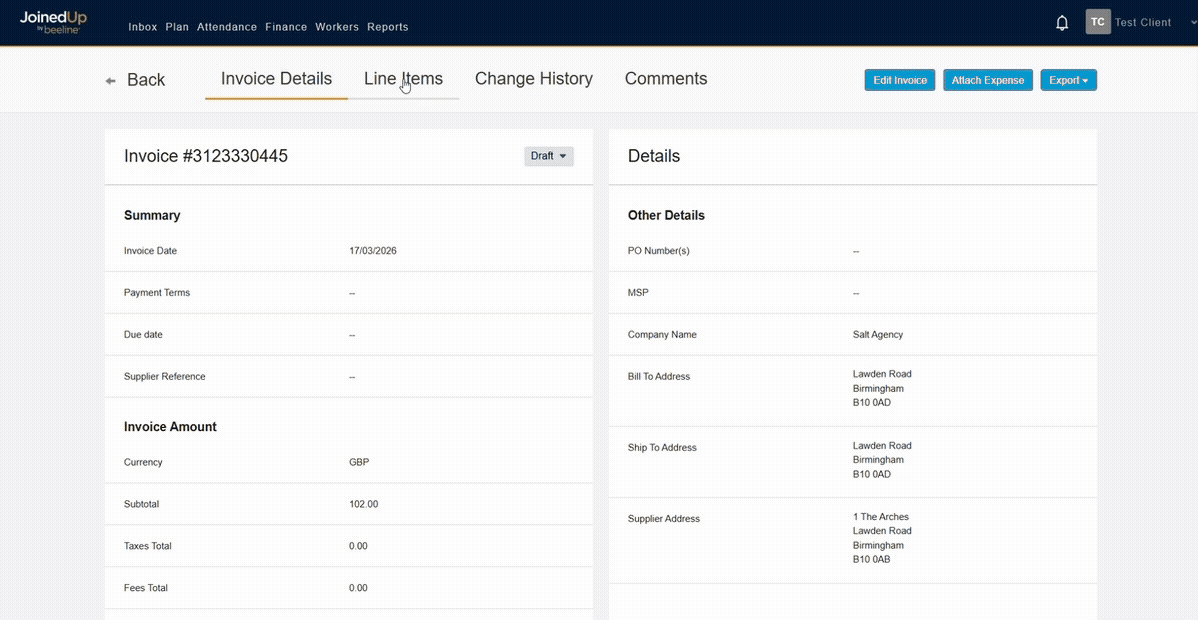
The Line Items tab will include the corresponding timesheets. You can view the timesheets by selecting the timesheet ID. This will redirect you to the Finance, Timesheets screen.
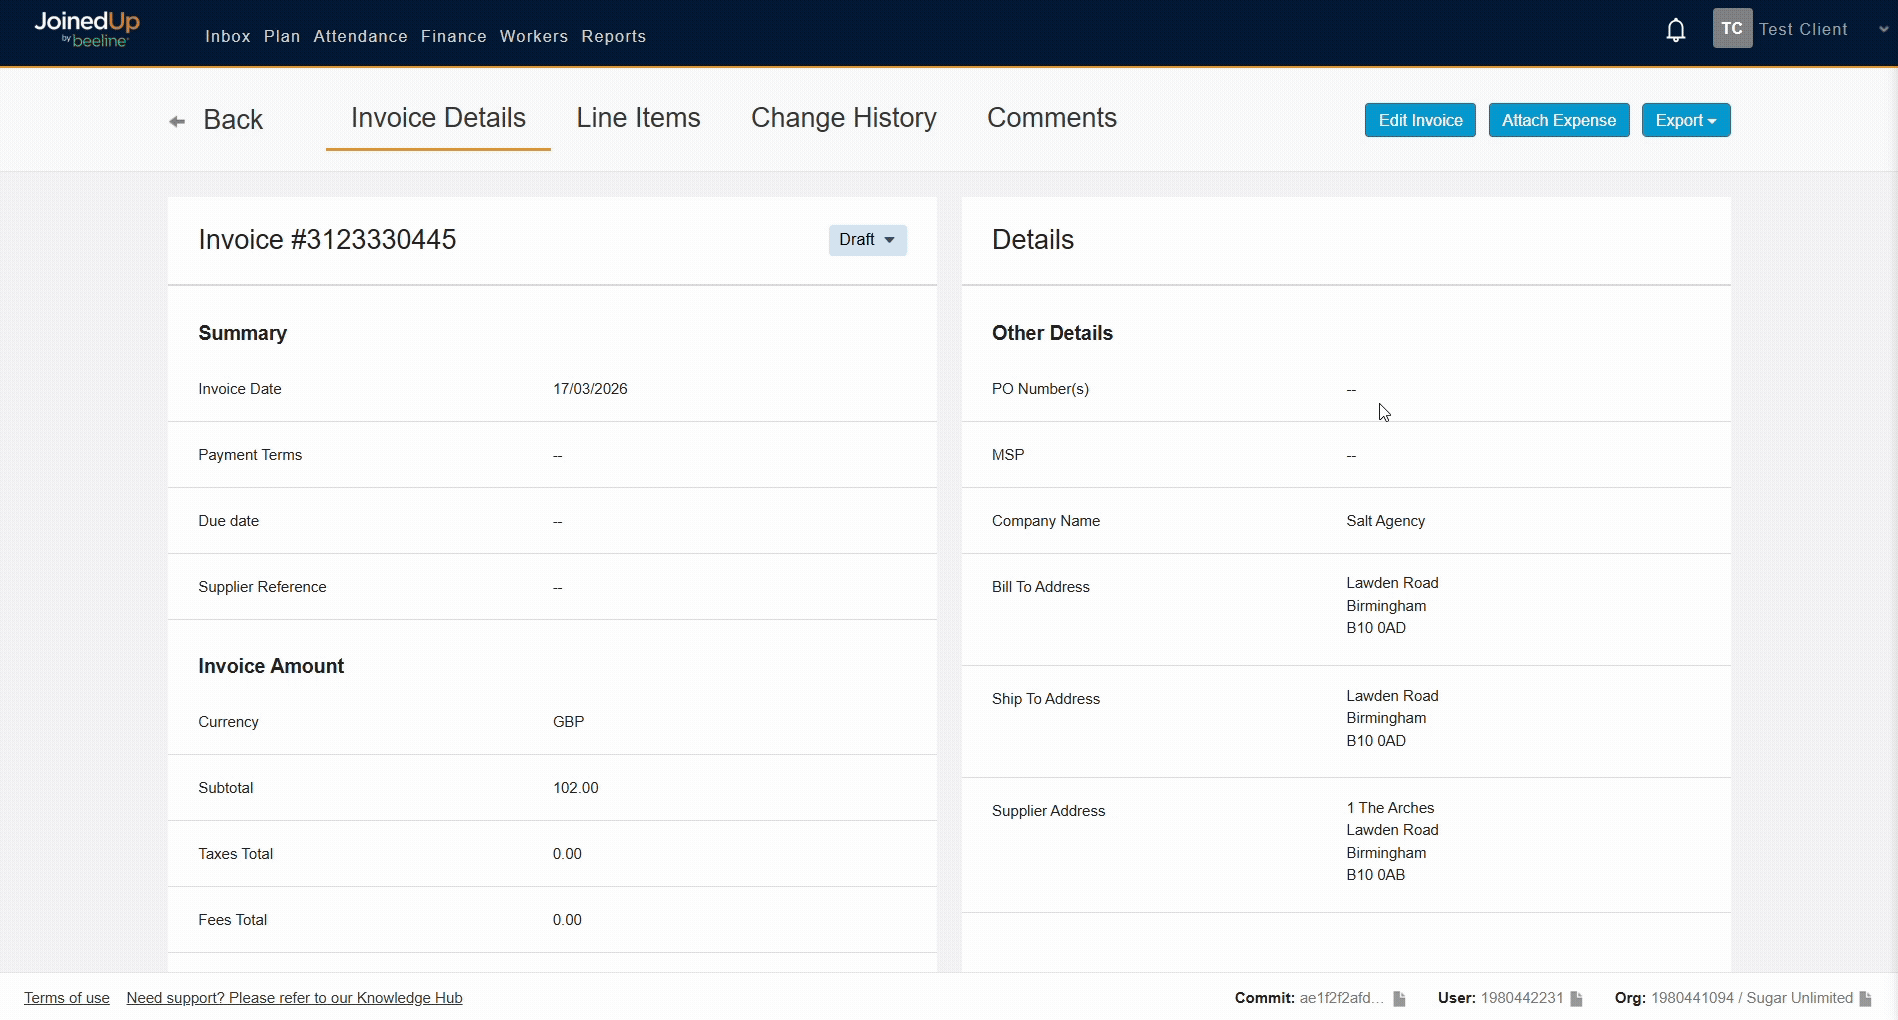
The Change History will open a slide out panel where you can view all the changes made on the invoice. You can view and add comments if needed.
To submit your invoice, change the status from Draft to Submitted.
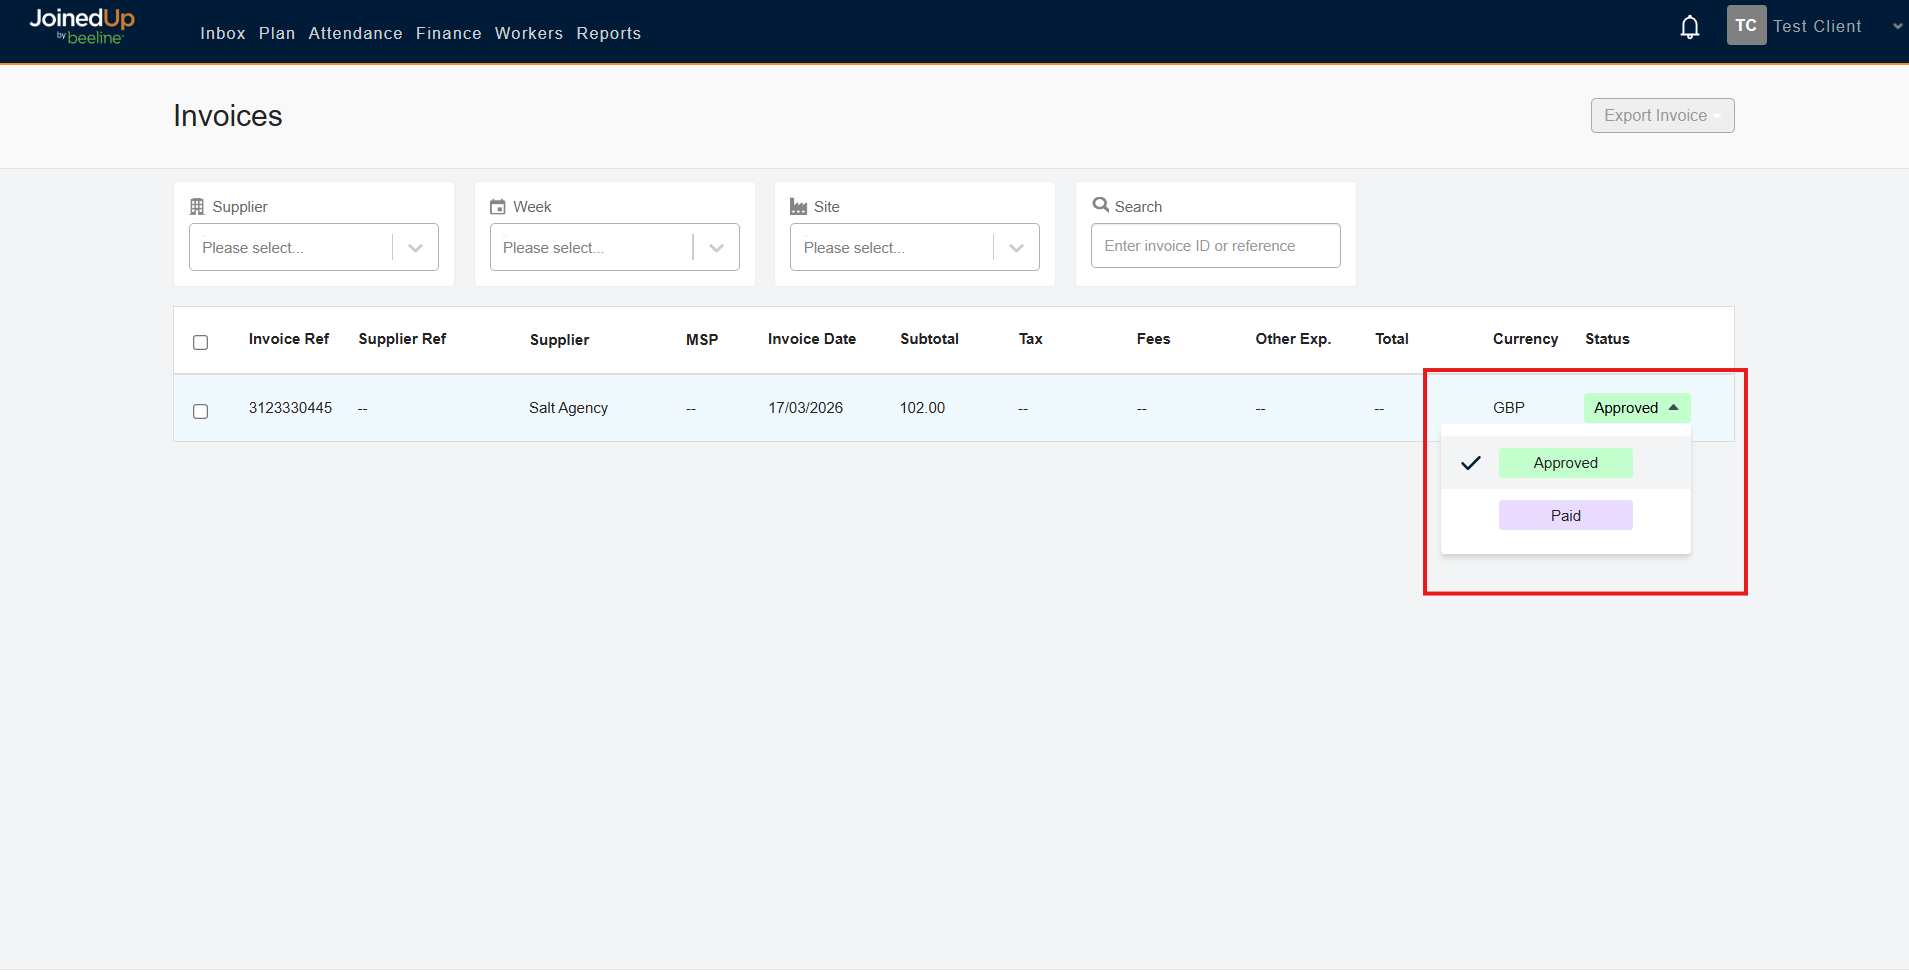
Once in Submitted status, you can now Approve or Reject the Invoice.
Approved Invoices can be moved to Paid status.
This action is optional and does not impact invoice generation. However, it provides the ability to manage and track the payment status of invoices.
You can export the invoice as a PDF or CSV file at any time by clicking the check box beside the Invoice then Export Invoice button.